This weathered wood finish is easy to create in just a few simple steps using inexpensive craft paints. This finish is perfect for creating a light wood finish on furniture or other home decor without all the work of sanding or stripping off the old finish.
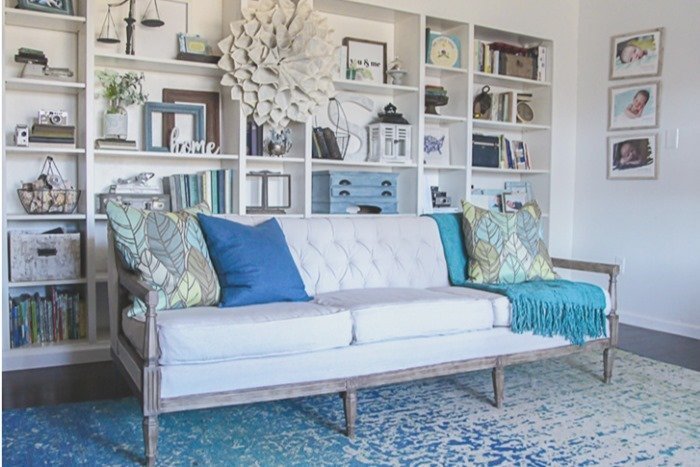
I have had lots of requests for a tutorial for this great weathered wood finish ever since I shared the antique sofa I refinished several weeks ago.
The sofa had beautiful lines but the old wood finish was incredibly dated and needed an update.
I considered sanding off the old finish and restaining it for about five seconds but I knew that would be a massive undertaking.
All of those nooks and crannies would have taken forever to strip down!
Instead, I decided it would be the perfect piece to do a faux wood finish using paint.
I know faux finishes get a bad rap. Sometimes they just look way too fake and I agree that when it is possible, the real thing is always better.
But even so, I still love a good faux wood finish using paint.
It is way faster than traditional refinishing and works beautifully on pieces with a lot of detail that would be incredibly time-consuming to refinish the traditional way.
It is also perfect for adding a beautiful wood finish to laminate furniture, photo frames, small decor items with lots of detail, or any other project that just needs a quick makeover.
Since it can be tough to fully demonstrate a paint finish using photos alone, I put together a quick video showing exactly how to create this look with paint.
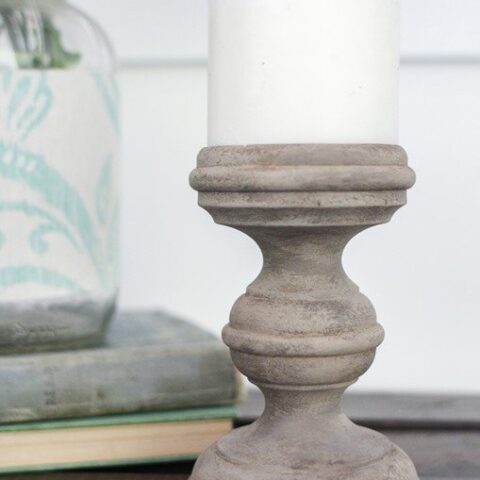
For the video, I painted a worn-out thrifted candlestick using the same paints and techniques I used to paint my couch frame.
And I also have a full step-by-step tutorial for those who prefer to see it all written out.
This post contains affiliate links which means if you make a purchase after clicking a link I will earn a small commission but it won’t cost you a penny more. Click here to see my full disclosure policy.
Materials
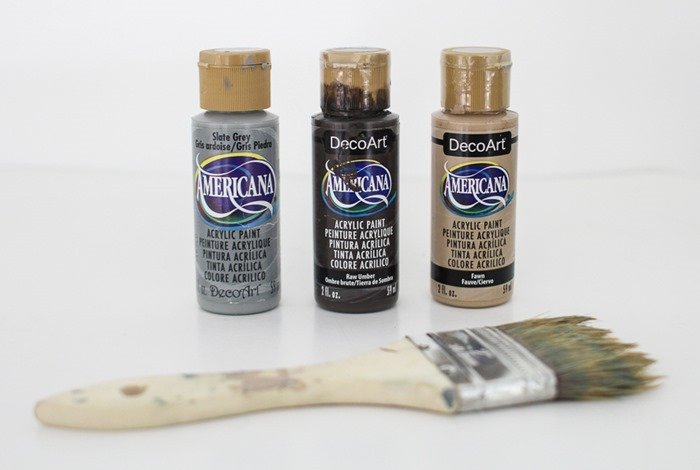
- Acrylic craft paints in three colors: tan, light gray, and dark brown (I used DecoArt craft paints in the colors fawn, raw umber, and slate gray)
- painter’s palette or paper plate for mixing paints
- Chip brush
- clean rag
- Matte sealer if painting furniture (I love General Finishes Flat out Flat Topcoat)
How to Create a Weathered Wood Finish Using Paint
Creating this weathered wood finish is quick, easy, and very inexpensive.
You can use chalk paint for this, but honestly, acrylic craft paints work just as well and they are very inexpensive.
I had plenty of paint in my three little bottles to do my entire couch frame as well as this candlestick and several other projects.
Before you get started painting, you always want to start by giving your piece a quick cleaning to remove any dust and grease.
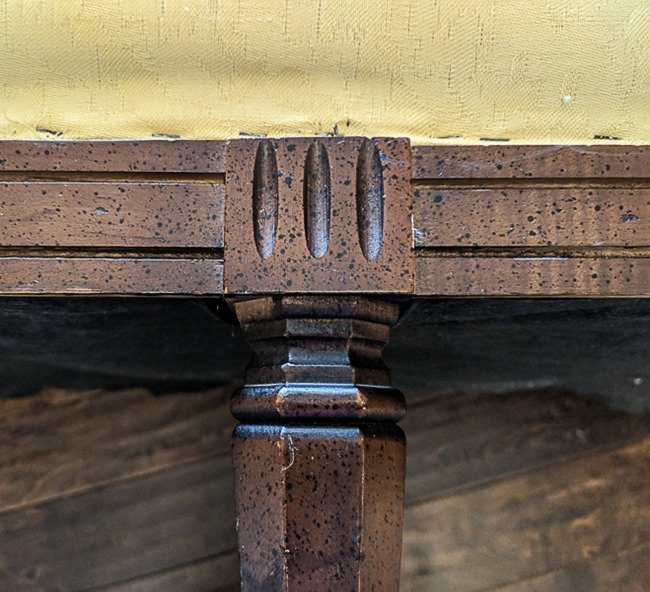
This is what my couch’s wood finish looked like before. It seems they may have gone a bit overboard with the black flecks!
Once your piece is clean, use your chip brush to paint a rough coat of tan paint all over your piece.
The paint should cover most of the old finish but it is fine if the color looks uneven or there are a few bare spots.
In fact the less perfect it is, the better.
Real weathered wood is not uniform; it has lots of texture and different shades. A few layers of imperfect paint can give us a similar look.
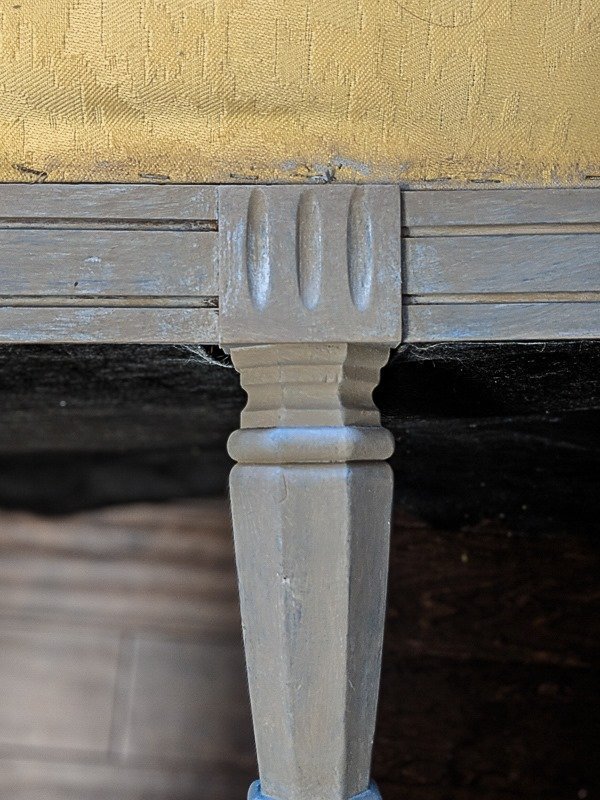
Usually these craft paints dry in a matter of minutes and once your first coat is dry, it is time to move on to the dark brown paint.
You want to dry-brush a light coat of dark brown over the tan. If you aren’t familiar with dry-brushing, it is very easy.
Simply get a very small amount of paint on your paintbrush and then wipe most of it off on your painter’s palette or a paper towel.
Then lightly drag your paintbrush over the piece you are painting.
Be sure to paint in the direction of the wood grain or if you are painting something that doesn’t have wood grain, paint along the length of any straight edges, in the direction wood grain would typically go.
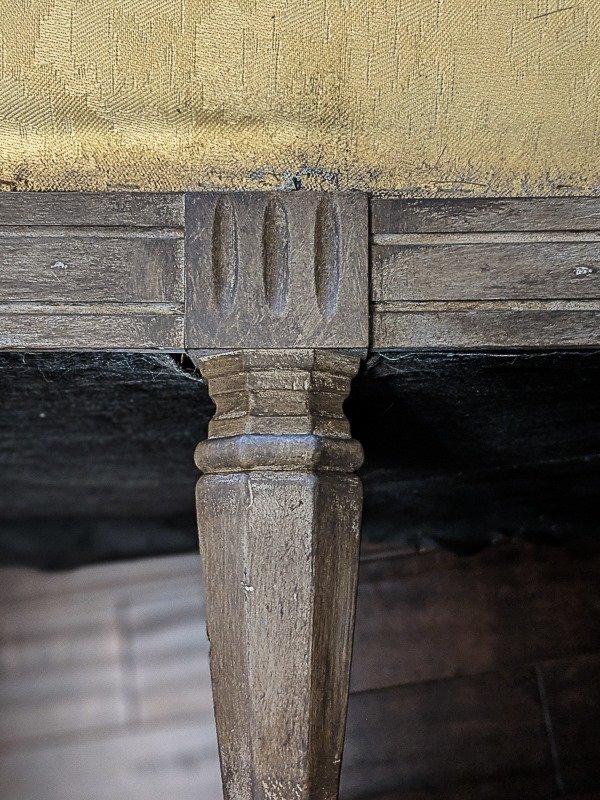
If your paint goes on a little thicker than you wanted, you can use a clean rag or scrap of an old t-shirt to gently rub off some of the excess.
This will also help to really get the paint into all of the nooks and crannies of your piece.
For the third coat of paint, mix equal parts of your gray and tan paint together.
Dry brush a light coat of this over your piece.
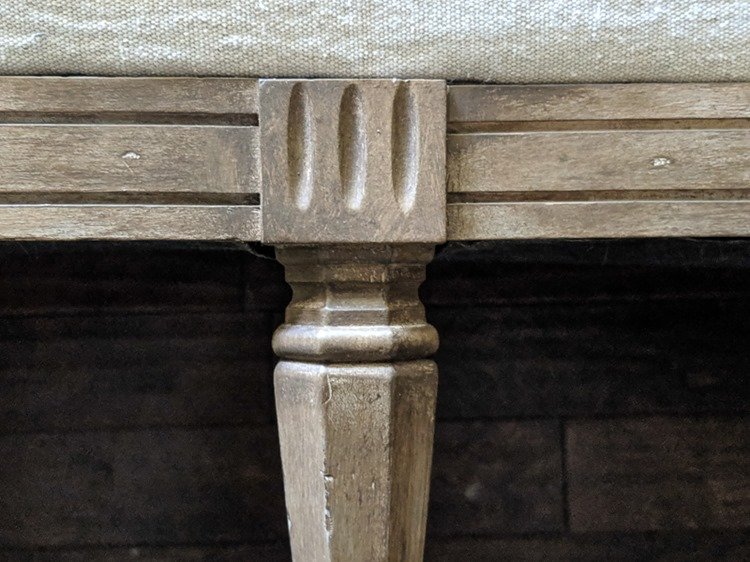
My favorite thing about this technique is that it is truly impossible to mess up.
It doesn’t need to be perfect and since each piece of wood is different, there is no right or wrong way for it to look.
But if you aren’t satisfied with how your piece looks after the third coat, it is very easy to simply add more paint.
If you would like it to look grayer, brush on a bit more gray. If you want it lighter, you can always mix a little white into your tan paint.
Or if you wanted it darker, just add a bit more dark paint. Just keep dry-brushing on layers of color until you love the result.
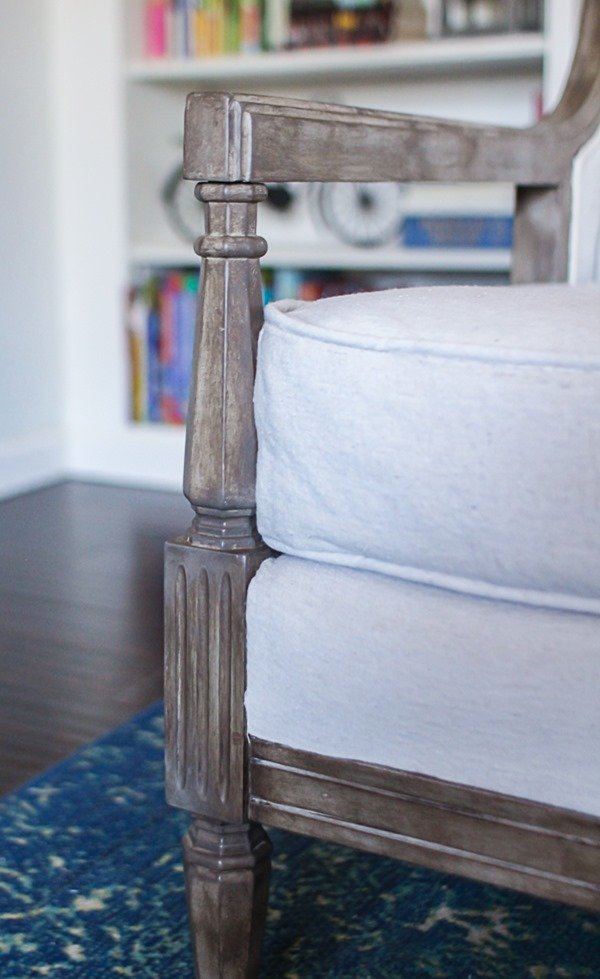
If you are using this finish on a piece of furniture, you will definitely want to protect your finish with a good sealer.
General Finishes Flat out Flat is one of my favorite sealers. I used it on my vintage sofa and it gives the perfect matte finish.
If you are painting small home decor pieces, a sealer really isn’t necessary. (I’ve got a whole post about this, if you aren’t sure why or when you need to use sealer on painted furniture.)
Video Tutorial
I’d love for you to subscribe to my Youtube channel!
Here’s the full before and after of my refinished sofa:
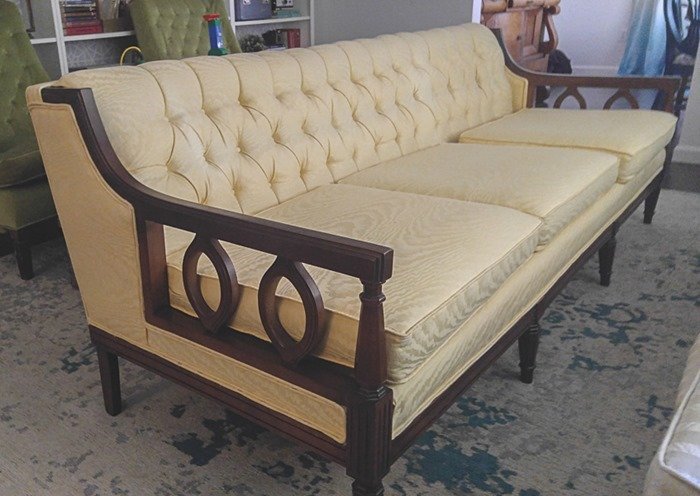
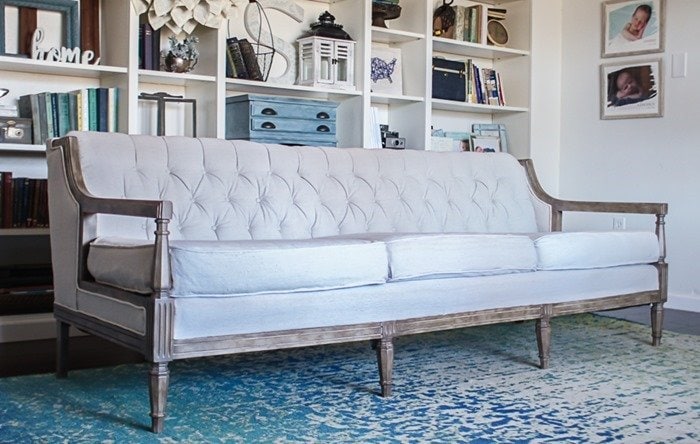
Talk about a huge difference! If you missed the post where I detailed the whole process including that gorgeous upholstery (it’s a drop cloth!), you are going to want to head here to check it out.
And here is a before and after of the cute little candlestick, I painted in my video tutorial.
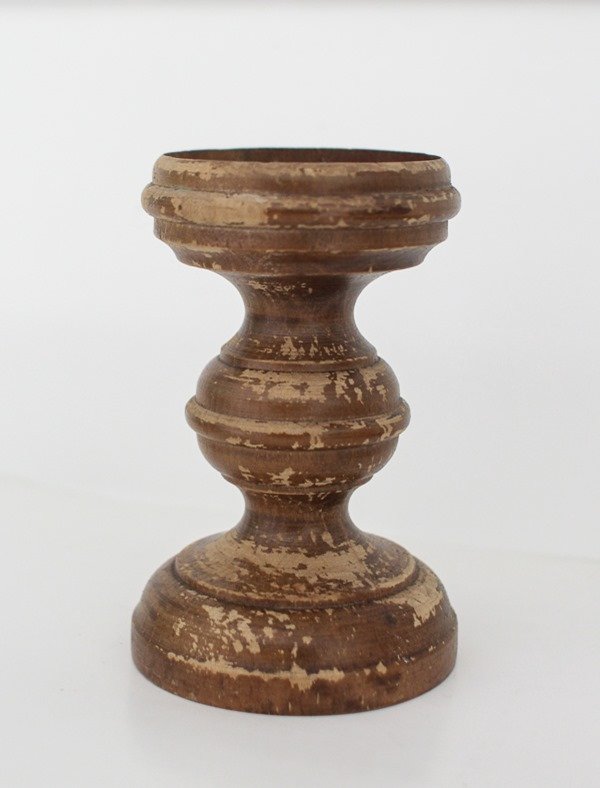
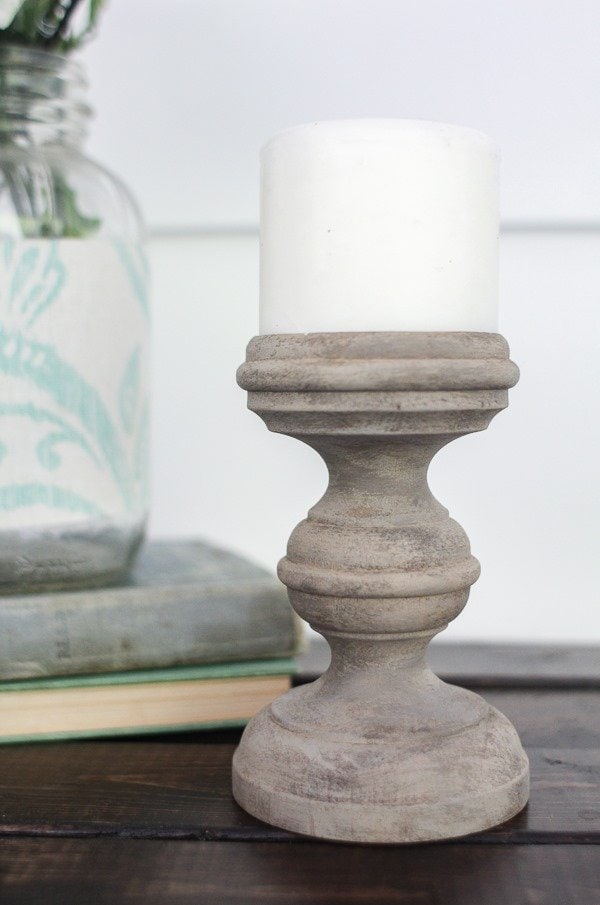
I love how the candlestick and sofa look slightly different even though I used the exact same colors.
When you layer paint this way, you are pretty much guaranteed to never get the exact same results every time just like with real weathered wood.
I’m going to be on the lookout for more chunky candlesticks as I’m thrifting.
I think a group of these would be gorgeous on my mantel!
Pin it for later!
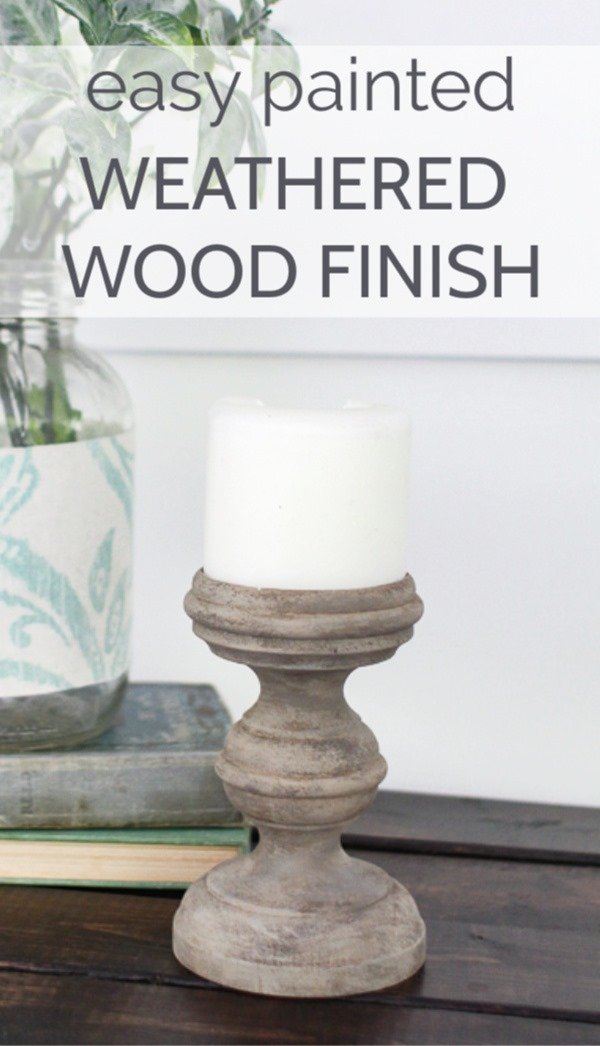

How to Create a Beautiful Weathered Wood Finish with Paint
Learn how to create a light wood finish on furniture or other home decor, without all the work of sanding or stripping off the old finish.
Materials
- Paints in the colors tan, dark brown, and light gray
- Painter’s palette or paper plate
- Clean rag
- Matte sealer if painting furniture
Tools
- Chip brush
Instructions
- Give your piece a quick cleaning to remove any dust and grease.
- Use your chip brush to paint a rough coat of tan paint all over your piece.
- Once your first coat is dry, dry brush a rough coat of the dark brown paint.
- Use a clean rag or scrap of old t-shirt to gently rub off some of the excess paint.
- For the third coat, mix equal parts of your gray and tan paint together.
- Dry brush a light coat of this over your piece. Blend the paint with a rag to get your desired finish.
- If using this finish on a piece of furniture, add a protective sealer.
Recommended Products
As an Amazon Associate and member of other affiliate programs, I earn from qualifying purchases.


Debbye says
I love what you did!!! I even adore the color of the cushions on your sofa! Thanks for sharing those 3 particular colors. They remind me of driftwood. Very pretty!
Carrie says
Thank you so much Debbye! I agree, it is very similar to driftwood which I love.
Alicia says
Thanks so much for the video. Visual really makes a difference. Going to give this a try on a wood chest.
Carrie says
Thank you Alicia – I am so glad it helped!
Linda at Mixed Kreations says
The couch turned out lovely, and love the weathered wood finish! Thanks so much for the video that helps so much being able to watch the technique.
Carrie says
Thank you Linda!
Sam says
Beautifully decored sofa. I Liked the colors mostly, I bought a new home confused with how to decorate. Thanks for sharing now I got the idea,
Carrie says
Thank you!
Robin says
Beautiful work! I just purchased a new dresser online and its a beautiful color but its darker than I expected. The thought of touching a brand new piece of furniture with paint is almost kind of… wrong, isn’t it?! Nevertheless, I want it lighter and this seems like a soft enough technique that won’t totally transform it. Do you think this will work on a finished piece? It’s pretty textured and seems to have a nice top coat from the factory.
Carrie says
I know what you mean about it feeling weird to paint a brand new piece of furniture…but I’ve done it before. I say it’s your furniture and you can do whatever you want with it! And just because the factory made it a certain color doesn’t mean they are right that it is the best finish. Based on your description, it sounds like this technique would work well. The texture shouldn’t be a problem at all – it will just enhance the final finish. I would just be sure to use chalk paint or acrylic craft paints or another paint that adheres well without primer. If the current finish is very shiny, you may need to lightly sand it first just to help the paint adhere, but if it isn’t super shiny, you probably can skip the sanding. Good luck!
MindyLu says
Hi there! I absolutely love everything that you make! I so wish i had your talent! Which i def do not! Ha I have a big dresser , coffee table, and 2 end tables that are in desperate need of a pick me up. Ive been wanting to paint them for so long now but im worried ill really mess them up. I love the color you did the wood here. Do you think i coukd use this technique on such bigget pieces of furniture or should i go with chalk paint? Just looking for a direction to start in! Hope to hear back from ya! Thanks!
Carrie says
Thank you so much for the compliments! First of all, if you want to paint your furniture, I say go for it. The great thing about painting furniture is that if you don’t love how it looks, you can always paint over it. Since you are just starting out, I would recommend starting with one of the smaller, simpler pieces and working your way up to the big dresser. But if you’d rather just go for it, that’s fine too. I think you could do this technique on a bigger piece of furniture, but it may be a bit tricky to get it to look exactly how you want. You might want to practice on a piece of scrap wood first to see how you feel about it. Good luck!
Ashley says
Thank you so much for the wonderful idea and for including the colors that you used!
Carrie says
You’re welcome! I hope it helps!
Nicole says
I love, love, love this look. Do you think it would stand up to kitchen table? Every other article I’ve read says latex paint, chalk paint, or stain. You are the first to use craft paint. I bought one of those oak (discovered it was oak veneer when I sanded it, ugh) pedestal tables and would love to attempt this!
Carrie says
First, I will say I do usually use chalk paint, latex paint, or another furniture paint when painting furniture. But, in this case, acrylic craft paints just worked well for me since I wanted to use a little bit of a lot of different colors. You could definitely do the same technique using chalk paint. The real key to having your painted furniture last though is in the primer and the sealer. The paint really is just the color. Use a good oil based primer first so the paint will adhere well and wood tannins won’t bleed through. And finish it with a good sealer – I like General Finishes Topcoats. If you do that, I craft paint should work just fine in between!