How to Build a Simple, Beautiful DIY Bed Frame
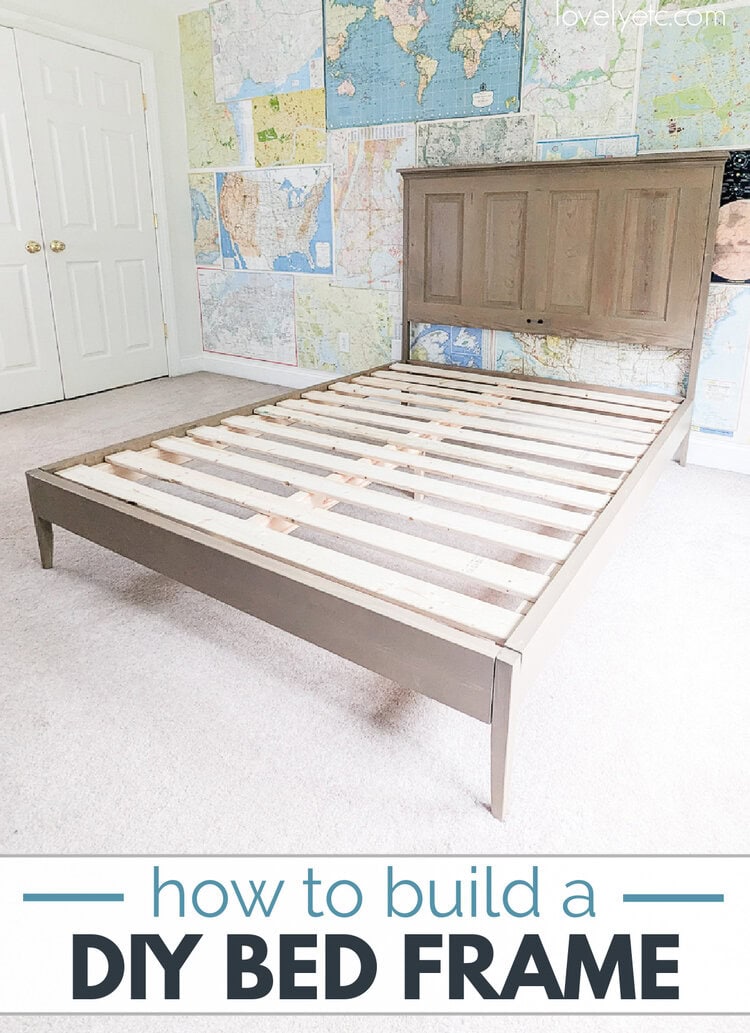
This detailed tutorial shows step-by-step how to build a beautiful and budget-friendly DIY platform bed frame.
This simple DIY platform bed was a project born out of necessity. My son has been sleeping on a mattress on the floor for months – ever since we moved to our new house and he moved into his own bedroom. I decided it was high time we get his room sorted and the top priority was building him a really nice bed.
My goal was to put together a simple, sturdy platform bed that would work just as well in a preteen boys room as it would in a primary suite. And I definitely think I achieved that!
This platform bed is designed to work well with foam mattresses that don’t require a box spring, but it would also work great for a traditional mattress and box spring.
This bed has a great low profile, modern look and the simple addition of tapered legs really makes it look much more expensive than it is.
- This is a great beginner project and can be built in just a few hours.
- This is a simple build that is put together primarily using wood glue and pocket holes.
- You really only need a few basic tools for this build – a miter saw, a drill, and a pocket hole jig.
- The tapered legs really elevate the look of this bed frame and are much easier to pull off than you night think.
- This bed frame can be built with a variety of woods depending on your budget and the look you’re going for. I made my bed from inexpensive 2×6, 2×3, and 2×2 framing lumber.
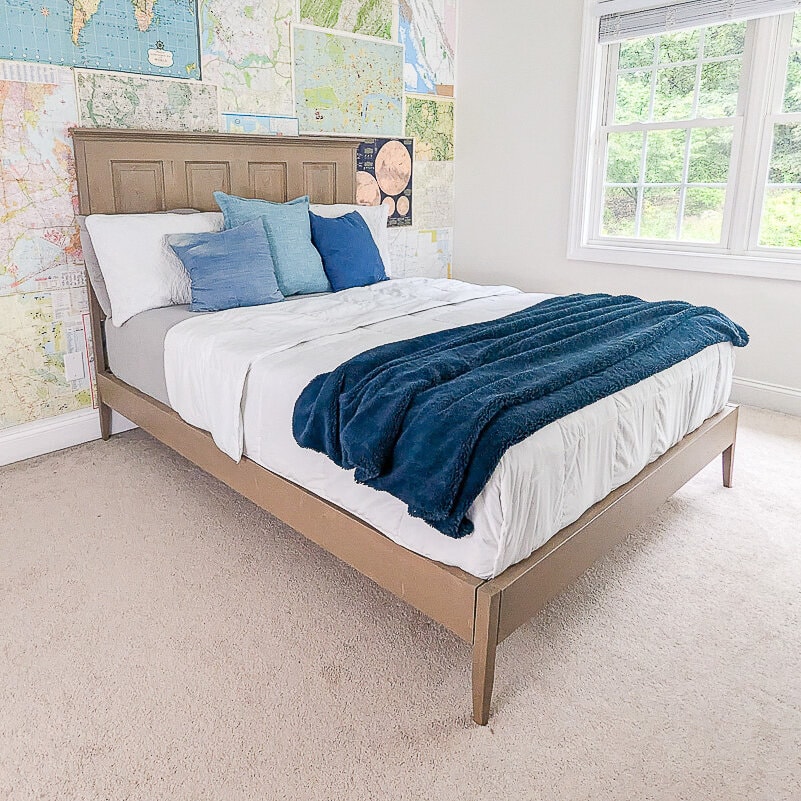
I repurposed on old door into a headboard for my son’s room, but you can use this bed frame with or without a headboard. If you do want to incorporate a headboard into the frame itself, there are instructions for that in the printable build plans.
You can also use this bed frame with a wall-mounted headboard or without a headboard at all. Because there are so many possible headboard options out there, I’m going to keep this post focused on the bed frame itself.
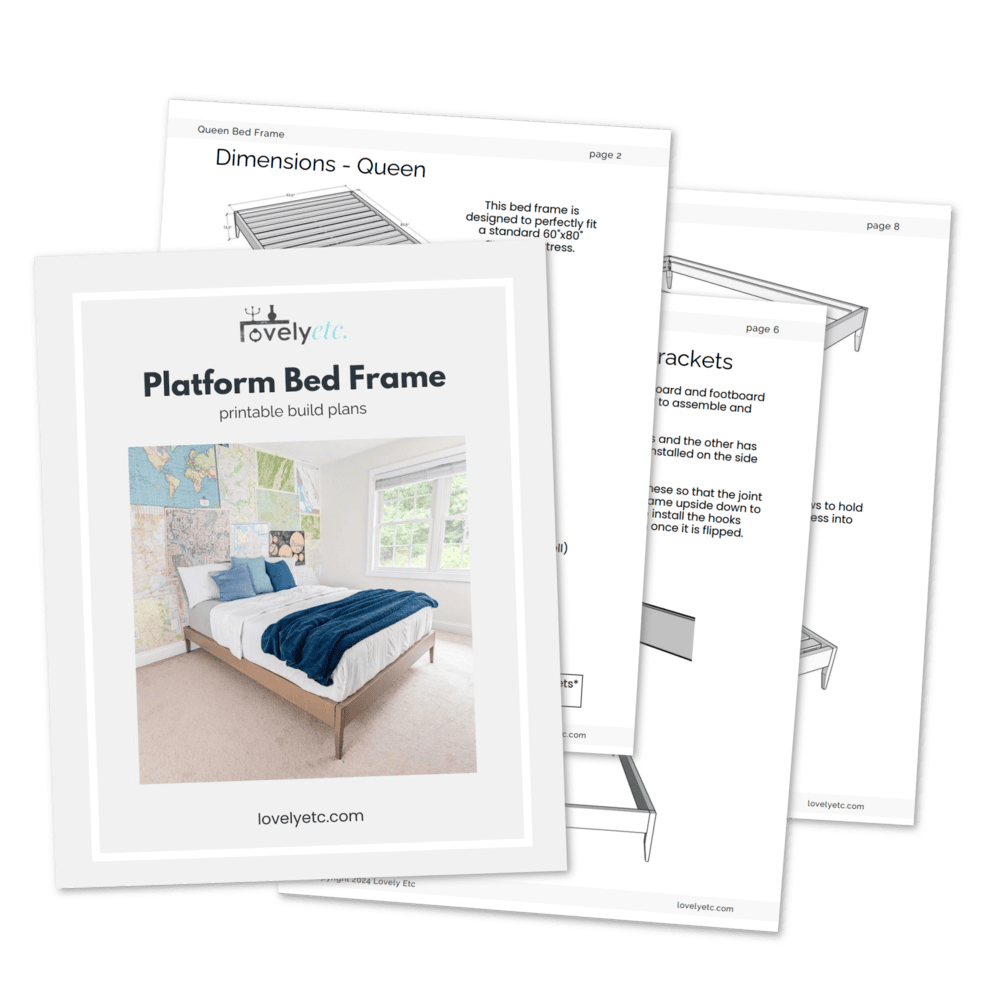
I’m sharing a full step-by-step tutorial plus a video tutorial for building a queen size bed frame below. I also have detailed printable build plans that include all the instructions and measurements for building this bed frame to fit a twin, full, queen, king, or california king mattress.
This post contains affiliate links which means if you make a purchase after clicking a link I will earn a small commission but it won’t cost you a penny more. Click here to see my full disclosure policy.
Materials
Note, the materials listed are specifically for making this bed frame in queen size. The materials for other sizes are largely the same but some of the lumber amounts may be different. You can find exact measurements for other bed sizes in the printable build plans.
- (4) 2x6s @ 8 ft – this will make up the bulk of your finished bed frame.
- (1) 2×2 @ 8 ft – these will be the legs of the bed , you can use a furring strip to save money, just be sure to look for wood that is straight and not cracked, other options are to use more expensive poplar 2x2s or to rip a 2×4 in half.
- (3) 2x4s – these will be supporting the slats and won’t be visible on the final build
- (12) 1×4 furring strips – these will be the slats and also won’t be visible. You can use plywood instead of individual slats if you prefer.
- Bed rail brackets – this is the set I used and they were easy to install and are nice and sturdy
- 2.5″ Kreg screws
- Wood glue – this is my favorite wood glue – it’s waterproof and works great for indoor and outdoor projects
- 2″ wood screws – for attaching the slat supports to the side rails
Recommended Tools
- Miter saw
- Drill and drill bits
- Kreg Jig – I have and love the Kreg R3 – it’s a smaller, less expensive Kreg Jig that is still pretty easy to use. If you are new to woodworking and don’t want to make a big investment, the Kreg Jig mini is an even cheaper option though the Kreg R3 is a bit faster to use.
- Orbital Sander – because sanding is one of the keys to making any woodworking project look amazing
- Tape measure
How to Make a DIY Wooden Bed Frame
Cut your wood to size
Note – this is the cut list for a queen size bed frame. The cut list for twin, full, king, and California king beds can be found in the printable build plans.
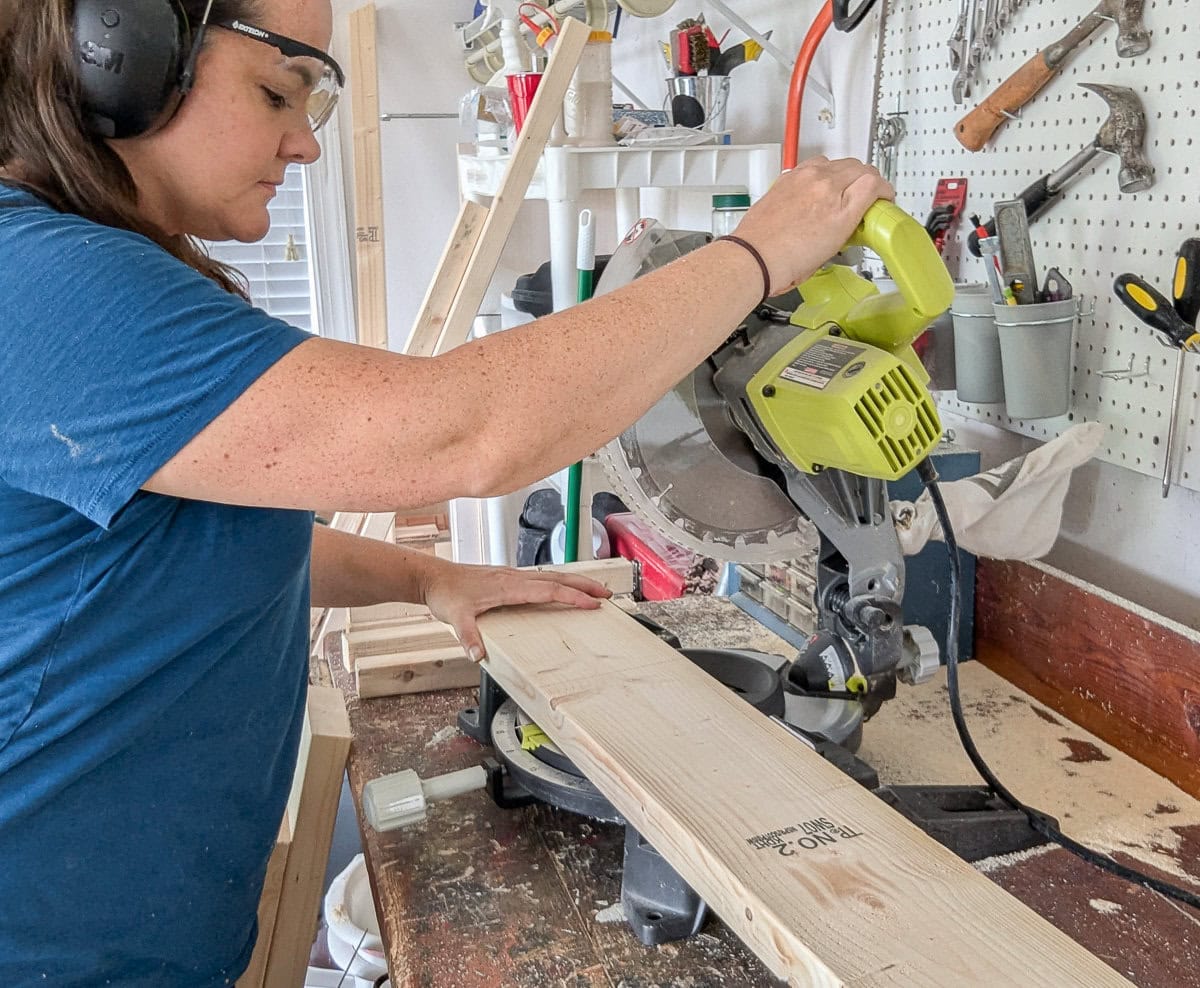
Use a miter saw to make the following cuts from 2x6s for the bed frame:
- two @ 60″ for the head and foot of the bed
- two @ 80″ for the side rails
Make the following cuts from 2x2s for the bed legs:
- four @ 13.5″
- one @ 8.5″ for the center support leg
Make the following cuts from the 2x4s for the slat supports:
- two @ 75″ for the side supports
- one @ 80″ for the center support
Cut all of the 1x4s @ 59.75″ for the slats.
Drill pocket holes
Set your Kreg Jig for 1 1/2″ thick wood and drill pocket holes on each end of the following pieces of wood:
- two 60″ 2x6s (the head and foot of the foot board)
- one 80″ 2×4 (the center support beam)
- one 8.5″ 2×2 (the center leg – pocket holes are only needed on one end)
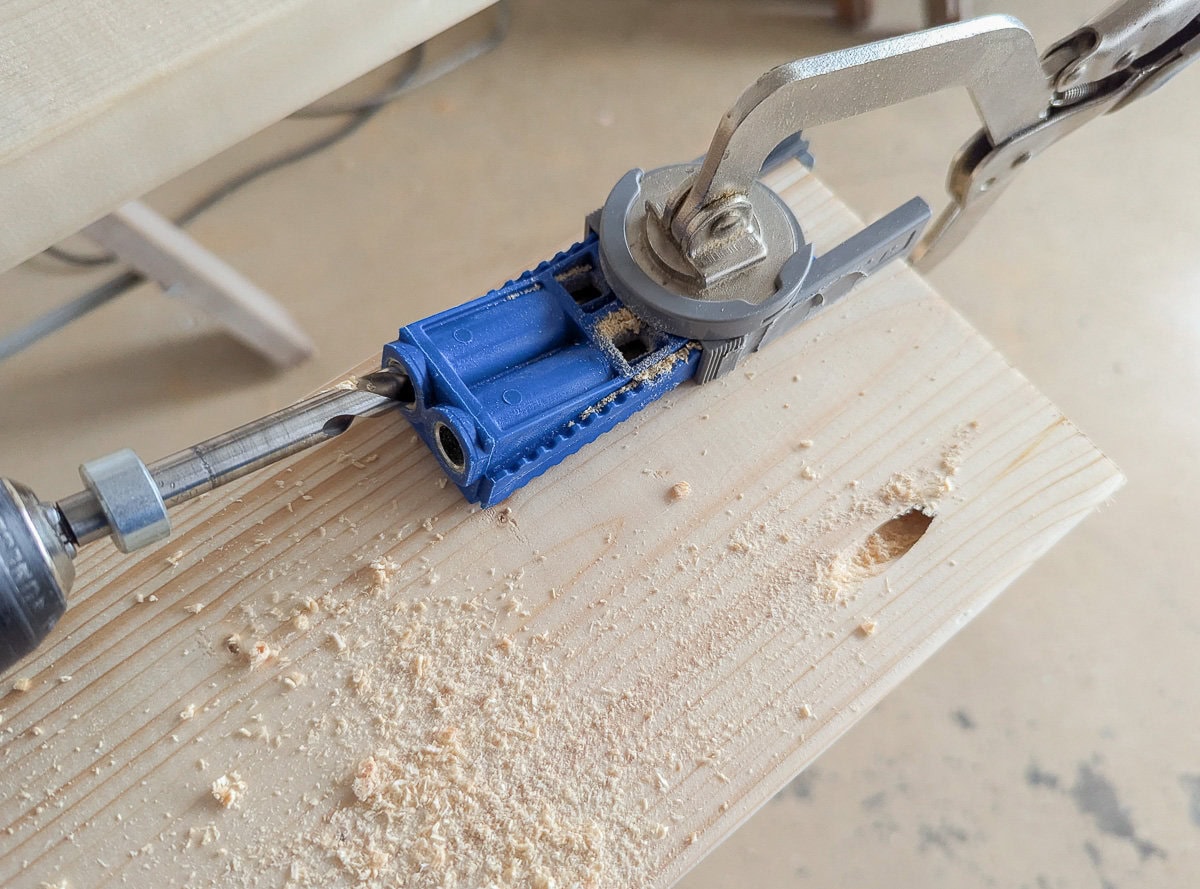
(If you’ve never used a Kreg Jig before, it’s a simple way to make really strong joints for woodworking. I think this tutorial on using a Kreg Jig from DIY Candy is helpful if you need some help getting started.)
Taper the bed legs
This is the only part of this build that might seem intimidating, but tapering the legs adds so much to this simple design and is definitely worth it.
If you’ve never tapered furniture legs before, by far the easiest way to do it is to make a quick tapered leg jig. This might sound overly complicated, but it’s actually pretty simple and makes cutting those pretty angled legs so much easier.
The tapered leg jig will hold your wood in place so the angled legs can be easily and safely cut with a miter saw.
You can make your jig using any scrap wood you have on hand. You’ll need a small piece of plywood and two scrap boards – 1x2s work great for this but any small board will work.
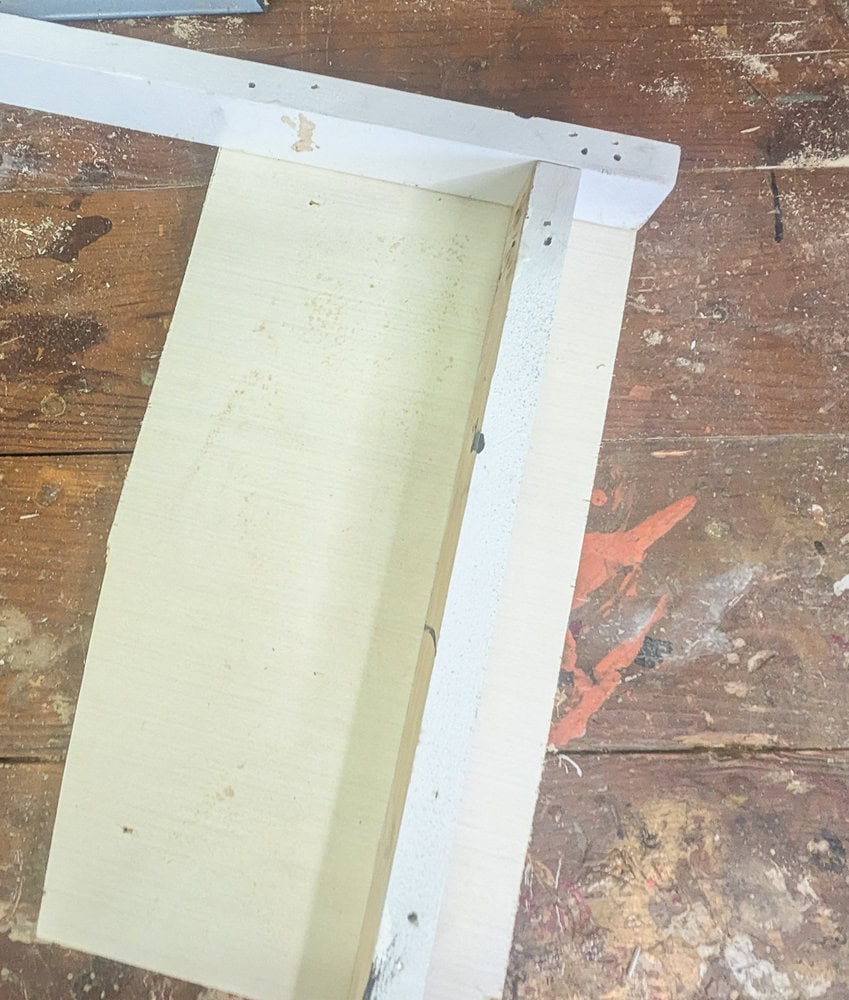
Attach one of your boards across the top of your plywood and another board on the right side, spaced 1.5 inches from the edge of the plywood. That 1.5 inches is the width of our bed legs. (Yes, if you aren’t familiar with wood sizing, 2x2s are 1.5 inches wide). You can use a nail gun or hammer and nails to quickly attach the pieces of your jig.
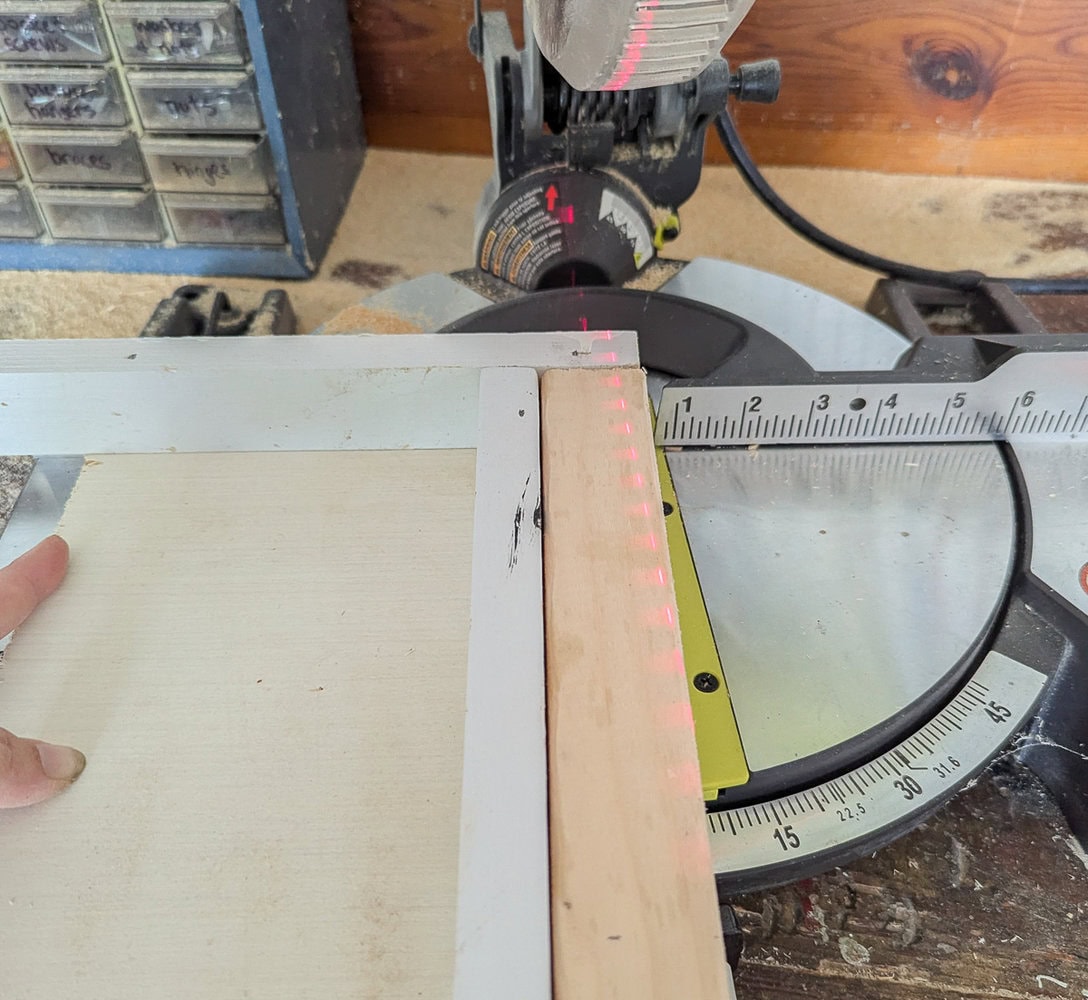
You’ll slide one leg at a time into the channel on the right side of your plywood to cut your legs.
Set your miter saw to 7 degrees and cut the first side of your leg. Repeat on the adjoining side. This will allow the taper to be seen from the side of the bed as well as the front.
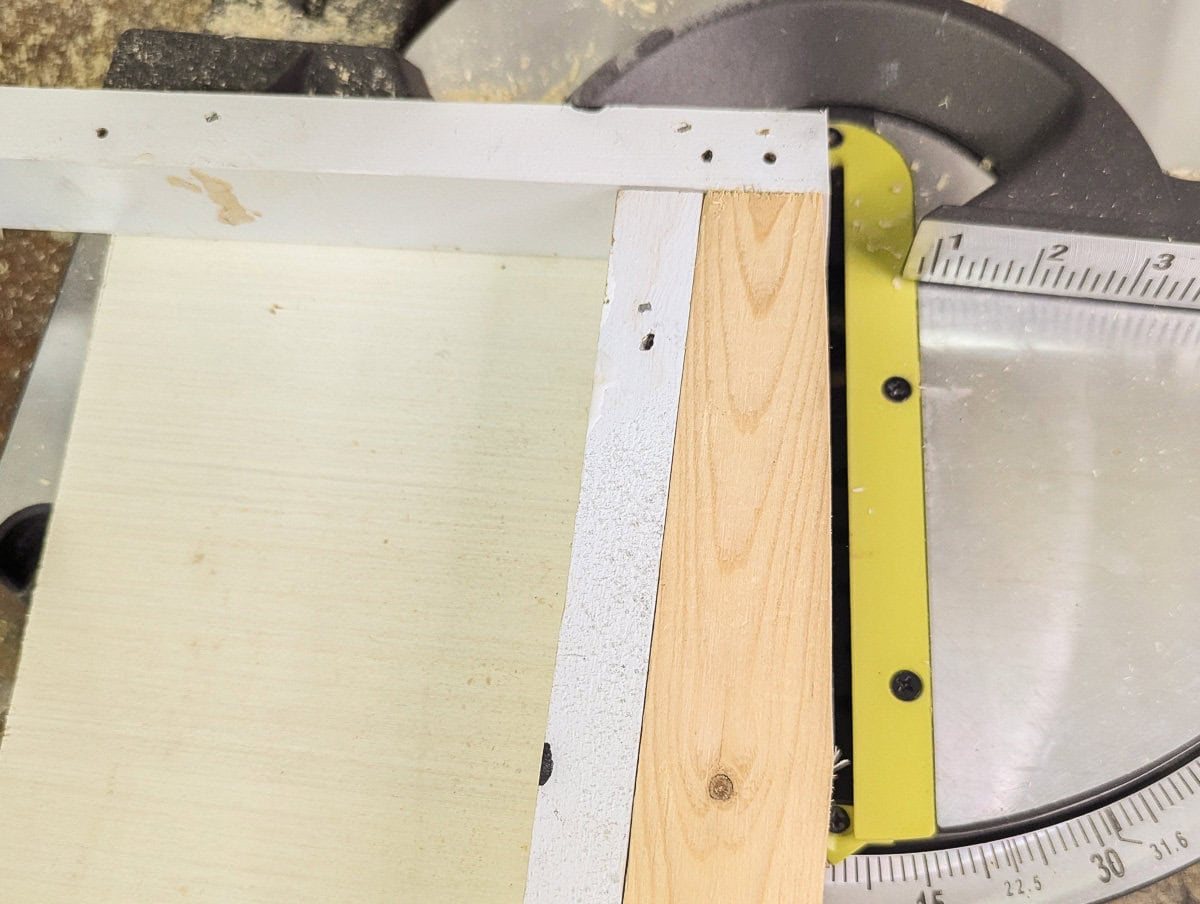
Using this jig makes it easy to ensure that all four legs are exactly the same.
Sand your wood
I’ve found it is much easier and faster to sand my boards before assembling furniture. I’m using a combination of common board and 2×2 furring strips for my bed build and both can really benefit from a good sanding.
Furring strips in particular are usually very rough. If you can find straight boards that aren’t warped, twisted, or cracked, it’s a great way to get super cheap wood and they usually sand to a nice finish.
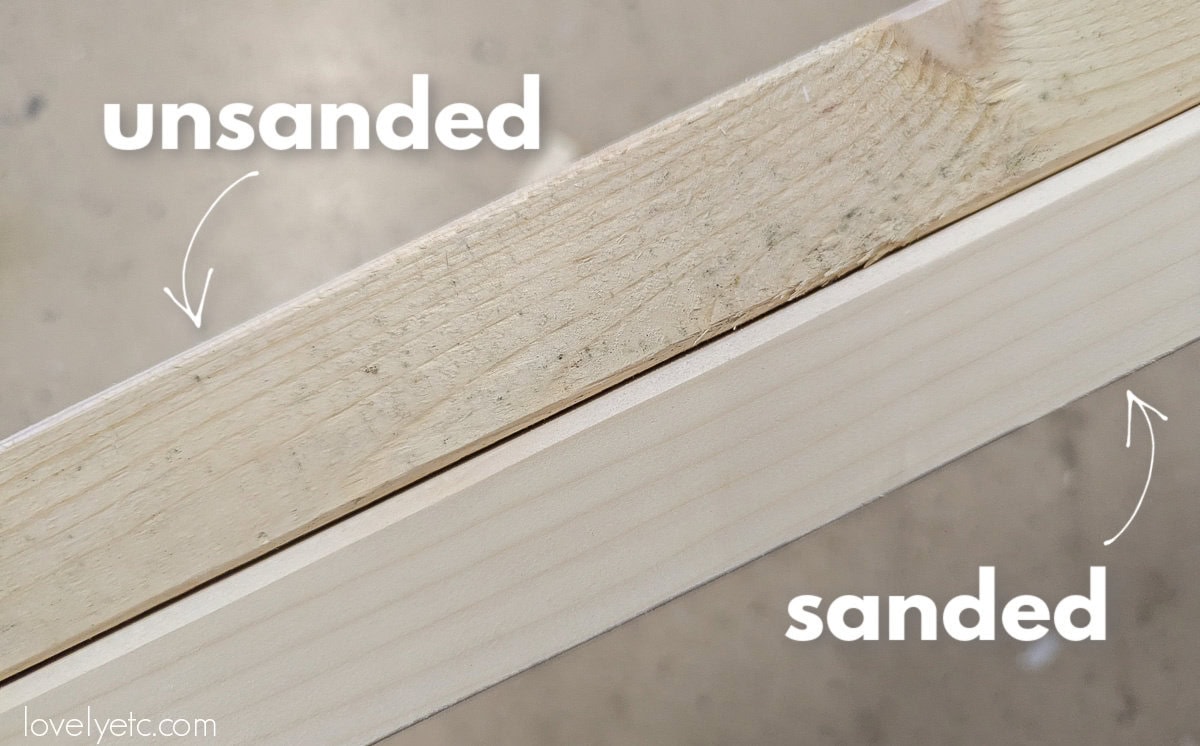
Even if you are using a nicer wood, sanding your wood before painting or staining is always a good idea.
I sanded each of my boards with 100 and 150 grit sandpaper.
You don’t need to sand or finish the 2x4s and 1x4s unless you just want to. These will form the bed slats and slat supports and won’t be visible once the bed is assembled.
Finish with paint or stain
I’ve also found that it is much easier to paint or stain DIY furniture before assembling. For my bed frame, I used a stain and paint wash combo. I had already finished my repurposed headboard, so I wanted the bed frame to match. Plus, this is a great finish for inexpensive pine because it looks great and is much easier to apply than straight stain.
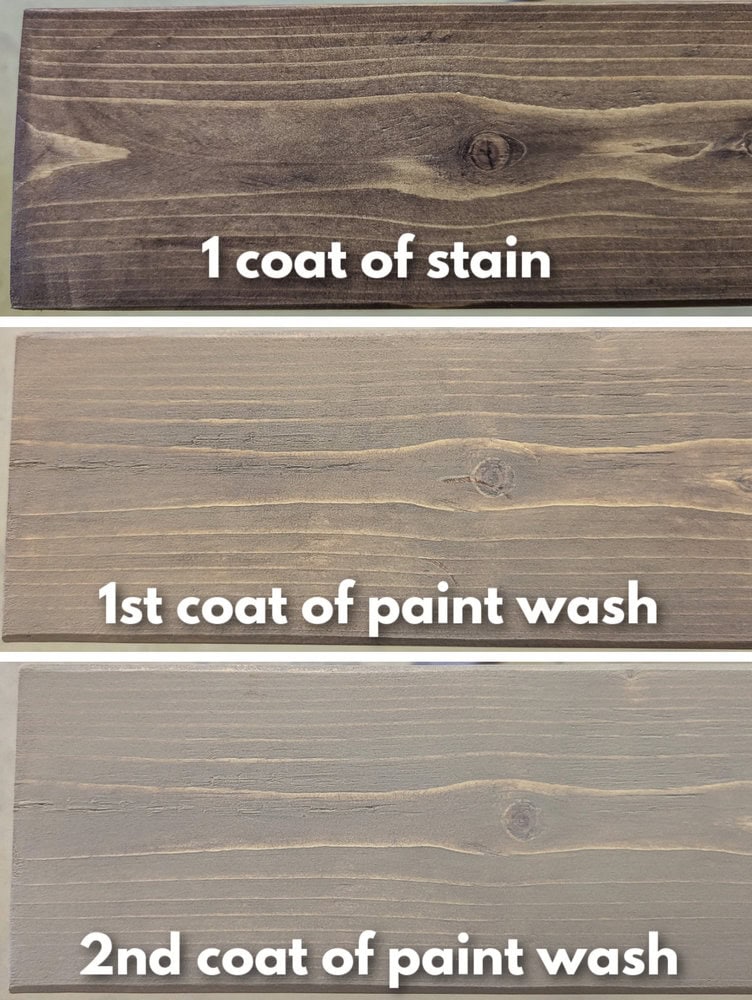
If you’re interested in a similar finish, I have lots more info about the stain + paint wash finish I used on this bed in my post about refinishing the headboard.
Assemble the headboard and footboard
Now we’re ready to get building. First we’re going to attach our legs to the front and back of the bed frame.
Use 2.5″ pocket screws and wood glue to attach a bed leg to each end of the two 60″ 2x6s.
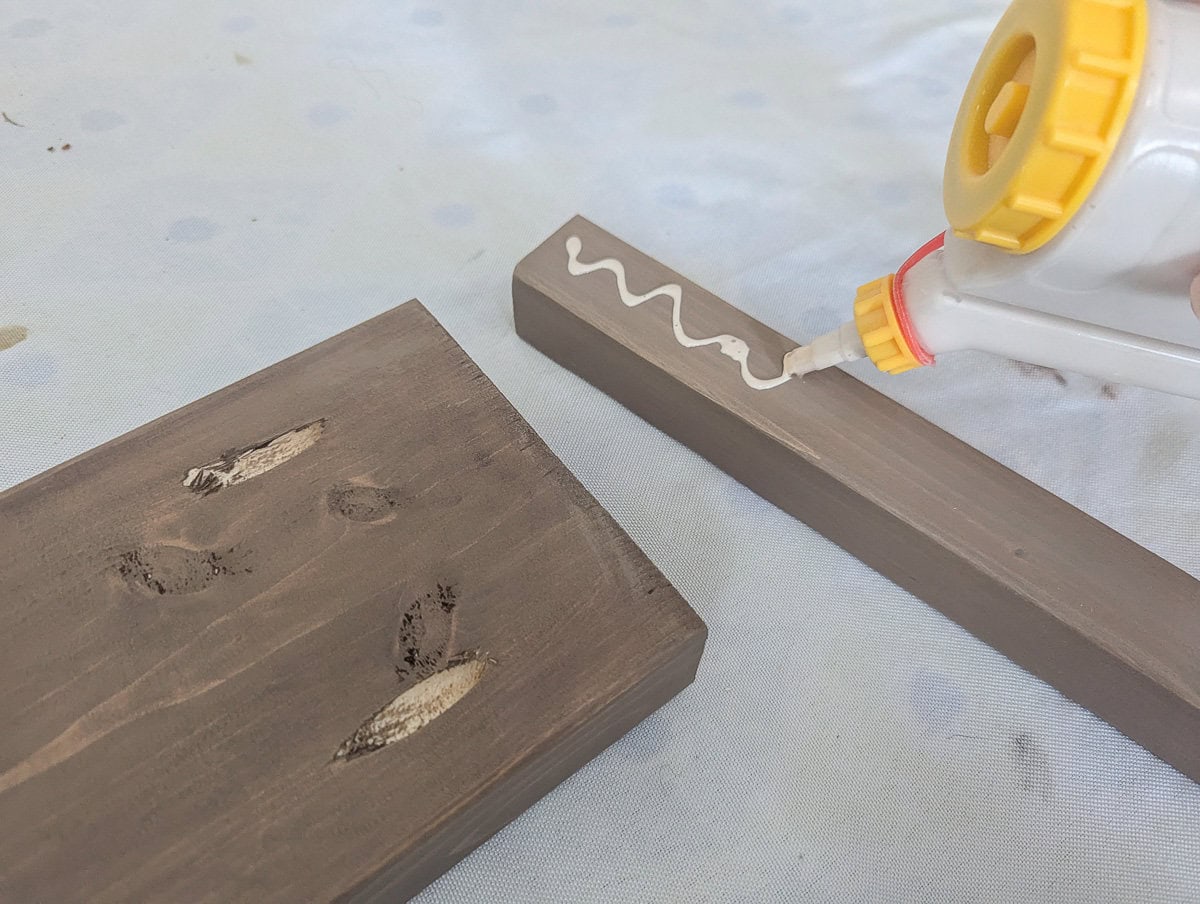
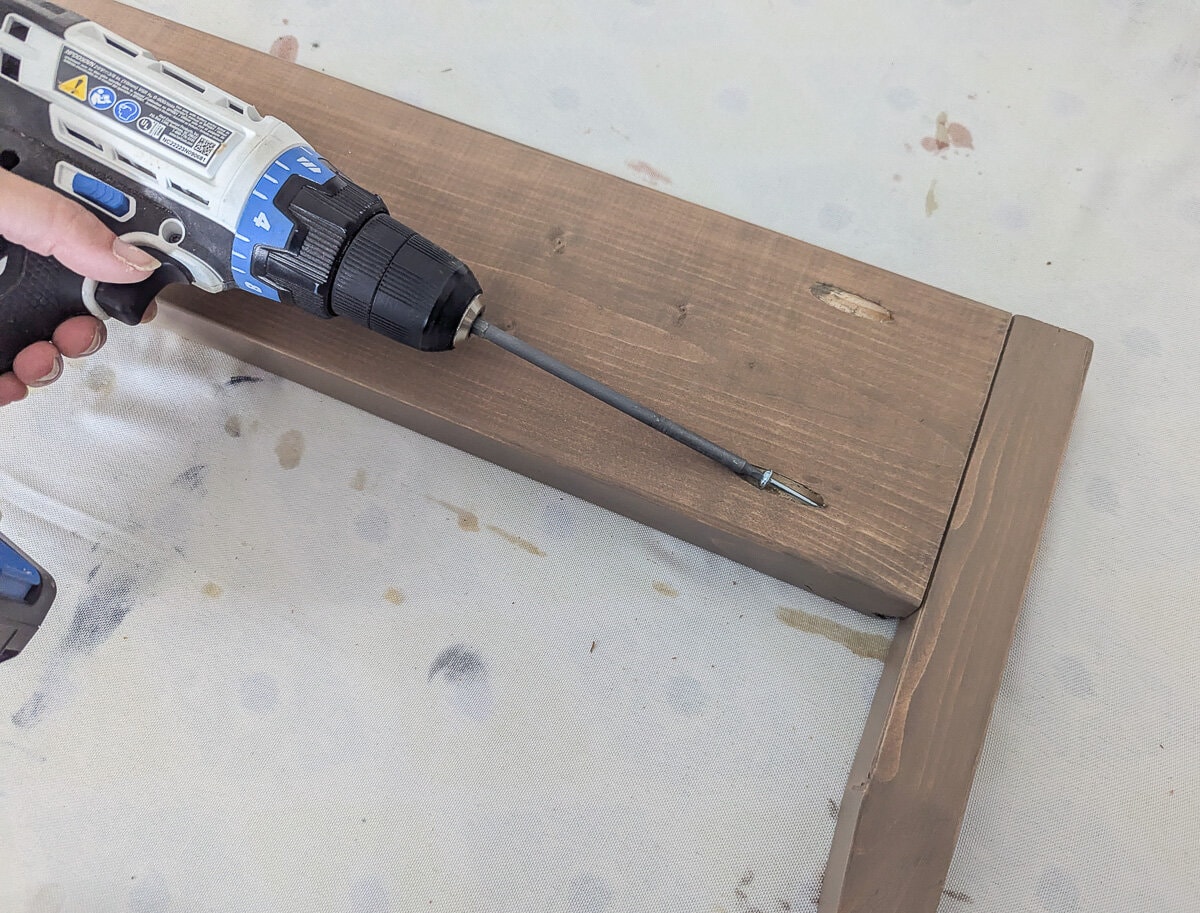
Before attaching make sure that the angled legs are positioned correctly. You want the corner that is 90 degrees facing out. You should be able to see the legs taper from both the front and the side of the bed.
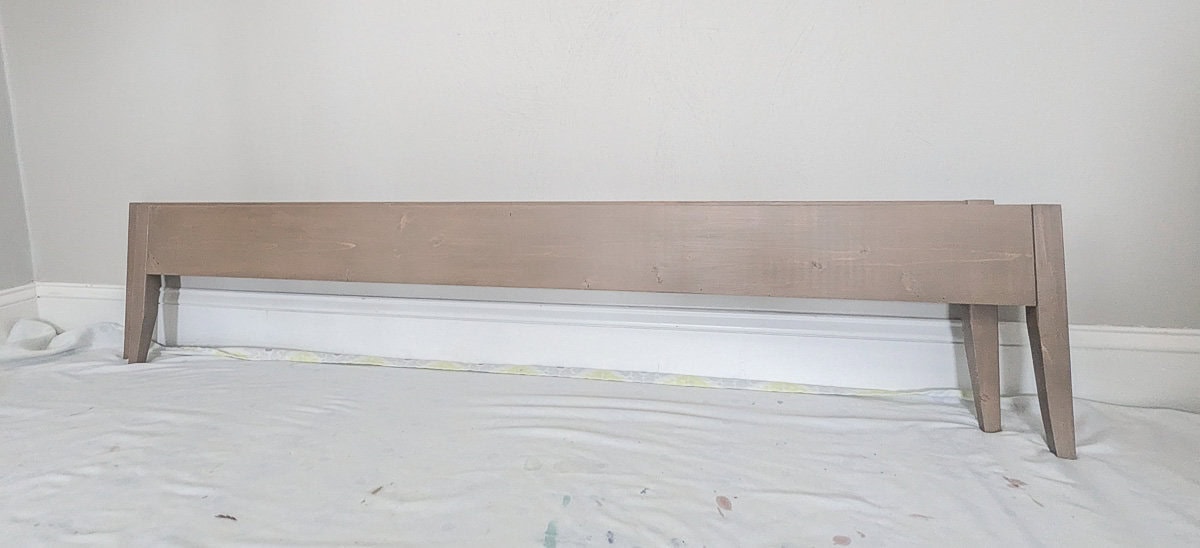
Optional – incorporating a full headboard
As I mentioned earlier, it’s really easy to incorporate a full headboard into this platform bed as well.
To incorporate a DIY headboard, all you need to do is build taller legs for the head of the bed. Instead of cutting the two 2×2 legs for the head of the bed at 13.5″, cut them at 54.5″ long. (Or you can go even taller if you love a tall headboard. I made my headboard 54.5″ and I think the proportions look great.)
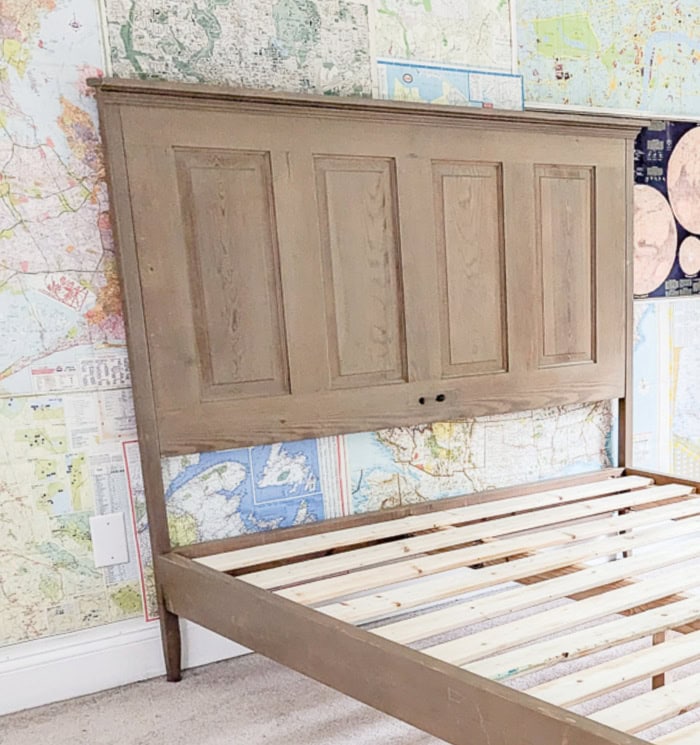
You’ll still taper the bottom of each leg the same way and you will still attach the 60″ 2×6 between the legs, in line with the rest of the bedframe. Truly, the only difference is how long the legs are.
Then you can make your headboard any way you would like between your two 2×2 legs. If you want to keep things simple, a nice piece of plywood or a live edge board would look great. Or you can cut down a door like I did.
Attach the bed frame hardware
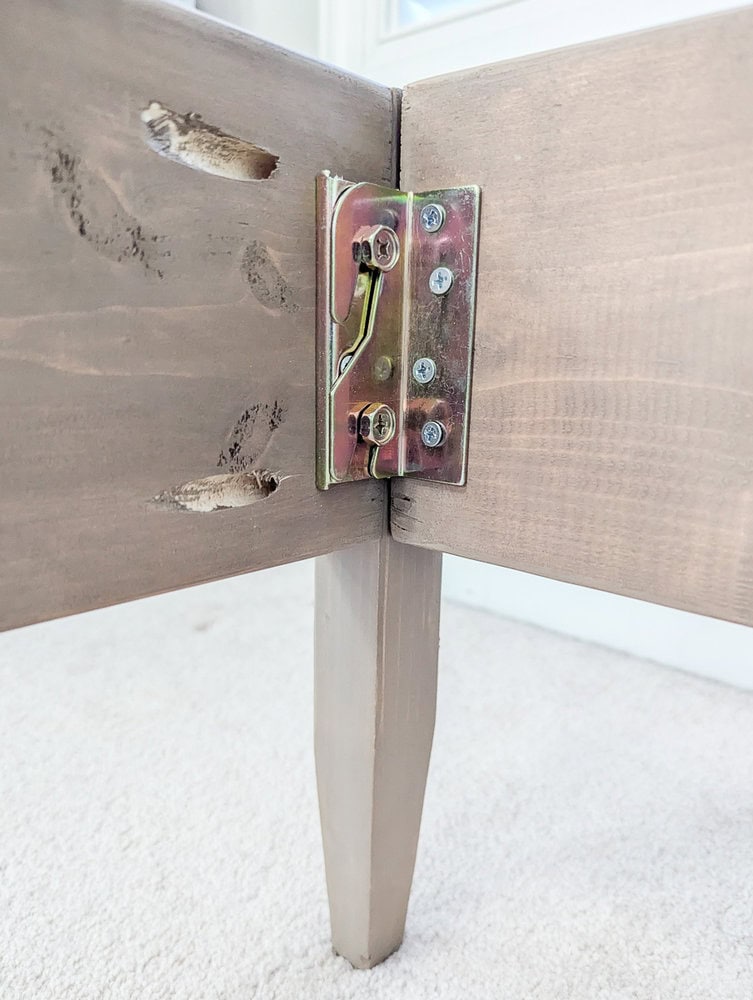
The side rails are attached to the headboard and footboard using bed rail brackets. These brackets are just like what you see on store-bought bed frames and they make it easy to assemble and disassemble the bed for moving.
The brackets come in two parts – one side has hooks and the other has screws for the hooks to slide over. The hooks will be installed on the side rails and the screws on the head and foot boards.
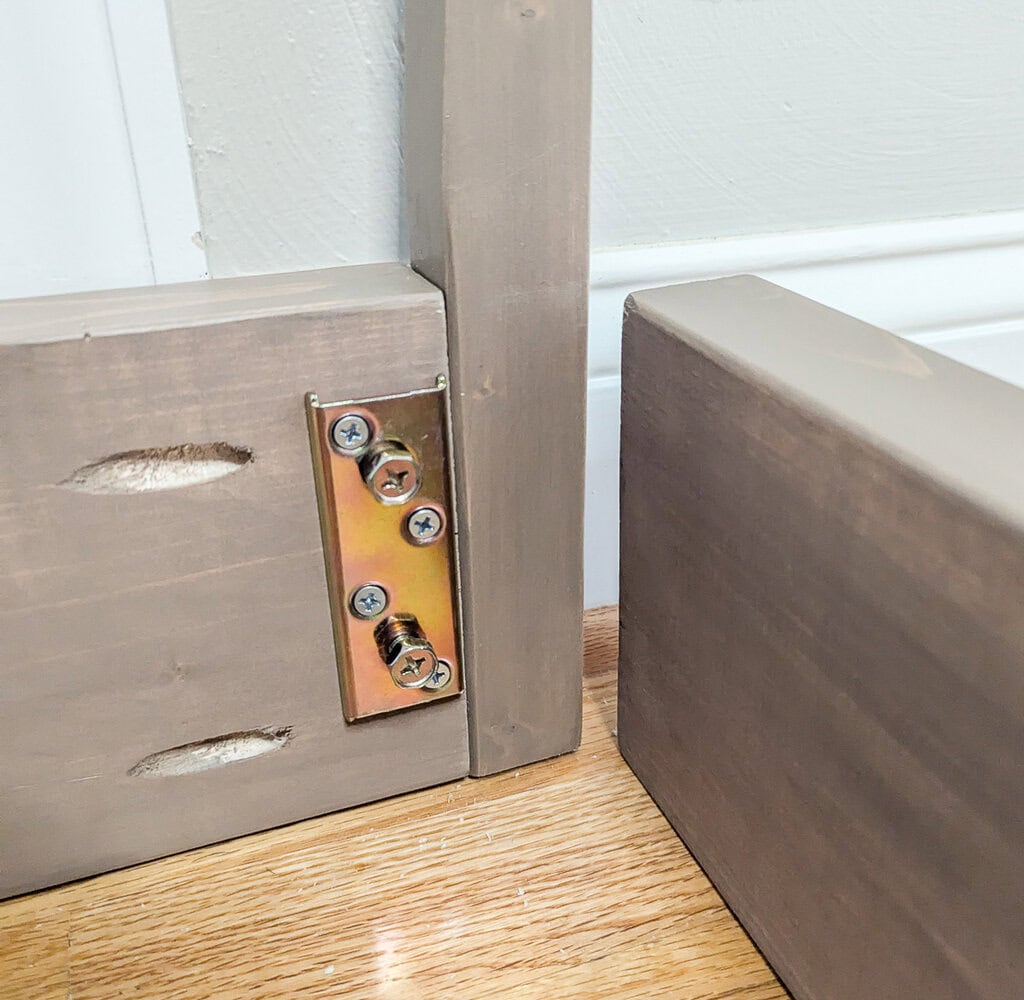
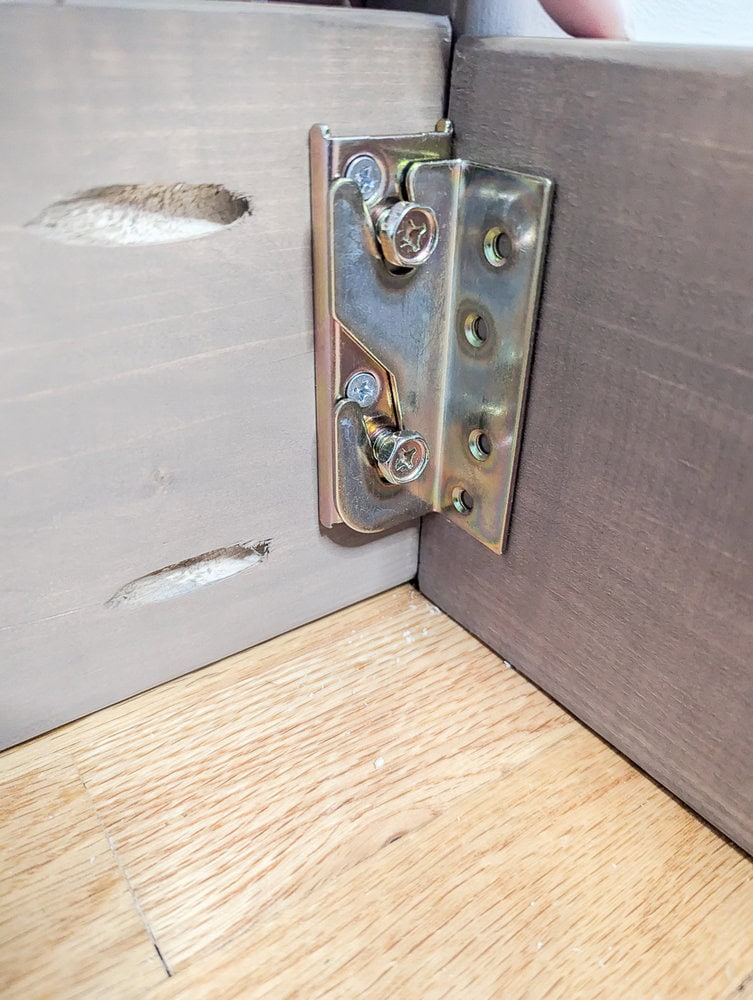
Make sure to line up your boards well as you install these so that the joint will be nice and clean. It is easiest to turn your bed frame upside down to install the brackets – if you do this, remember to also install the hooks upside down so they will be facing the right direction once it is flipped.
Attach the slat supports
Attach a 75″ 2×4 to the inner side of each side rail using wood glue and 2″ wood screws directly into the side rails. These supports should be positioned 1.5″ from the top of the side rails and centered so that there are a few inches of clear space at each end for access to the bed rail brackets.
This will give plenty of room for the slats as well as a little extra space for your mattress so that it stays in place and doesn’t move around.
We’re also adding a center support for added stability. Create the center support by attaching the 8.5″ leg to the center of the 80″ 2×4 using wood glue and pocket screws.
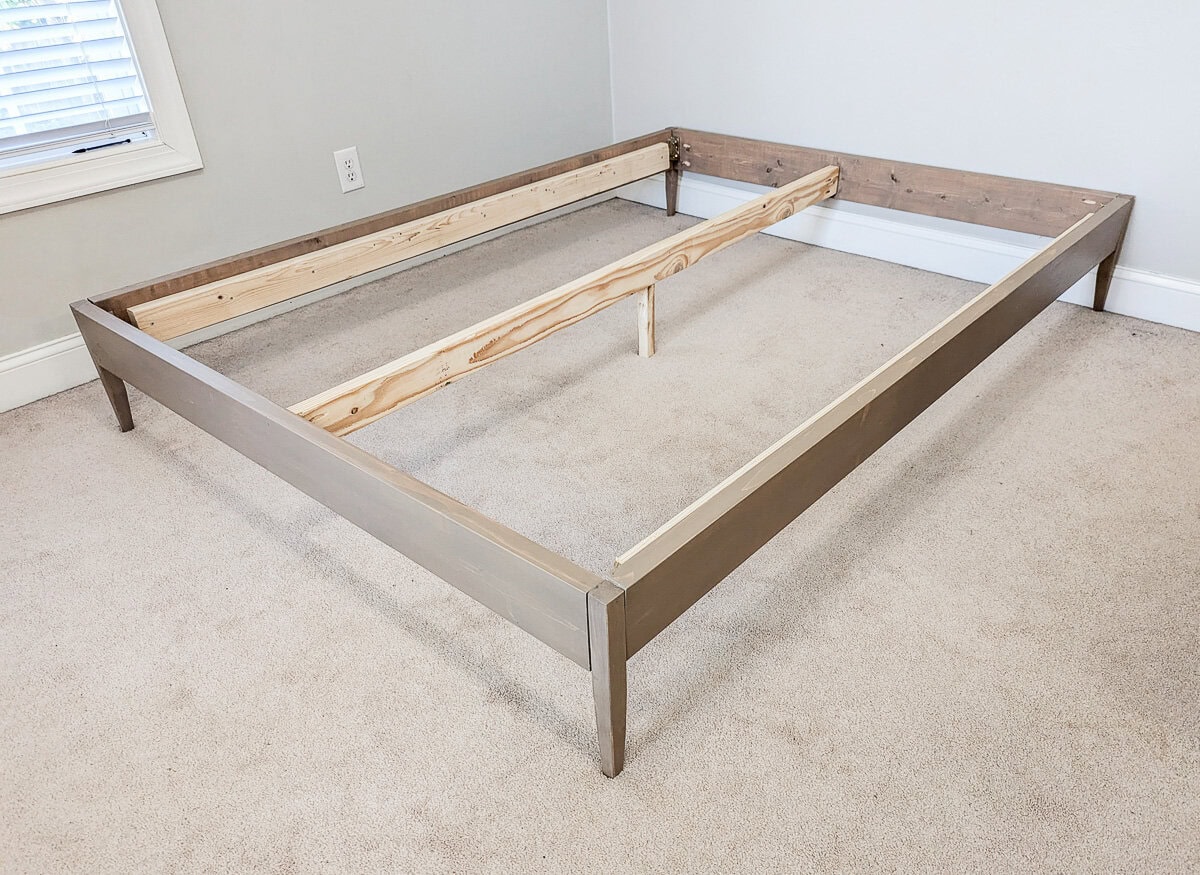
You have two options when it comes to attaching your center slat support to the rest of the bed frame.
- You can use another set of bed rail brackets for super easy assembly and disassembly.
- You can use pocket holes. (If you do use pocket holes, do not use wood glue here so that you can easily remove this in the future if you need to move the bed.)
Add the slats
The final step is to put the slats in place. I recommend using nails or wood screws to hold these in place so they don’t move around when you move your mattress into place.
(Initially, I didn’t attach my slats in any way. I’ve never attached bed slats in the past, but I quickly realized that when you aren’t using a box spring, the slats move around like crazy when you heave the mattress on. Lesson learned.)
When using slats to support a foam mattress, be sure to limit the space between each slat to a few inches. Or if you prefer, you can use plywood to support your bed instead of slats.
Finished bed frame
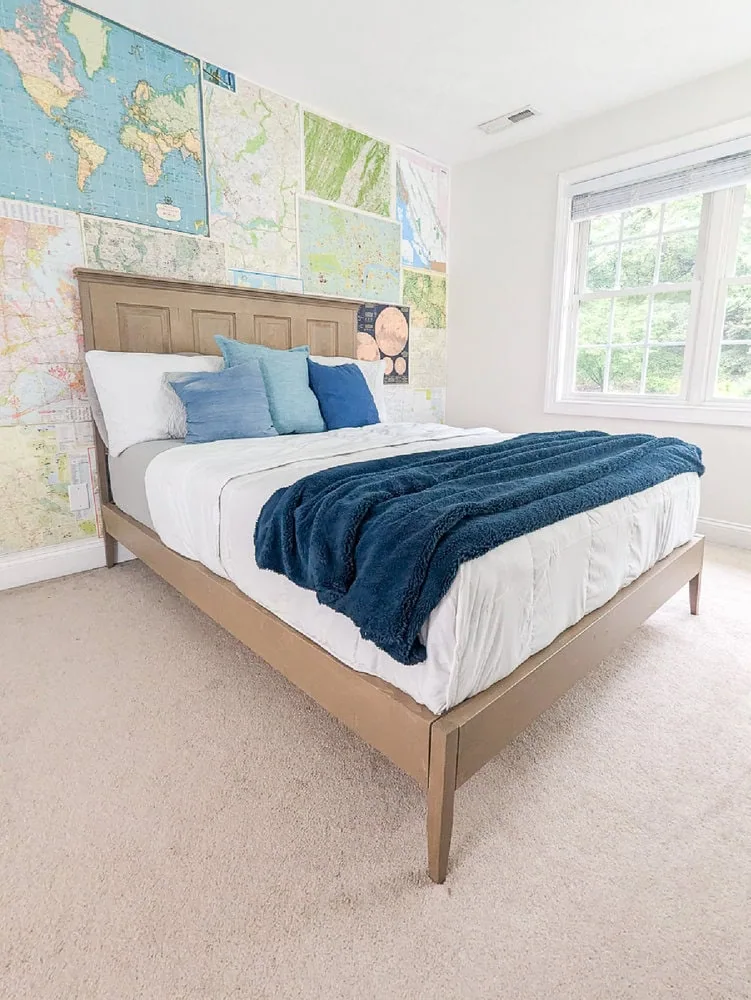
And here’s the finished bed!
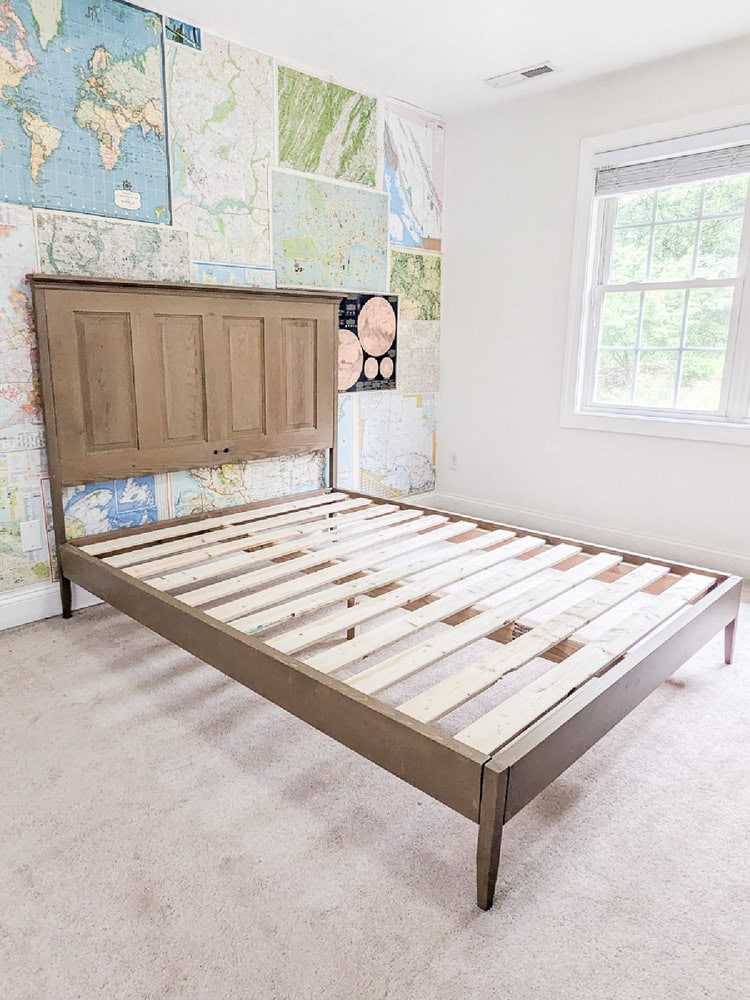
I took pictures of the bed frame alone first, before adding on the headboard I built and moving it into the room where it will be.
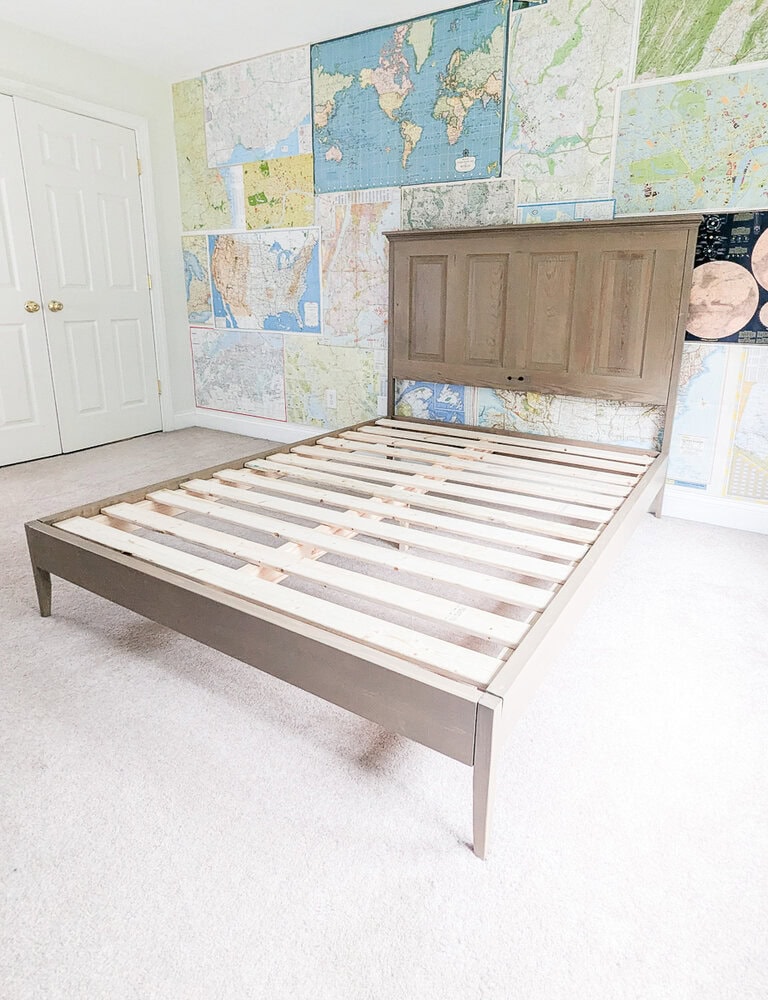
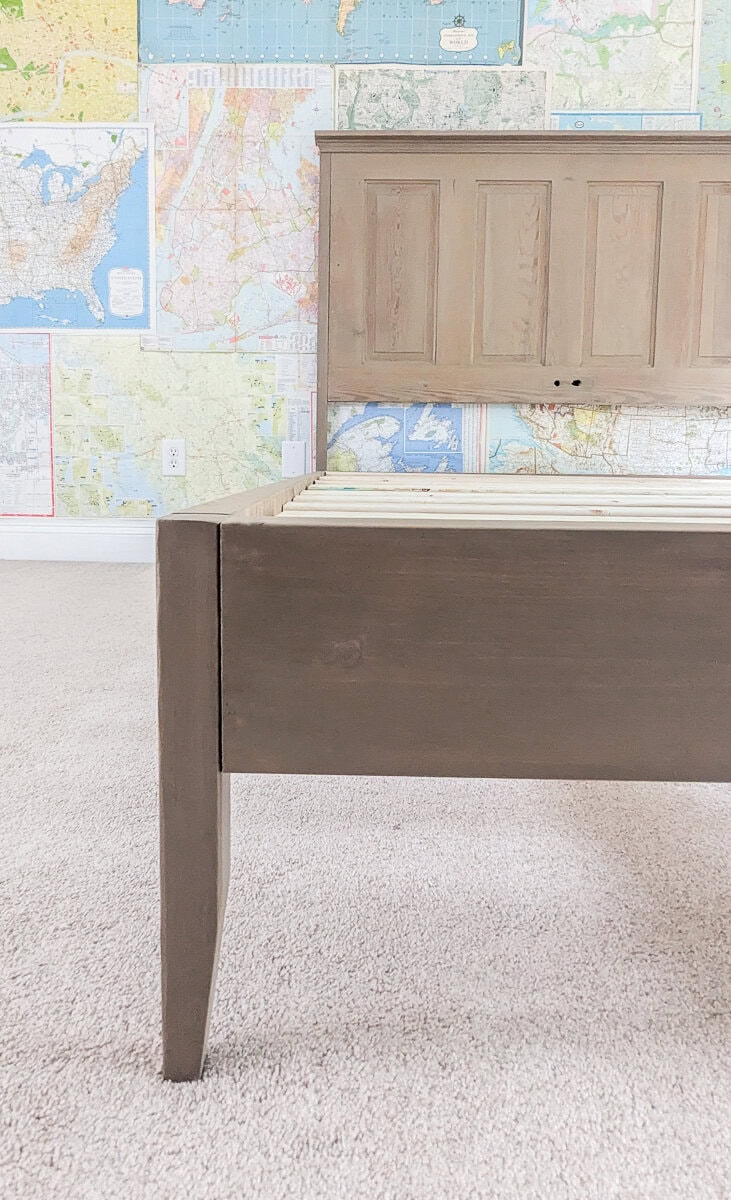
All in all, I absolutely love it. It looks like a high quality piece of furniture and is super sturdy. And it looks really beautiful paired with my upcycled door headboard. Now I can’t wait to get to work on finishing this room!
Video
Want to see this build in action? Just hit play below to watch my Youtube video showing the whole process.
I’d love for you to subscribe to my Youtube channel!
Printable Build Plans
Don’t forget, there are printable build plans available in my shop with cut lists and step-by-step instructions to build this bed frame for a twin, full, queen, king, or California king bed.
Ready for more DIY furniture ideas?
If you are looking for more furniture ideas, I’ve got you covered! Any of the posts linked below are a great place to start.
- How to Build a DIY Daybed for Cheap
- How to Build a Beautiful DIY Bench from 2x4s
- How to Make a Beautiful DIY Wood Headboard (another headboard option made from 1x5s and 1x6s)
I’d love for you to pin this post on Pinterest!
