How to make an inexpensive reusable advent calendar
This simple DIY reusable advent calendar made from inexpensive materials is perfect for refilling and using year to year.
Since having kids of my own, I’ve thought a lot about what Christmas traditions I want to start for our own little family. An advent calendar quickly joined the list. I love the idea of celebrating the special time leading up to Christmas.
Plus, let’s be honest, my 4 year old was driving me crazy constantly asking how many more days until Christmas!
I knew I wanted to make a reusable advent calendar that we could pull out every year. And I always love a good upcycled project!
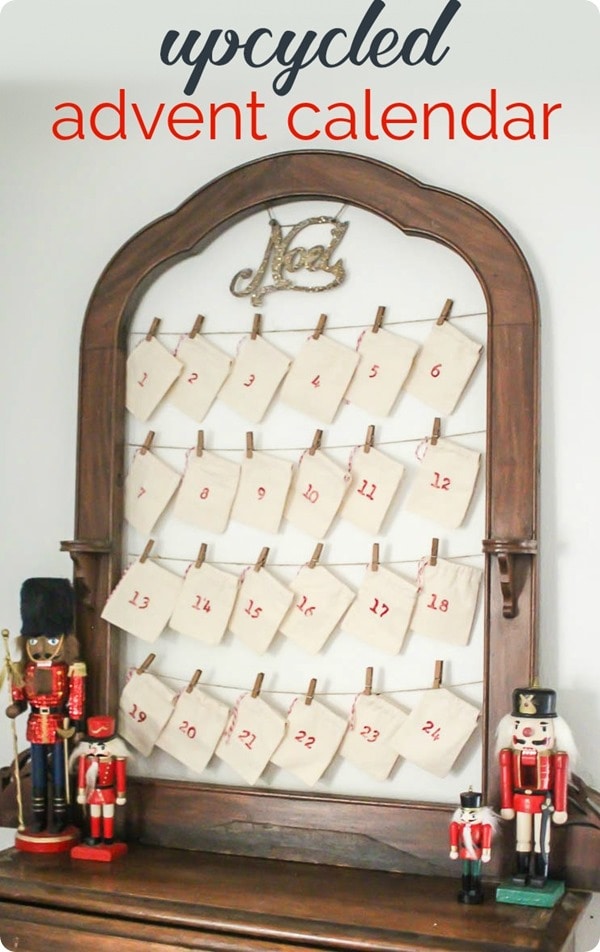
I actually put this cute little advent calendar together last year but it was a last minute project so I didn’t have the chance to share it with you guys.
This reusable advent calendar is really easy to make and it’s a great way to repurpose a cool frame.
This post contains affiliate links which means if you make a purchase after clicking a link I will earn a small commission but it won’t cost you a penny more. Click here to see my full disclosure policy.
Materials
- Wood frame – this is a great project for upcycling a vintage thrifted frame with some fun details, but any frame will do, no glass needed
- twine
- staple gun and staples – for attaching the twine to the frame
- mini clothespins
- 24 small muslin bags – these are 3″x4″ which is the perfect size, they are big enough to hold small treats or toys but small enough that they don’t take up a lot of space
- red and white bakers twine
- number stamps – for adding the countdown numbers to the muslin bags
- red craft paint – it’s easier to use paint when stamping fabric than regular ink
- Christmas ornament to hang at top – this is completely optional but it definitely adds a bit of personality, this one is very similar to the Noel ornament I used
How to Make a Reusable Advent Calendar
Okay, so this is one of those projects that is so simple, writing an actual tutorial seems almost silly.
But there are a few little tricks that might help you.
Also, I realize it probably looks like a long materials list for a budget-friendly project but I already had everything on hand except the muslin bags. And if you are into DIY or crafting, I bet you do too.

This starts with an old frame. Any frame will do.
Mine is an old dresser mirror frame I scored at a yard sale for $1! That’s my kind of deal!
You can find all kinds of great frames at yard sales, thrift stores, and estate sales; it’s one of the things I’m always looking for.
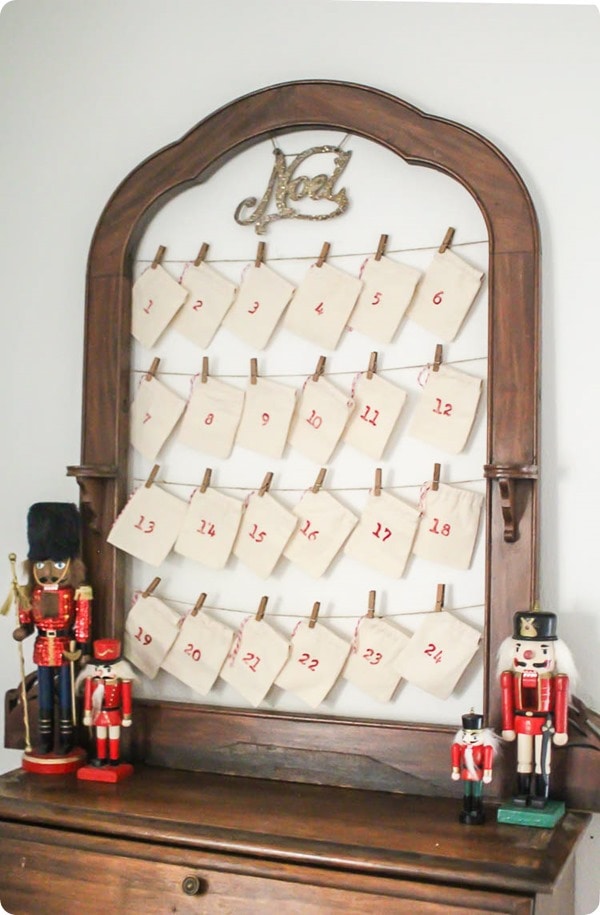
For reference my frame is 2’x 3′, my bags are 3″x 4″, and my twine is strung 6 inches apart.
Of course, you can tweak these measurements to work with your own frame.
For my own frame, I used my jigsaw to cut off the bottom where it used to attach to a dresser, but most frames won’t require that extra step.
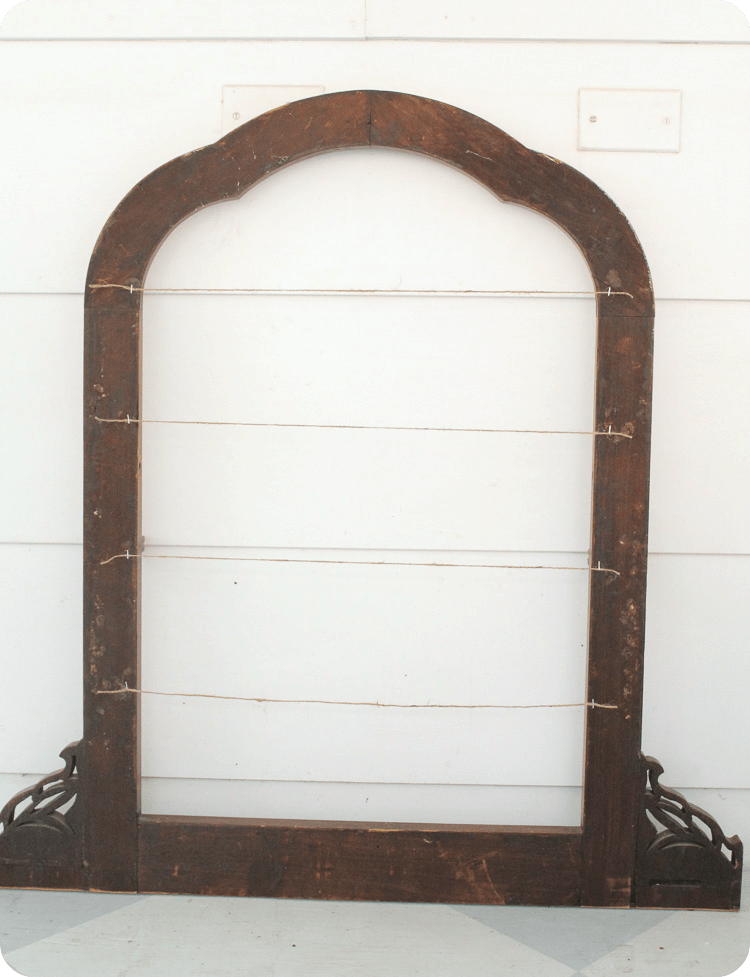
Next, you’re going to add four rows of twine. At first I tried just taping my twine to the back of the frame, but the twine wasn’t very secure. Stapling the twine to the back of the frame with a staple gun worked much better.
Here’s how the back of my frame looked after attaching the twine.
So I’m kind of a stickler for details and I didn’t love the original drawstring that came with my little muslin bags. It was just bit too short and stubby for me so I decided to replace it with cute red and white baker’s twine.
I love the way it looks, but you can totally skip this step if you don’t care. It probably took a total of 5-10 minutes to replace all of the strings.
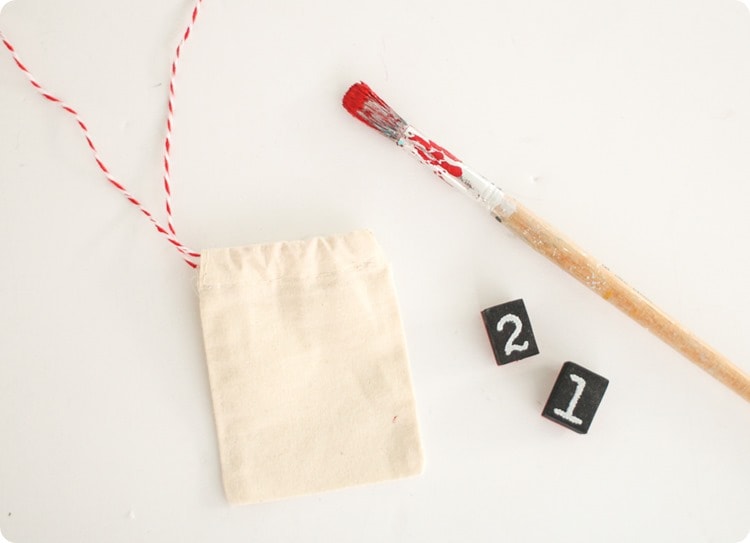
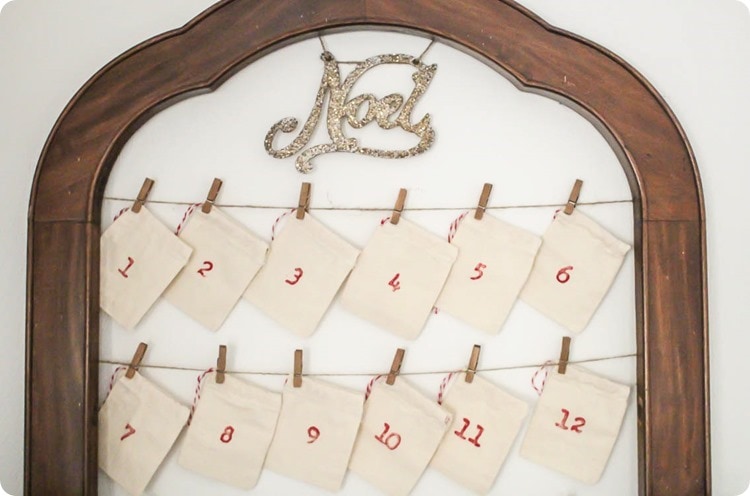
You can decorate the muslin bags however you want, but I chose to simply stamp little numbers in the middle of each bag. You could also add numbered tags instead if you prefer.
I used red paint instead of ink because it tends to work better on fabric. Just use a paintbrush to brush a thin layer of paint onto the stamp and then stamp the bag.
(If you’ve never stamped with paint before, do a few practice runs on a paper towel to get the feel for how much paint you need. If you use too much paint, it can turn out a bit sloppy.)
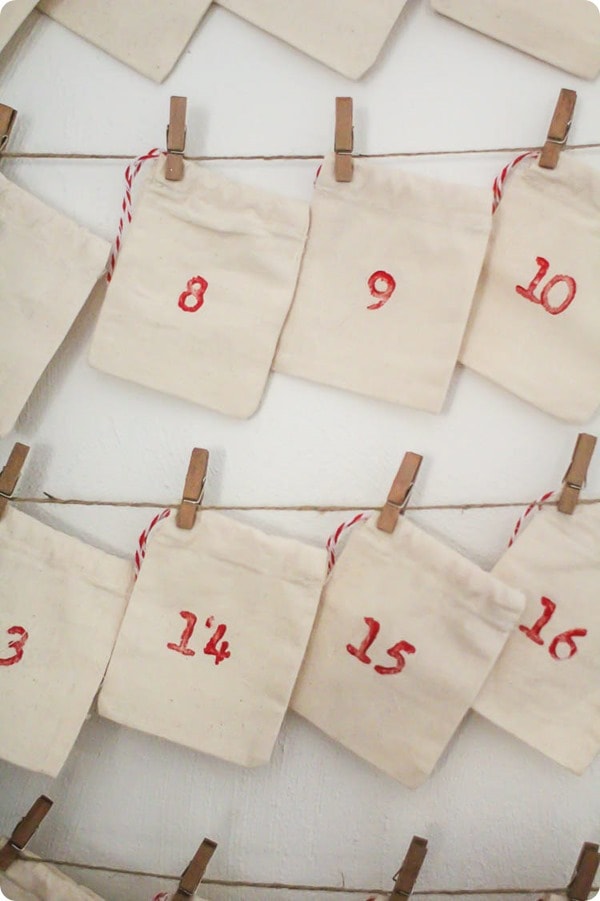
Then use mini clothespins to attach the bags to the twine.
I also used some more twine to add a sparkly Noel ornament to the top of my calendar.
Last year I wrote Christmas activities on little slips of paper. Then I added one activity and a piece of candy to each little bag.
You could put in whatever you want though – small toys, nail polish, cards with Christmas activities. small ornaments, pretty much anything small.
And if you like upcycled, repurposed Christmas decor, I’ve got more fun ideas for you in these posts:


This is so cute! Love the idea of using the little bags to hold each day’s goodies (whatever they may be). And a $1 frame is pretty hard to beat :)
Thanks Erin!