Today is the big day! Bathroom reveal day! I am so excited to share our newly finished vintage modern bathroom. It seriously looks like a completely new space and I am in love!
Let me tell you, it has been a long road getting here – and I most definitely was not sure I was going to get everything finished and put back together on time.
But I just barely made it! This month I joined the $100 Room Challenge hosted by Erin of Lemons, Lavender, and Laundry.
The challenge was to make over one room in our homes in just four weeks, using only $100. Not an easy task!
I chose to tackle our sad hall bathroom for the challenge. We actually did 90% of a pretty major renovation on our bathroom last year, but somehow I never got around to finishing off that last 10%.
I thought this challenge sounded like just the kick in the pants I needed – and I was so right.
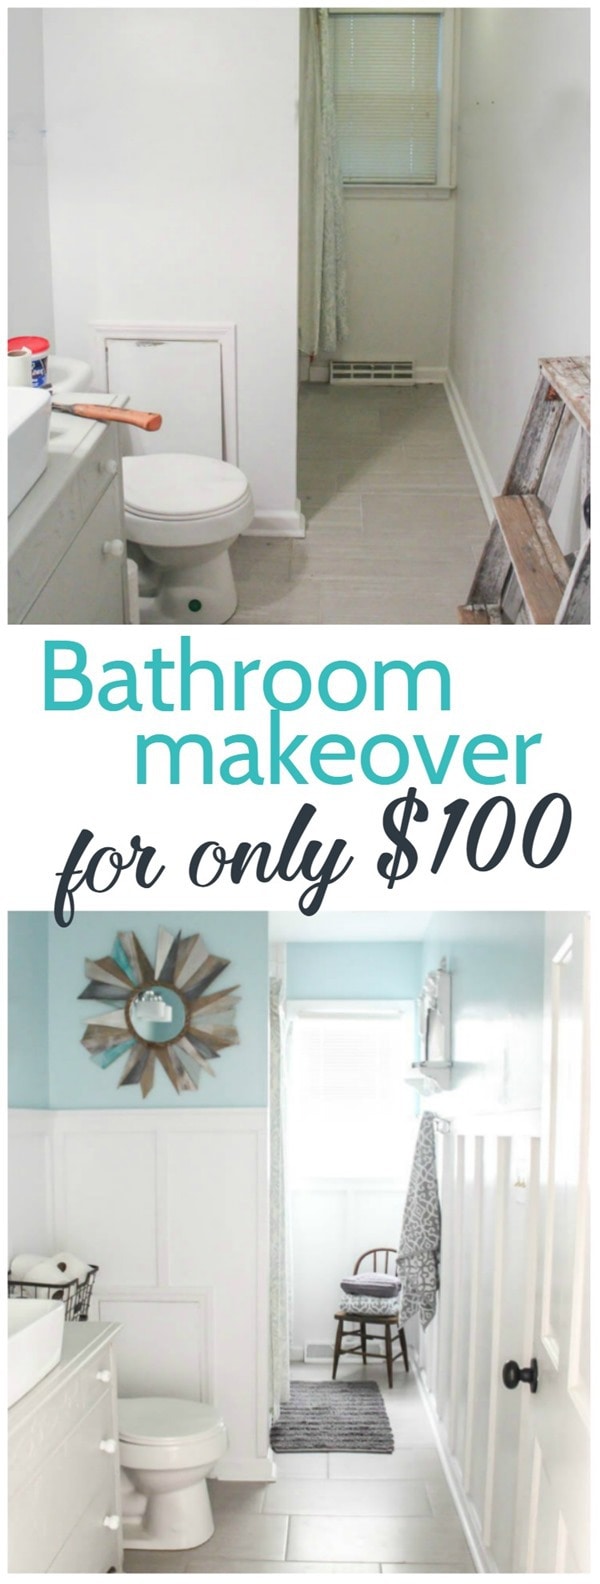
This is where our bathroom renovation began almost a year ago.
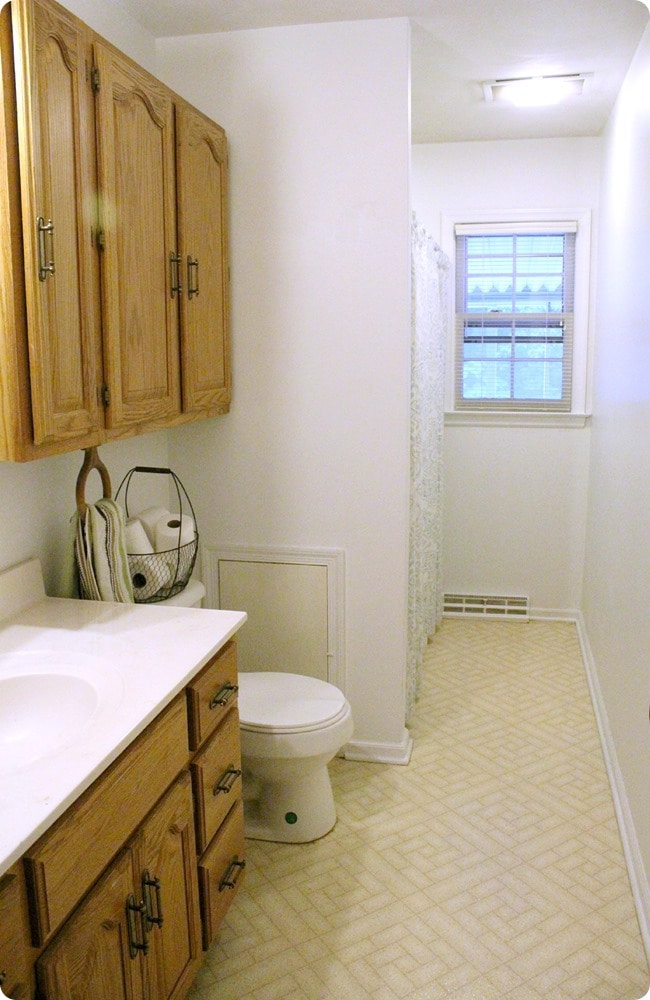
It was terribly outdated, but even worse, we had major plumbing problems and water damage.
We hired contractors to redo all of the plumbing and replace everything that was rotten. And then it was my turn.
I spent the next few months transforming an old dresser into our new vanity, tiling the shower, installing all of the faucets, installing new lighting, and painting the walls.
And then I completely ran out of steam. It certainly looked much better than before, but it was so bland and boring.
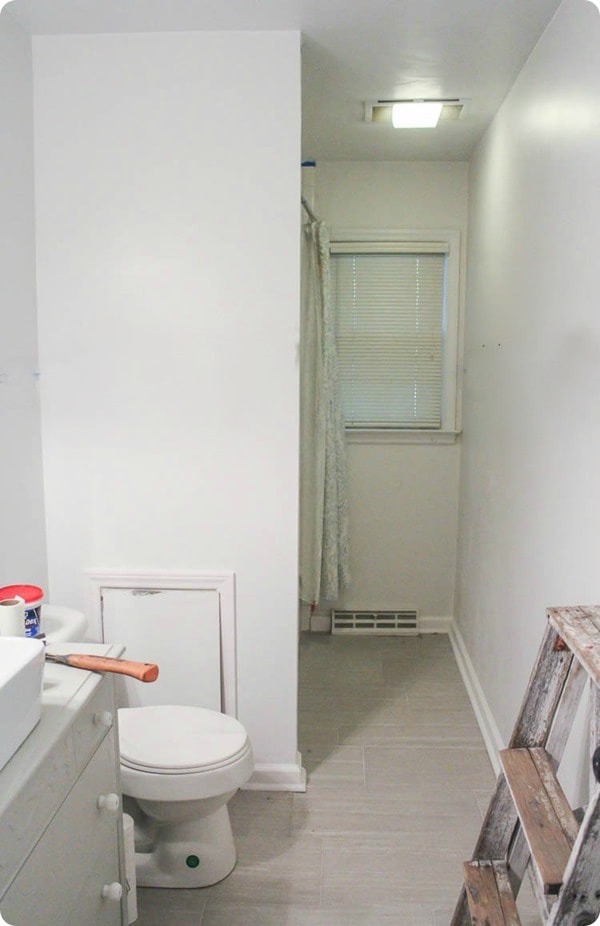
Which brings us to this month and the $100 challenge. My mission: add some personality and interest to the most boring bathroom on earth.
The vintage dresser vanity was already awesome – but it was drowning in a sea of blah.
So how did it go? Well, first and most importantly, mission accomplished! The bathroom is finished and under budget.
Woo-hoo! To be honest, I had a much harder time finishing up in just 4 weeks than I did sticking to the tiny budget.
Ok, ready to see it!
This post contains affiliate links; see my full disclosure here.
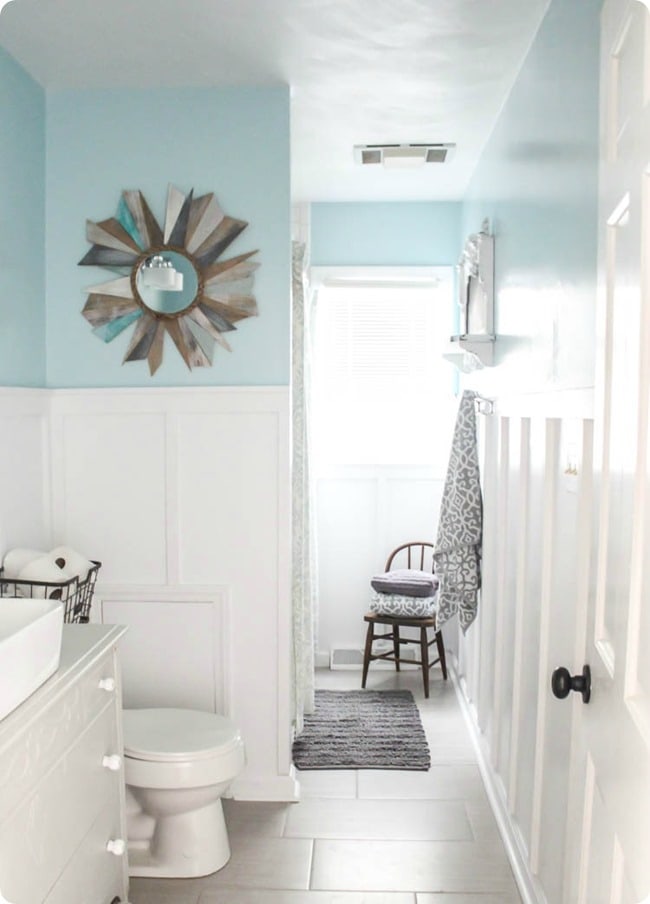
Such a huge difference! I have a full list of sources and tutorials for the whole shebang, start to finish right here.
But for today, I wanted to mainly focus on what I did during the $100 Room Challenge. And of course, share the final budget!
As I said for this challenge, it was all about adding personality, color, and texture. And of course, doing it for cheap.
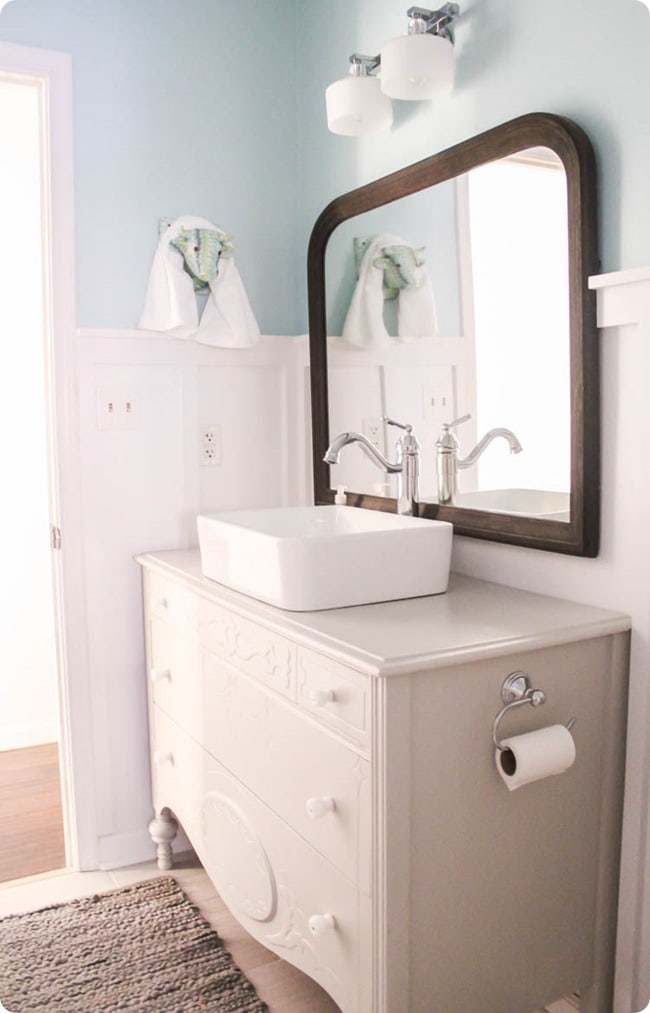
By far the biggest and best thing I did was add board and batten to the walls. It keeps the room nice and bright without being bland and adds some much needed texture.
I thought about only adding board and batten to the one long wall, but in the end I decided to go all in and do all four walls.
I am so glad that’s the decision I made.
The whole room looks more finished, more classy, and more pulled together now.
Installing the board and batten, caulking, and painting took up about 95% of the four weeks I had for this challenge.
You can only imagine how happy I was when it was finally finished!
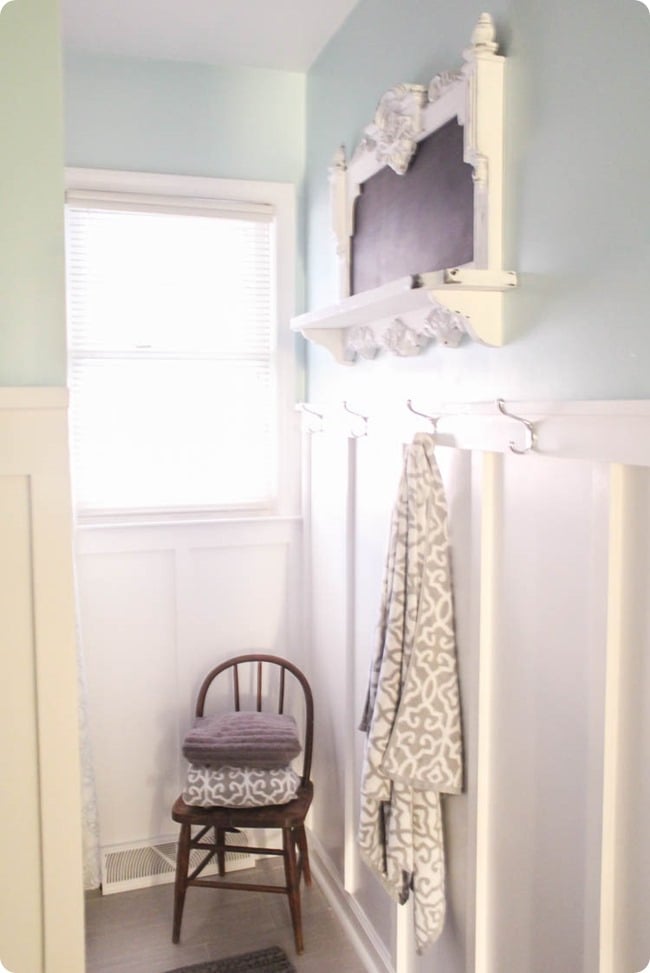
I also added some much-needed functionality. When we tackled the big reno last year, we sadly lost steam before adding a few essentials.
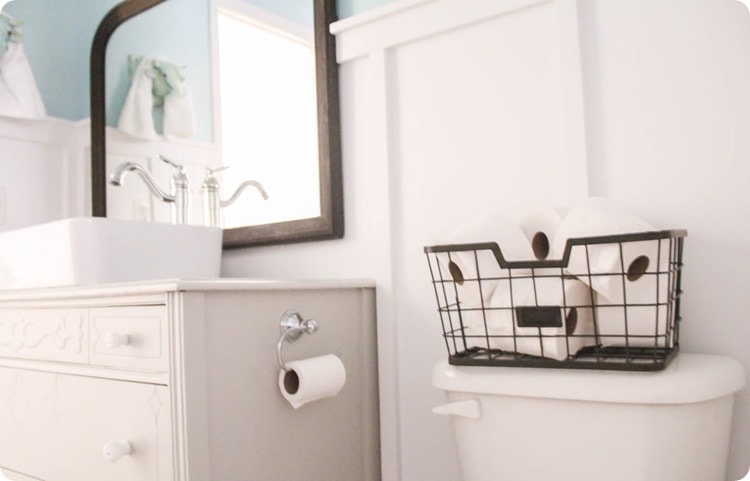
Now we have a toilet paper holder, towel hooks, and a very special hand towel holder.
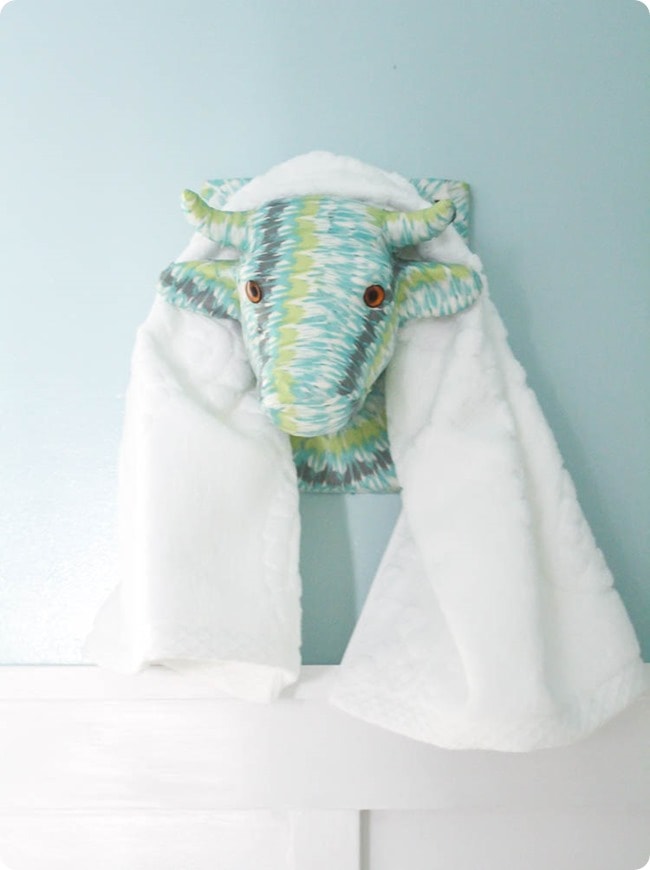
I actually ordered a perfectly nice chrome hand towel ring that coordinated with the other fixtures in the room.
But when it arrived, I realized it didn’t really fit anywhere next to the sink.
The way the board and batten broke up the wall made any potential towel holder spots look super awkward.
So I went with plan b. This cute little cow head was an upcycle I did last year.
I mean, I did say I wanted to add personality right?!)
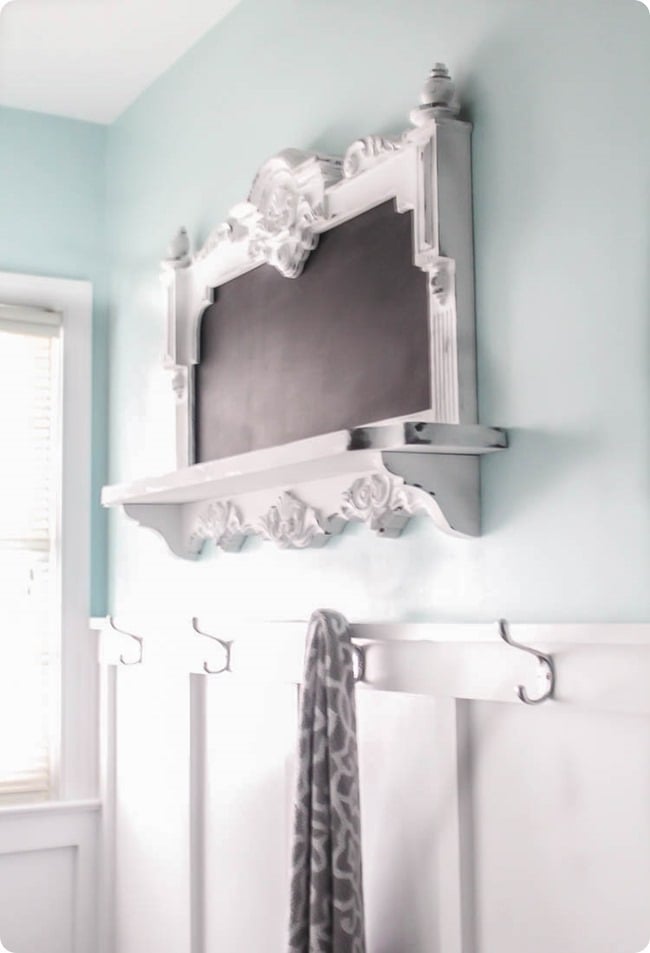
And I pulled out some things we already had to finish things off. I made the framed chalkboard from a sad, old frame that was hanging out in the basement awaiting a makeover.
We already had the little chair, the metal basket, the bath mats, and shower curtain and the towels were a Christmas gift.
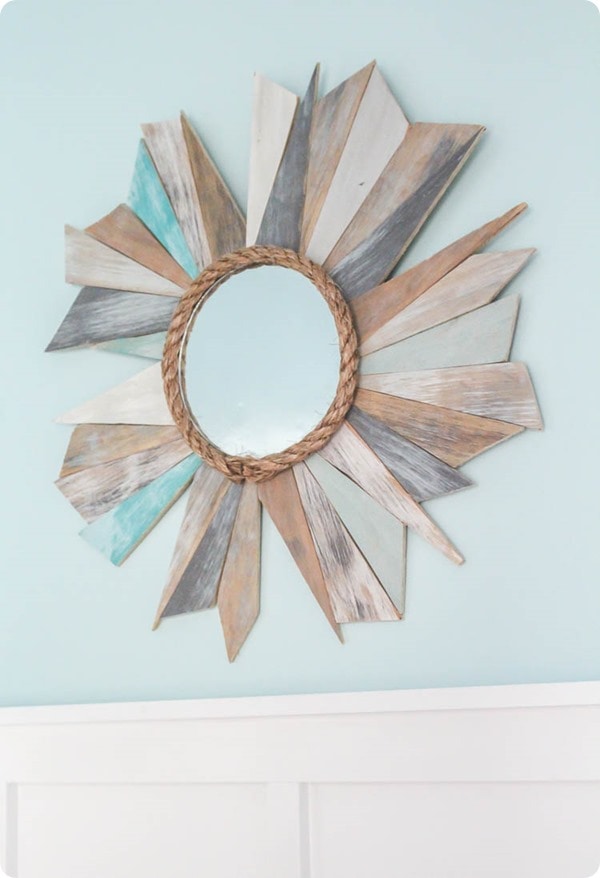
And I made the sunburst mirror from scrap wood last year.
$100 Challenge Budget
- paint – $0 (I actually chose and bought my paint months ago, I just needed some extra motivation to get it on the walls. Thank goodness for this challenge!)
- wood for board and batten – $37 (I was able to use some wood I already had on hand. If I’d needed to buy all of the wood necessary, the total would have been $74)
- caulk and wood filler – $10
- tools, nails, sandpaper – $0 (I already had these).
- towel hooks – $12
- tp holder – $15
- 2 new hand towels – $12
- mirror, chalkboard, cow head, bath mats, towels, metal basket – $0 (already owned)
Grand total: $86
Woo-hoo! Best of all, I can finally declare this room done, finished, finito.
Ok, I still have a bit of tweaking to do – I want to add some chalk art to that chalkboard and maybe add a few candles to the little attached shelf.
But that’s small potatoes. As far as I’m concerned, this bathroom is officially checked off the to-do list!
Check out all the posts related to the very long bathroom renovation below:
- How to turn a dresser into a bathroom vanity: what you really need to know
- Working with contractors: A semi DIY bathroom renovation
- Cheap and Easy Board and Batten
- The cheapest bathroom mirror ever
- Installing tile: smart tips for beginners
And don’t forget to check out the rest of the bathroom sources as well as the total budget for the whole renovation start to finish.
Because really, the entire thing was done on a pretty incredible budget – not $100, but still super cheap!
And of course, you have got to check out the rest of the $100 room makeovers everyone put together for the challenge.
I am so impressed with these rooms! It’s a little unbelievable what can be done for only $100!

Patti says
Oh it’s soooo pretty. I love a bright blue with white in bath. It’s so fresh and clean looking. That modern sink with the dresser is so cool and your accessories, like that beautiful mirror are just the right touch.
Carrie says
Thanks so much Patti!
Deborah says
Wow!!! It looks incredible!!!!
Carrie says
Thanks Deborah!
Monica Benavidez says
It looks like a whole new space- that paint color is SO perfect, Carrie!
Carrie says
Thank you Monica! I love it!
Cassie Bustamante says
looks beautiful, carrie! soft and pretty. also, congrats!
Carrie says
Thanks so much Cassie!
Brittany Goldwyn says
Holy crap Carrie, what a transformation! This is so your style, too! Remember when I told you that I felt like your whole house matched? Yup, add another room to that!!
Carrie says
Thanks Brittany! I love this room – although my husband said it makes the rest of our house look bad in comparison!
Tracy says
It’s so pretty! The chalkboard is awesome and how fun is that cow head? What a big transformation!
Carrie says
Thank you Tracy!
Angie @ Postcards from the Ridge says
It looks amazing! I love the board and batten and that mirror is so fun. And the vanity is gorgeous!
Carrie says
Thank you Angie! The details really make all the difference!
sara s syrett says
What a great transformation! Love the cow head! The wall treatment is wonderful and the color is perfect!
Carrie says
Thank you Sara!
Becca says
I love the cow head! So fun and unexpected and absolutely perfect! It totally makes your bathroom stand out.
Carrie says
Thank you Becca!
Erin @ Lemons, Lavender, & Laundry says
Oh. My. Goodness! This looks incredible!!! Isn’t it funny how that last 10% is so hard to get done? The board and batten looks amazing and adds great texture and brightness to the space, and that cow head towel holder seriously made me smile. Absolutely gorgeous!
Carrie says
Thank you Erin! And thank you so much for hosting this challenge – it definitely got me moving on this room!
ashley@biggerthanthethreeofus says
Drastic transformation girl! Congrats on finishing it this time around.
Carrie says
Thank you Ashley! I definitely feel more confident now that I actually finished a challenge.
Zografia | Bisozozo says
Yes, your bathroom has an interesting personality now! Great work. That little cow is gorgeous!
Carrie says
Thank you Zografia! I love the cow head too!
Maureen says
What a transformation! It is so bright and cheerful. I love that sunburst mirror too!
Carrie says
Thank you Maureen!
Eliesa @ Pinterest Addict says
That board and batton is fabulous! I can’t wait to check out how you did it, because we are going to be doing ours in the dining room and I have no idea where to start! I love the cow towel hanger – the perfect amount of fun! Great job!
Carrie says
Thanks Eliesa! The board and batten was not hard, but it was time consuming. I love how it looks though – so worth it!
Colleen says
I am stunned and amazed that you did all of that for under $100. Everything, every detail is beautiful! Love the wall color, and I LOVe the accent mirror!
Carrie says
Thank you Colleen! I’m not usually a fast DIYer, but I am really good at saving money!
Amy | Stow and TellU says
Stunning!! And I never would have guessed the cow head, sunburst mirror or chalkboard piece were diy. Love your style, love this makeover!!
Carrie says
Thanks Amy! I love a good DIY project that looks good enough to not be DIY. Haha.
Maria Brittis says
Love the chalk board. It has such a warm feel to it. Very Spa Like. Love the color, it so soothing.
Maria
Carrie says
Thanks Maria!
Kathryn Baugher says
Yay! It’s so cute! I really like the warmth of the wood tones and chalk board with the fresh, crisp palette. It just makes me smile. :)
Carrie says
Thanks Kathryn! I think that should be the goal of any house project – to make people smile!
Kim says
Fantastic job! All of your finishes make this one of my favorite rooms for the challenge! Bravo!
Carrie says
Thank you so much Kim! I am so happy with how it all came together in the end!
Kristen & Vicki says
It is so beautiful Carrie! The board and batten is gorgeous of course, but the bright color on top really changes it up. And such pretty decor! Love the chalkboard!!
Carrie says
Thank you so much! I am so happy with how it all came together!
Lisa | Shine Your Light says
Carrie your bathroom came out beautifully! I love the color palette, and your vanity is gorgeous. I am about to do board and batten in a bathroom but I’m not looking forward to figuring out the whole behind-the-toilet issue with the boards. Was that a pain to work around?
Carrie says
Thank you Lisa! I thought it would be really tough, but it didn’t end up being too bad. I only had to do one vertical board behind the toilet and I didn’t have a problem just sliding it behind the tank. I painted the boards before installing them and just didn’t worry about caulking or doing touch ups where the toilet covered.
Jillian says
Your bathroom looks fantastic! I love all the final touches and the personality it gained by adding them. Amazing.
Carrie says
Thanks Jillian! Those last few touches really made a huge difference. I need to remember this next time I am tempted to quit on a room makeover when it is only 90% finished!
Erin says
This is an absolutely gorgeous transformation! I love everything that you’ve done. It is all so pretty!
Carrie says
Thank you so much Erin!
Natalie says
I totally hear you on the board and batten! I added it to our mudroom earlier this year and it took FOREVER!!! It does look amazing, though! Your whole room is fantastic, but the cow head is my absolute favorite! So much personality!
Carrie says
Thank you Natalie! I really like that cow head too. I’ve had it awhile and my husband kept saying it deserved to be on the wall somewhere – I finally found the perfect spot!
Terri says
This looks fantastic! What ablut the floor?? It is clearly not what you started with. What did you use, did you do it, and what was the cost??
Thank you so much,
Terri
Carrie says
Thanks! We did the floor before starting the $100 room challenge. We actually paid someone to install new tile but I wish I had done it myself. I tiled the shower myself and it still looks beautiful a couple years later, while the floor grout is breaking and chipping all over. The floor tile we used is from Lowes. It was only $2 per square foot and looks beautiful. Here is a link: https://www.lowes.com/pd/Style-Selections-Leonia-Silver-12-in-x-24-in-Porcelain-Floor-and-Wall-Tile-Common-12-in-x-24-in-Actual-11-75-in-x-23-75-in/4616440