Easy DIY Side Table Made From Something Unexpected
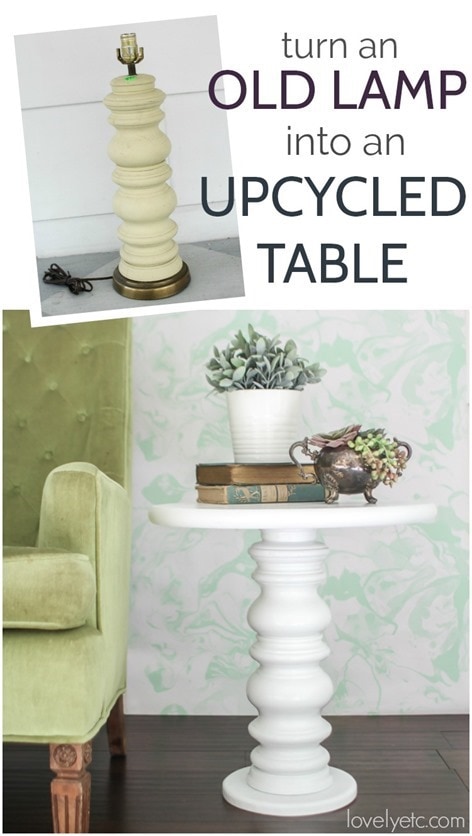
See how to turn an outdated thrift store lamp into a beautiful DIY side table with this simple tutorial.
The DIY side table in baby Lincoln’s nursery was such a fun, easy project.
I knew from the beginning that I wanted to find a new table for the room, but I didn’t want to spend the money to buy a cute new table.
Isn’t that how it always goes – we want new stuff but we don’t want to have to pay for new stuff? Or is that just me?
I tried to figure out a way to make something we already had work but nothing was right, so I started brainstorming how to make an inexpensive DIY round table.
I knew a round table would work best in the space – I just had to figure out how to make it happen for cheap!
This little DIY side table could easily be made using all new materials, but buying a new turned table base would be pretty expensive so I went a different route.
I headed to one of my favorite thrift stores and headed right to the lamp section.
Lamps are super expensive new, but thrift stores seem to always be full of large, curvy lamps.
Yes, they are usually ugly and outdated but that’s nothing a little paint can’t fix.
And boy did I hit the lamp jackpot!

I think any of those four lamps in the front would have made fabulous table bases, but I had to go with the yellowish wooden lamp on the right.
It honestly looked like it was meant to be a table all along rather than a lamp.
Even better, nobody else saw the potential in that overly chunky lamp and it was marked 75% off, bringing the price to a whopping $1.25.
Now that is definitely in the budget!
Okay, so what if you don’t have quite such good luck finding the perfect lamp base?
There are other great possibilities for making a cute little pedestal table like this one. I made a similar table a few years ago using the base from an old bird bath.
You could also use the turned leg from a broken chair or table. Once you find a pedestal base you like, putting this little table together is a cinch.
This post contains affiliate links which means if you make a purchase after clicking a link I will earn a small commission but it won’t cost you a penny more. Click here to see my full disclosure policy
Materials for Upcycled DIY Side Table
- old lamp or other pedestal base
- 18″ premade round table top (I linked to Amazon if you want to buy without leaving home, but these are much cheaper at Lowes)
- Plywood scrap for base`
- Jigsaw
- Palm sander and sanding paper
- Primer -I used Zinsser Bulls Eye Primer
- Paint – I used white furniture paint, General Finishes Milk Paint in Snow White would work well.
- Small paint roller with foam roller cover
- Paintbrush
- Wood glue
How to make an Upcycled DIY Side Table
So this is the lamp I was working with.
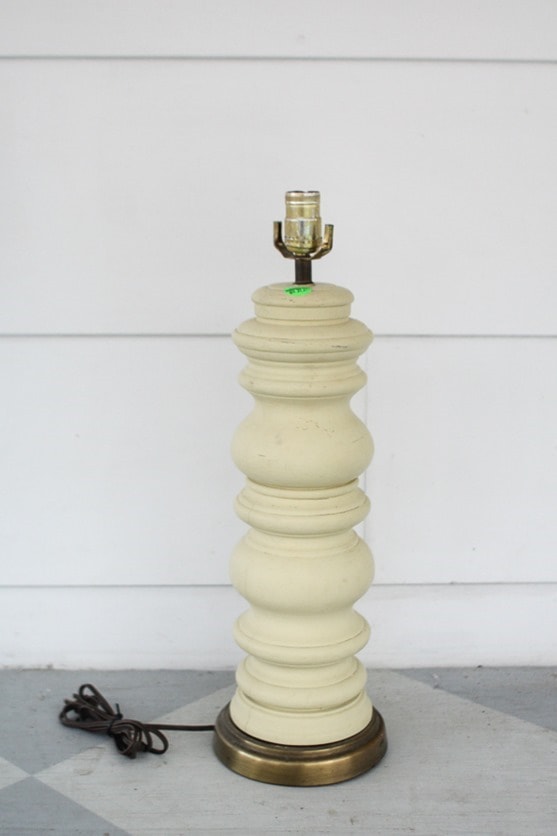
The first step was taking out the actual lamp parts. This was really easy. I snipped off the plug and removed the felt at the base of the lamp.
Hopefully, it goes without saying to make sure the lamp is unplugged before beginning this.
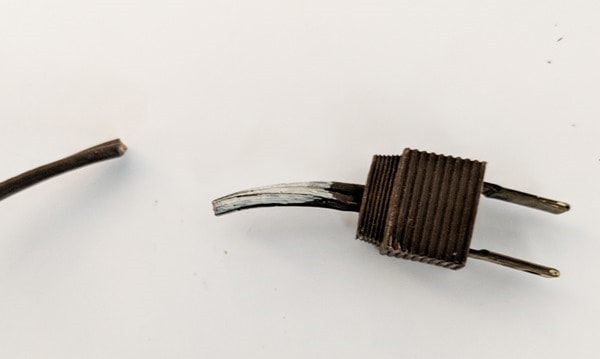
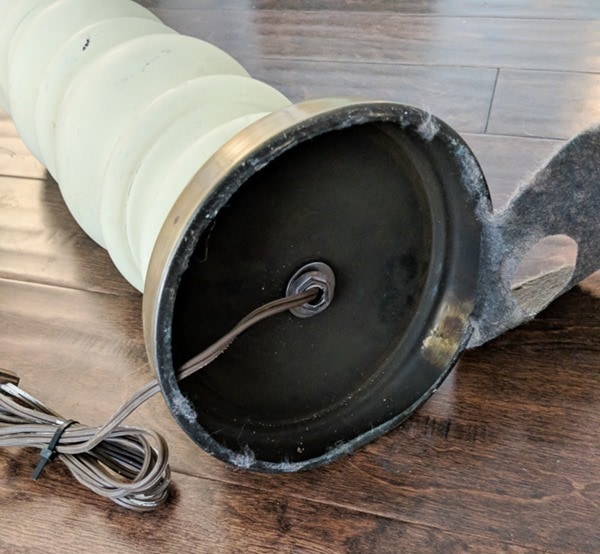
Then I loosened the nut at the bottom of the lamp and was able to pull the socket and wiring right out of the top of the lamp.
Different lamps may work slightly differently, but most lamps are put together this way.
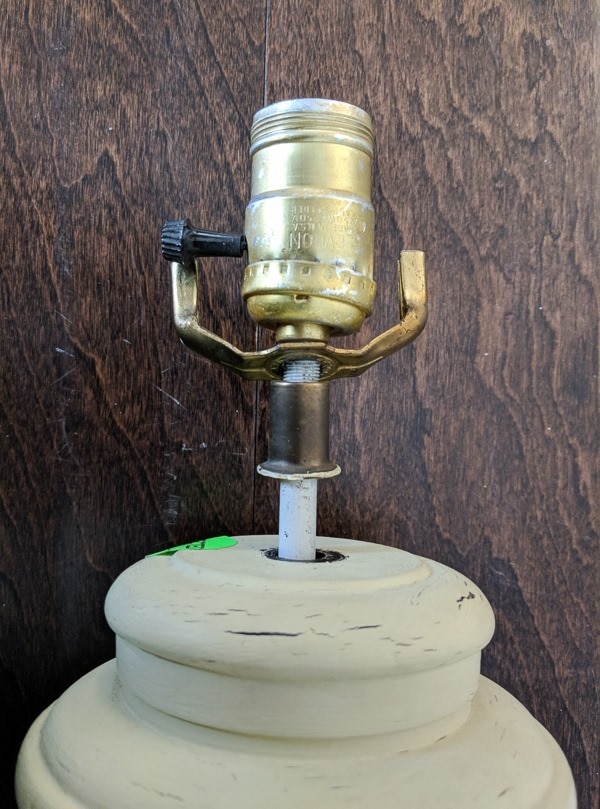
I was left with an empty shell.
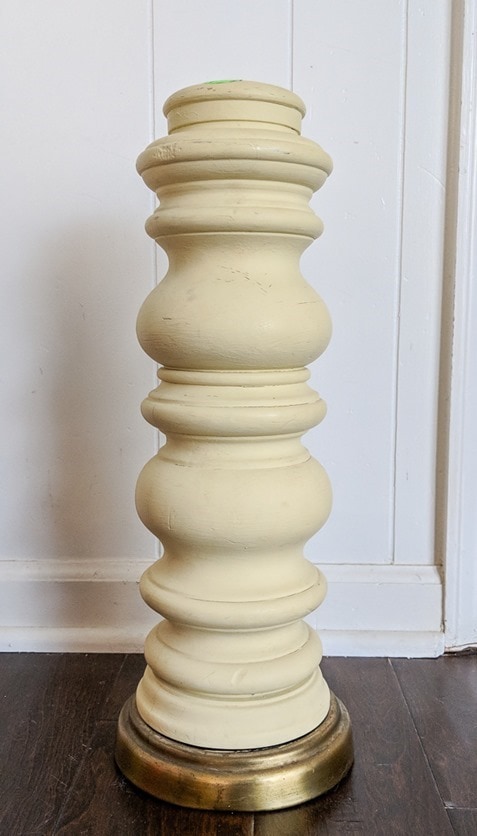
For the tabletop, I bought a premade round tabletop from Lowes. These are available in a few different sizes and they come with a nice rounded edge.
The price is only a couple of dollars more than buying good plywood to make your own top and it saves a lot of work.
I did cut my own base from a piece of scrap wood though. Originally, I really wanted to incorporate that brass lamp base into the final table, but to keep things balanced and stable, the base really needed to be wider.
So I traced a circle onto a small scrap of 1-inch plywood.
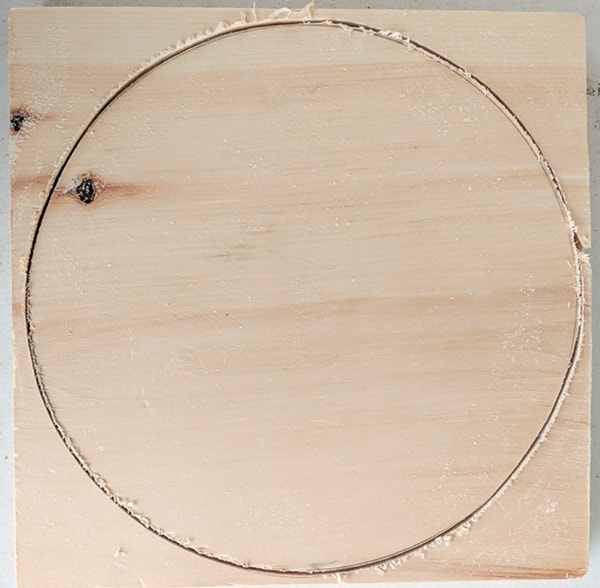
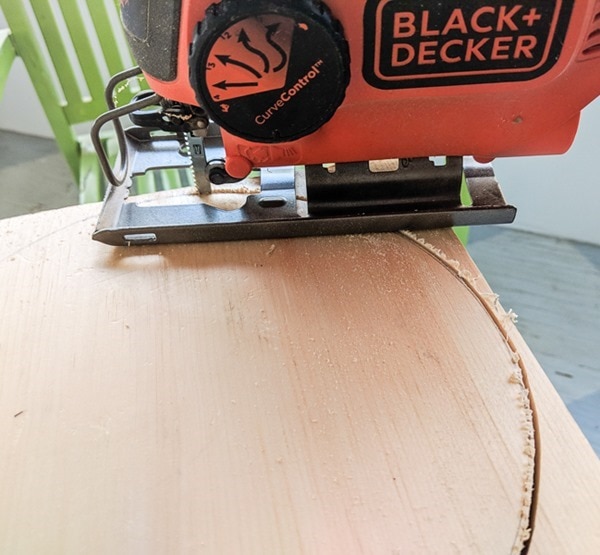
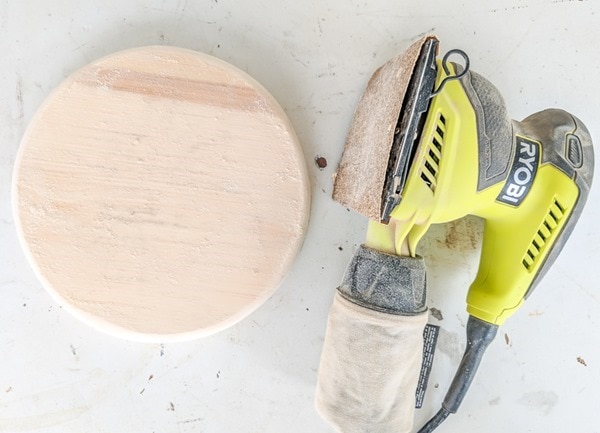
I cut it out using my jigsaw and then used a palm sander to smooth the cut edges and round them to match the tabletop.
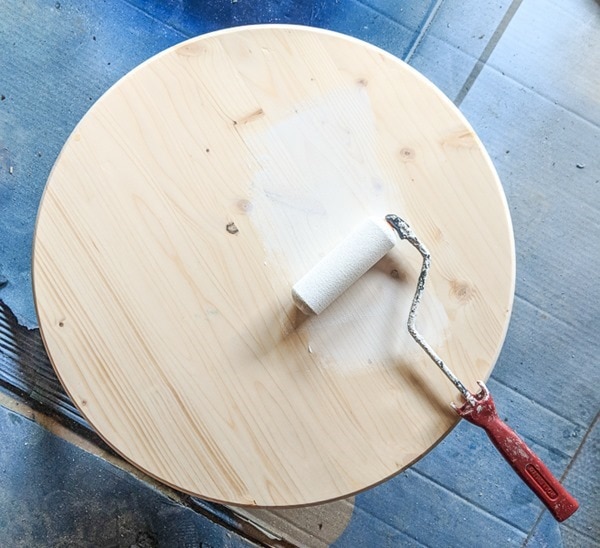
Time for paint! I wanted this table to have a smooth, glossy finish. (That’s right, no distressing!)
I used a furniture paint that I had never tried before, Valspar Project Perfect Latex Enamel in gloss white, mainly because it was available locally and I was ready to get this project finished.
I was really happy with how it worked but I have heard this paint has just been discontinued, boo!
Another option for a great glossy finish would be to use your favorite furniture paint followed by a glossy top coat.
I started by priming everything with Zinsser water-based primer. I used a roller to do the table top and base and a brush for the curvy pedestal.
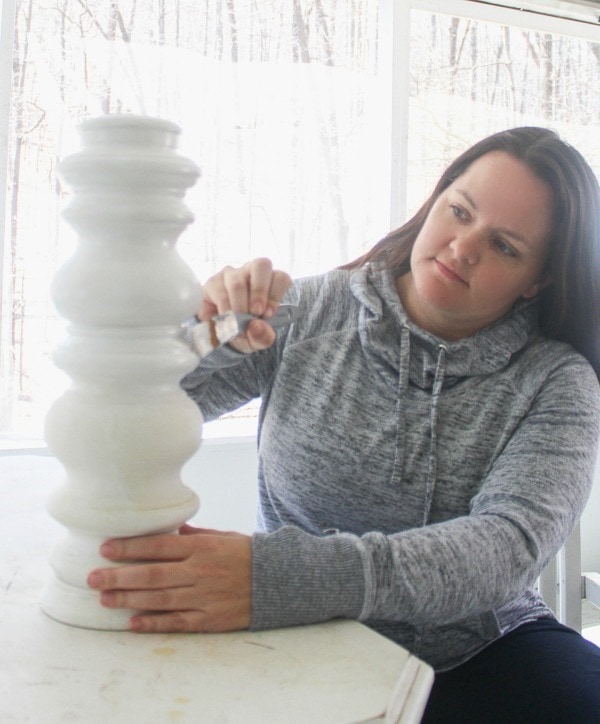
This paint is supposed to dry to a hard finish so I skipped the top coat to see how it would hold up. It’s only been a few weeks, but so far so good, no chips or dings. (Which is saying a lot in a house with 3 small boys.)
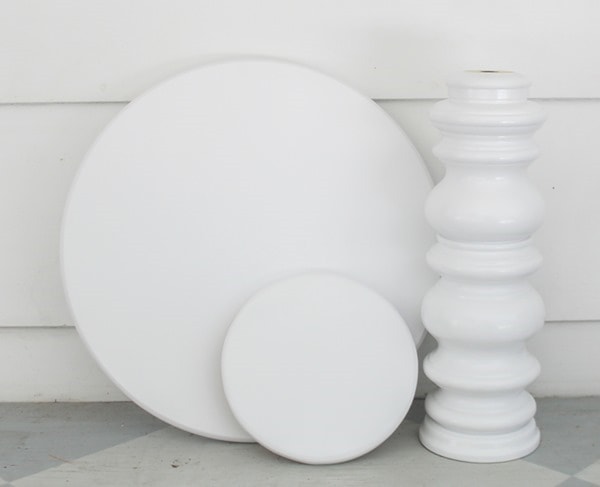
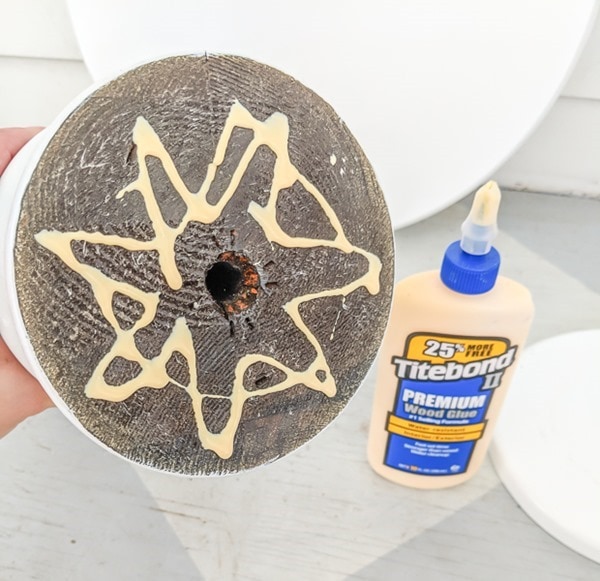
After painting, I used wood glue to attach the base, pedestal, and top together.
Once the glue was dry, my lamp was officially a table!
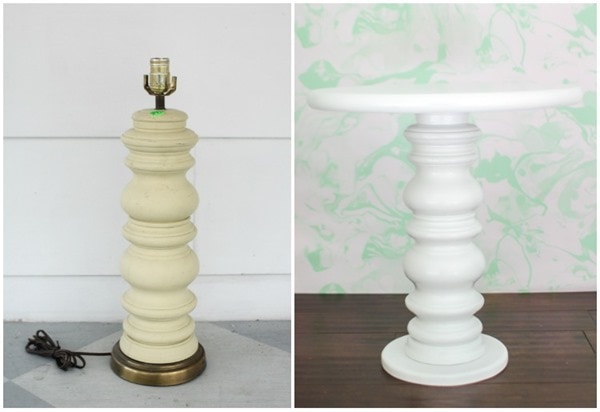
You can see this cute little pedestal table in the nursery reveal right here, but I snapped a few pictures to show off her curves in a grown-up space as well.
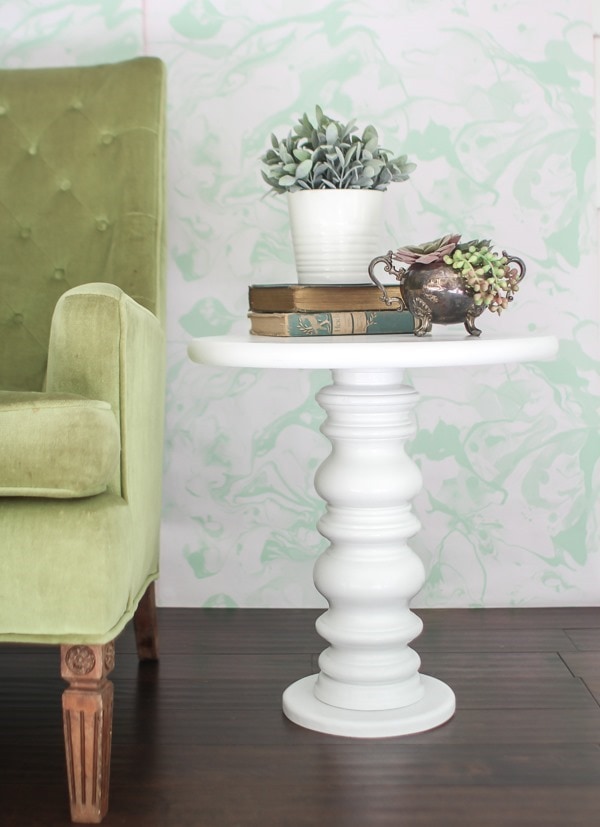
Whenever this little cutie isn’t needed in the nursery anymore, I’ve already got a few other spaces in mind for her!
Like this project? I’d love for you to Pin it!
Love a good upcycled/repurposed project? You can check out my other top upcycled projects right here.


Amazing! I was expecting a new lamp.
Thanks Kathie! I think it could have been a great lamp with a bit of a makeover – but it’s an even better table!
did you use a router on the table edge? if not, how did you get it smooth & symetrical?
The top of the table I bought already put together and sanded. The base that I cut out, I just used a palm sander to smooth and round the edge and it worked well. I don’t have a router yet – maybe one day!
Carrie, you’re a genius.
Ah, thanks Charlotte!
This is fabulous and what I like to call #trashure. Bravo!!
Thanks Larissa! And I love the term trashure – I can definitely get behind that!
Wow, I am speechless…WELL DONE!!!
Thank you Yvonne!
How did you attach the top to the lamp securely?
I used wood glue. That may not sound like enough, but as long as you let it dry appropriately wood glue is very strong and is used in a lot of furniture building. So far so good! You could also hammer into the base through the top and then fill the holes but I really didn’t want to have to do that!