Stunning Secretary Desk Makeover with Bold Paint and Wallpaper
I’m sharing all the details of how I completely updated a vintage secretary desk with a slightly updated shape plus bold paint and beautiful wallpaper.
I’ve had this old secretary desk for several years and it has definitely seen better days. There’s the normal wear and tear you would expect from decades of use. But there are also certain small details that just really make the whole thing feel dated: that scalloped trim along the bottom, the wood buttons on the sides, and that prominent wood grain.
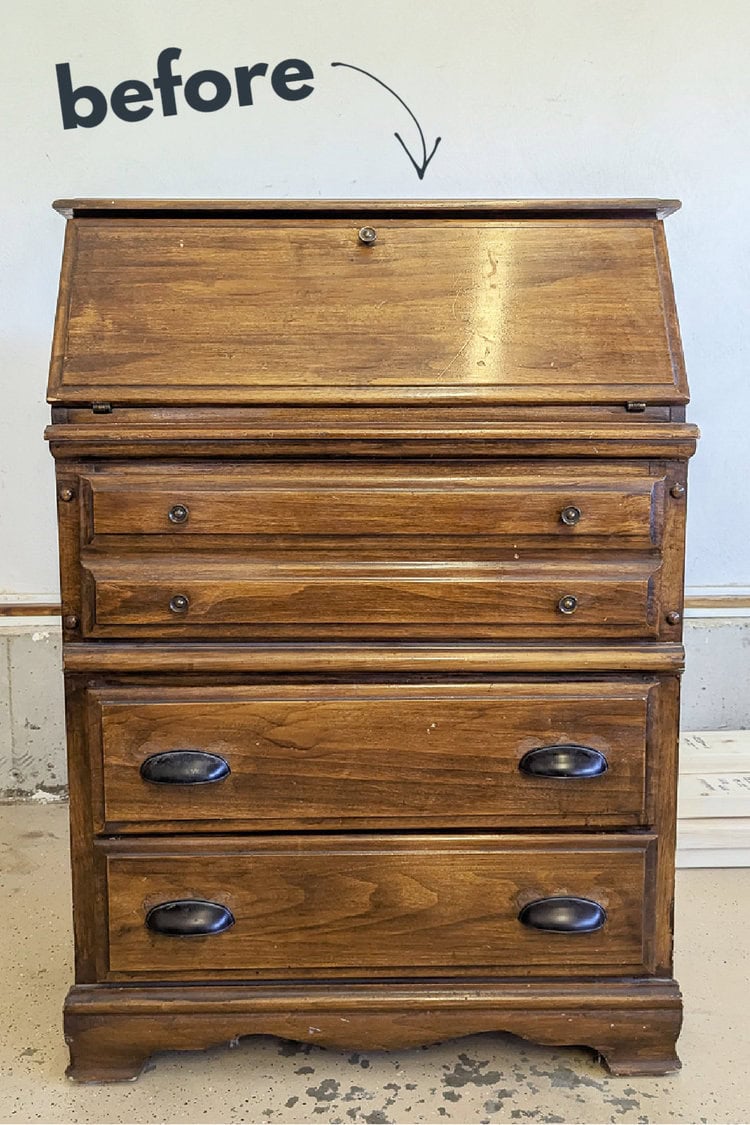
Plus the super shiny finish was full of drips and it had clearly been applied right over the original hardware.
But even with all that going on, I knew that with some simple changes this piece could look absolutely amazing. (And in the end, even I was pretty shocked by how great it turned out!)
In this post I’m sharing exactly how I updated this secretary desk with a whole new look along with lots of furniture painting tips.
This post contains affiliate links which means if you make a purchase after clicking a link I will earn a small commission but it won’t cost you a penny more. Click here to see my full disclosure policy.
Video
I also created a Youtube video of this project. If you’d rather watch the video version, just hit play below:
I’d love for you to subscribe to my Youtube channel!
Materials
- General Finishes Milk Paint in the color Westminster Green
- This color has been discontinued but you can still find it in this etsy shop. Fusion Mineral Paint Pressed Fern is also a great option. It’s another great all in one paint in a very similar color. Dixie Belle chalk paint also has a similar green called Palmetto.
- Varathane Water-Based Polyurethane – for sealing and protecting your furniture. General Finishes High Performance Topcoat is another good option.
- Wood filler – for filling cracks, scratches, and old hardware holes
- Small foam paint roller – I’ve found that any brand works great for this
- Good paint brush – Using a high quality paint brush is really important to getting a great finish. I love this brush because the handle is so comfortable, but this is also a great option.
- Blue sponge applicator – for applying the sealer with a nice smooth finish
- Brass drawer pulls – these are the ones I got from Amazon. They look beautiful and I’m really happy with how sturdy they feel.
- Wallpaper – to line the inside. This is the peel and stick wallpaper I used. It looks fabulous in person and is insanely cheap. One roll is enough to line the top secretary section, but if you also want to line your drawers, you’ll need at least two.
Tools
- Jigsaw – for simplifying that scalloped trim along the bottom
- Orbital sander – for smoothing out the rough edges and sanding down the wood filler
- Screwdriver
- X-acto knife and cutting mat – for cutting the wallpaper to the right size. You can also use scissors but an X-acto knife makes it a lot easier to trim it once it’s in place if needed.
Secretary Desk Makeover
Clean the secretary and remove the hardware
The first step of any furniture makeover is to give it a good cleaning to get rid of years of buildup.
I also removed all the hardware and set it aside.
Remove wood buttons and fill with wood filler
One of the details I hated the most about this secretary were the little round wood buttons next to the top drawer. I know it’s a small detail, but I just really hate those things. They always make a piece of furniture look cheap to me (even if it isn’t).
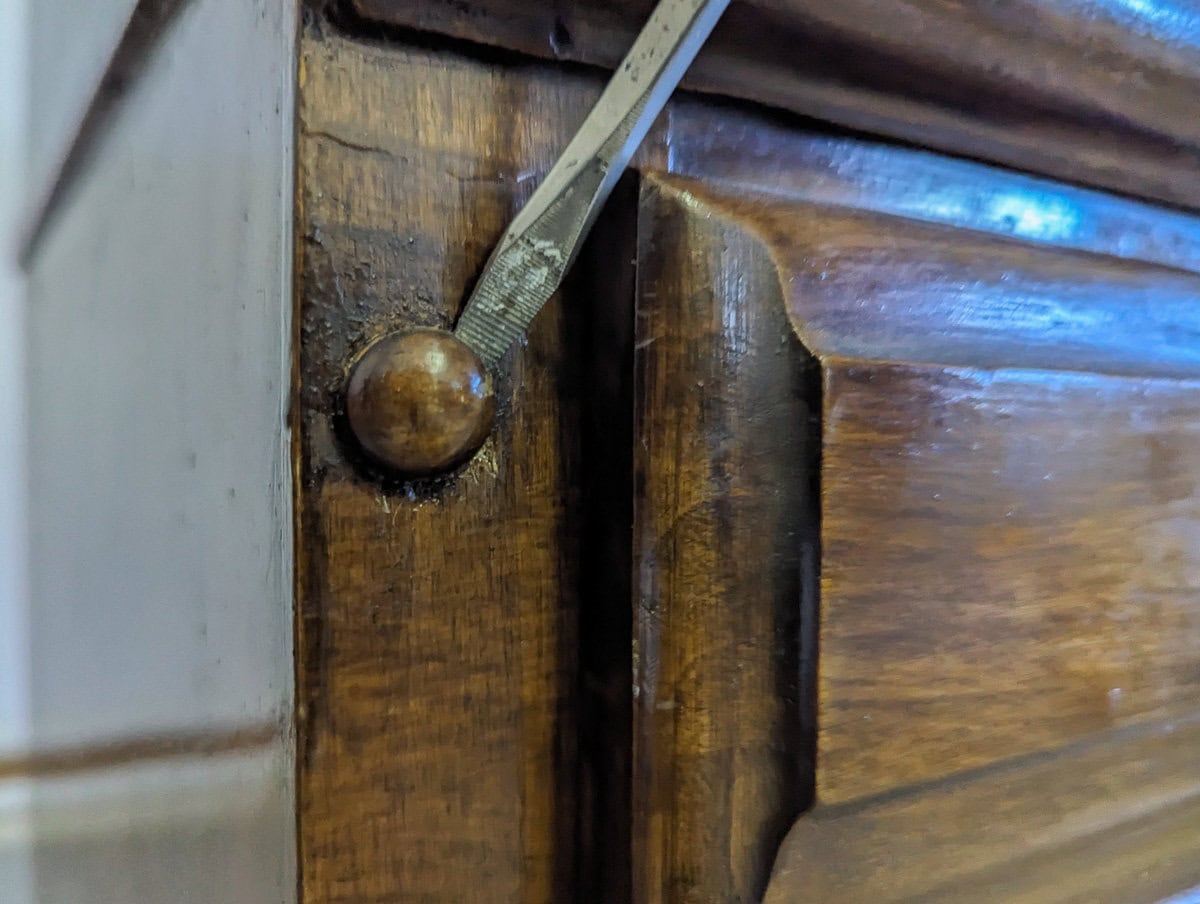
I used a flathead screwdriver to pop them out. A few came out very easily and a few took some work, but they all came out and I was so happy to see them go.
Sand the shiny finish
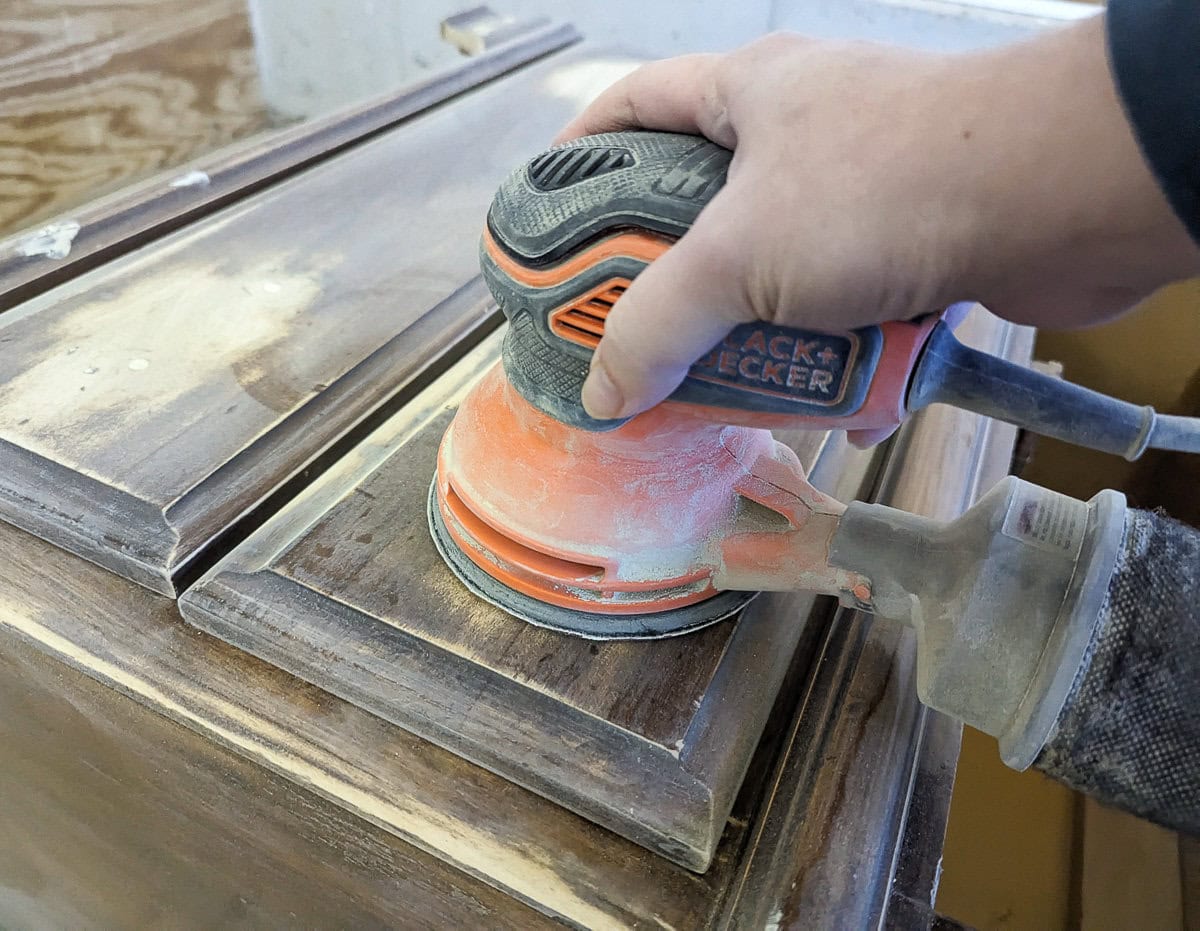
You really don’t have to sand most furniture before painting, but this pieces was an exception. The old finish was super shiny and there were hardened drips all over the place. So I quickly sanded down the whole thing to smooth out the drips and also rough up the super shiny finish so the paint would adhere better.
Fill scratches and holes with wood filler
I knew that I wanted to use different drawer pulls for this piece, so I filled in the old hardware holes as well as all the scratches with wood filler.
I also filled in the holes where the wood buttons had been at the same time.
Reshape the base
I wanted to update the base of the secretary just a bit. I didn’t want to go with anything too modern since this just isn’t a piece with modern lines, but I did want to tone down those scallops a bit.
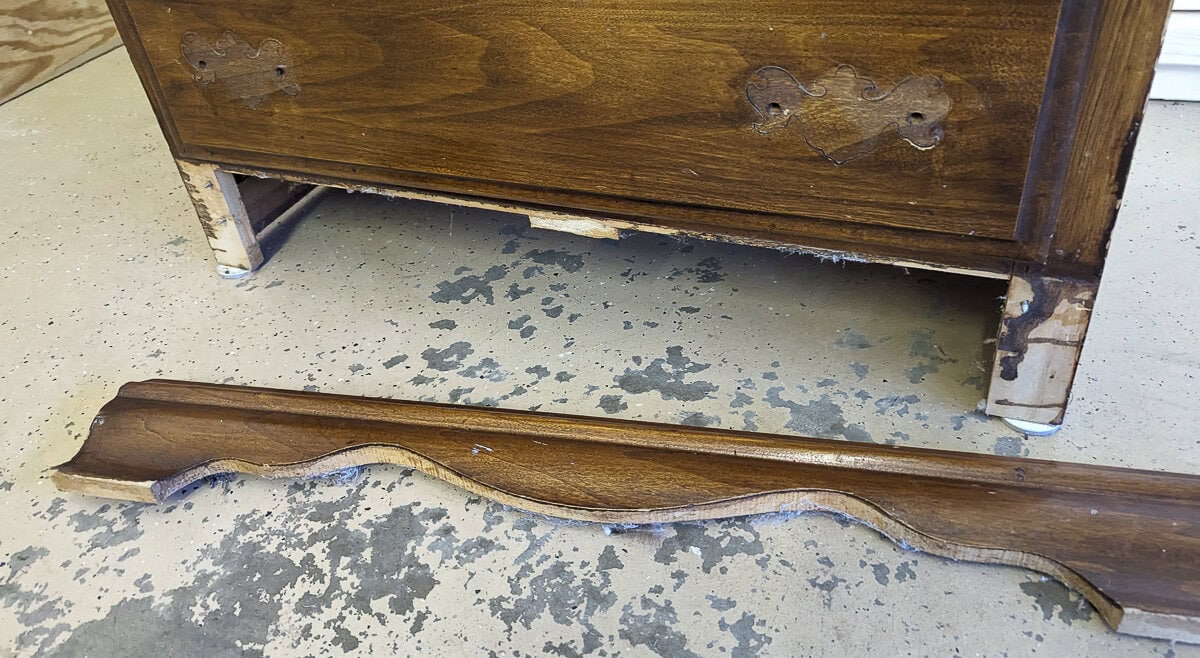
I decided to simplify things with one clean curve on each side. This was actually super easy to do and made a huge difference. I found a circle the right size and traced it on each side and then cut along it using a jigsaw.
It’s a bit hard to tell, but the ends of the base also had some unnecessary curves, so I also cut those to be flush with the sides of the secretary. Then I used 220 grit sandpaper to smooth the rough edges.
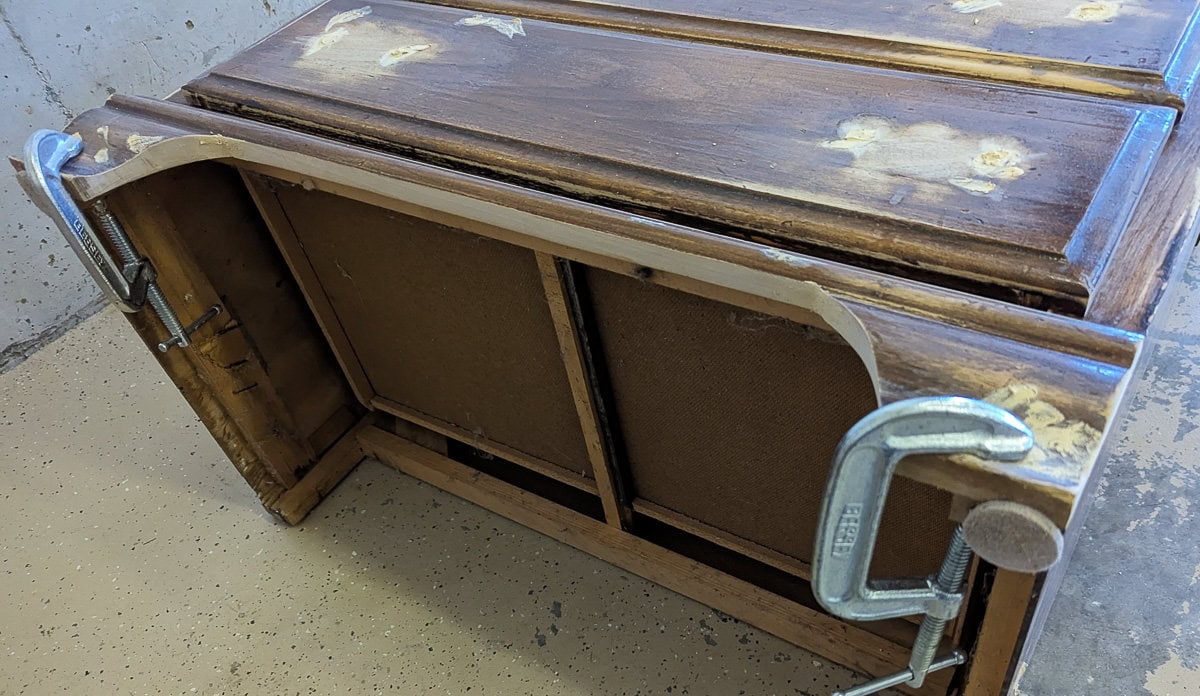
Finally I reattached the base with wood glue, using wood clamps to hold it in place while the glue dried.
Sand the wood filler smooth
With the base reattached, I pulled out the sander again and sanded all the wood filler with 220 grit sandpaper to get a nice smooth surface for painting.
Paint the secretary
And finally, after all that prep, it was time to paint! I’ll admit, sometimes I wish I could cut out the prep and just slap some paint on, but I know that all the cleaning and wood filler and sanding is what makes it look so fabulous in the end so I do it. The whole point is to make this piece look beautiful and I know skipping the prep won’t get me there.
I really wasn’t sure what color I wanted to paint this secretary so I grabbed several paints I’ve been wanting to try from my stash. I don’t usually do this, but I decided to swatch them right on the secretary to see which one fit best. The three paints I tested were Beyond Paint in the color licorice, General Finishes milk paint in Westminster green, and Rustoleum Milk Paint in the color navy.
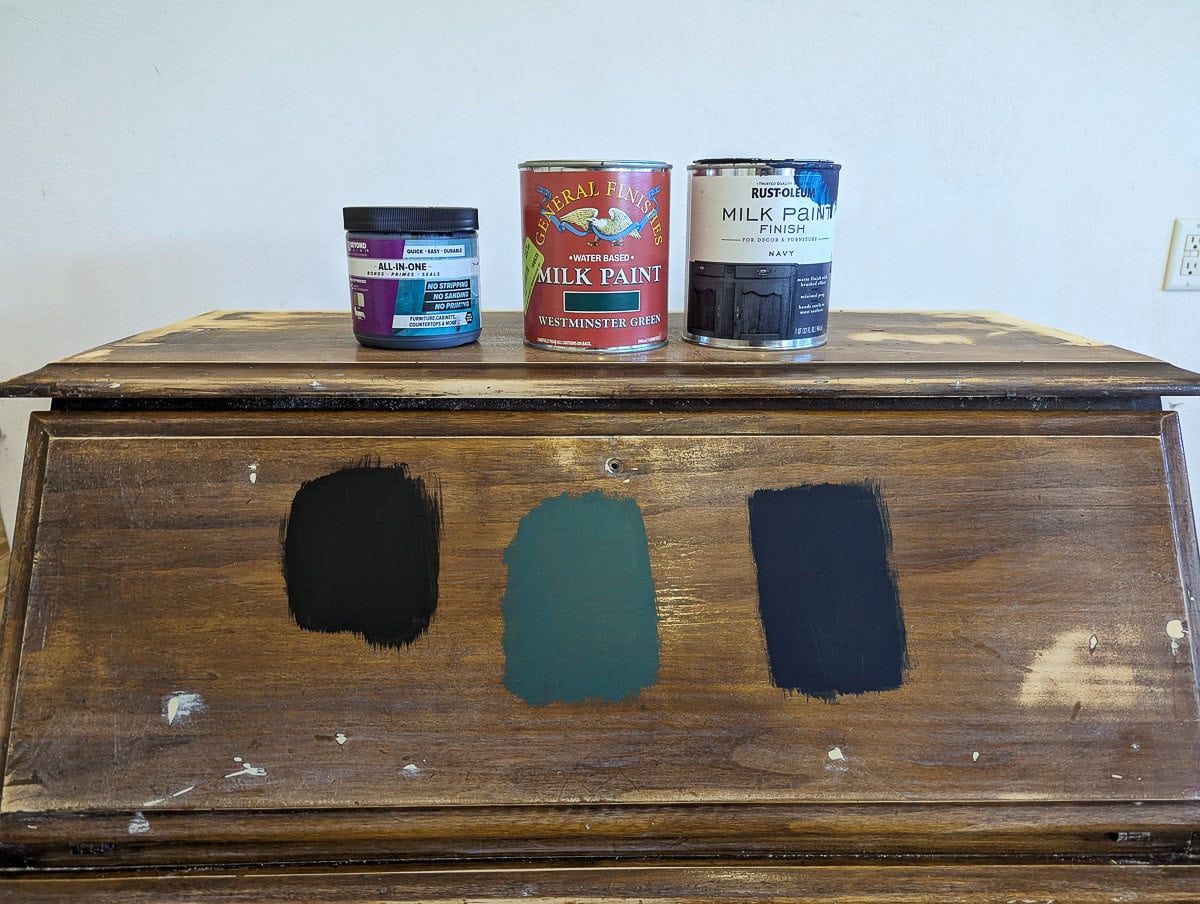
Honestly, I think any of the three would have looked great, but in the end I chose the green. I knew it was going to make this piece really stand out and boy, did it ever!
(I loved getting to see how each color would look, but I wouldn’t necessarily recommend swatching your paint colors directly on your furniture like this. Since my colors were so dark, it did take an extra coat of paint to fully paint over the three color patches. Womp, womp.)
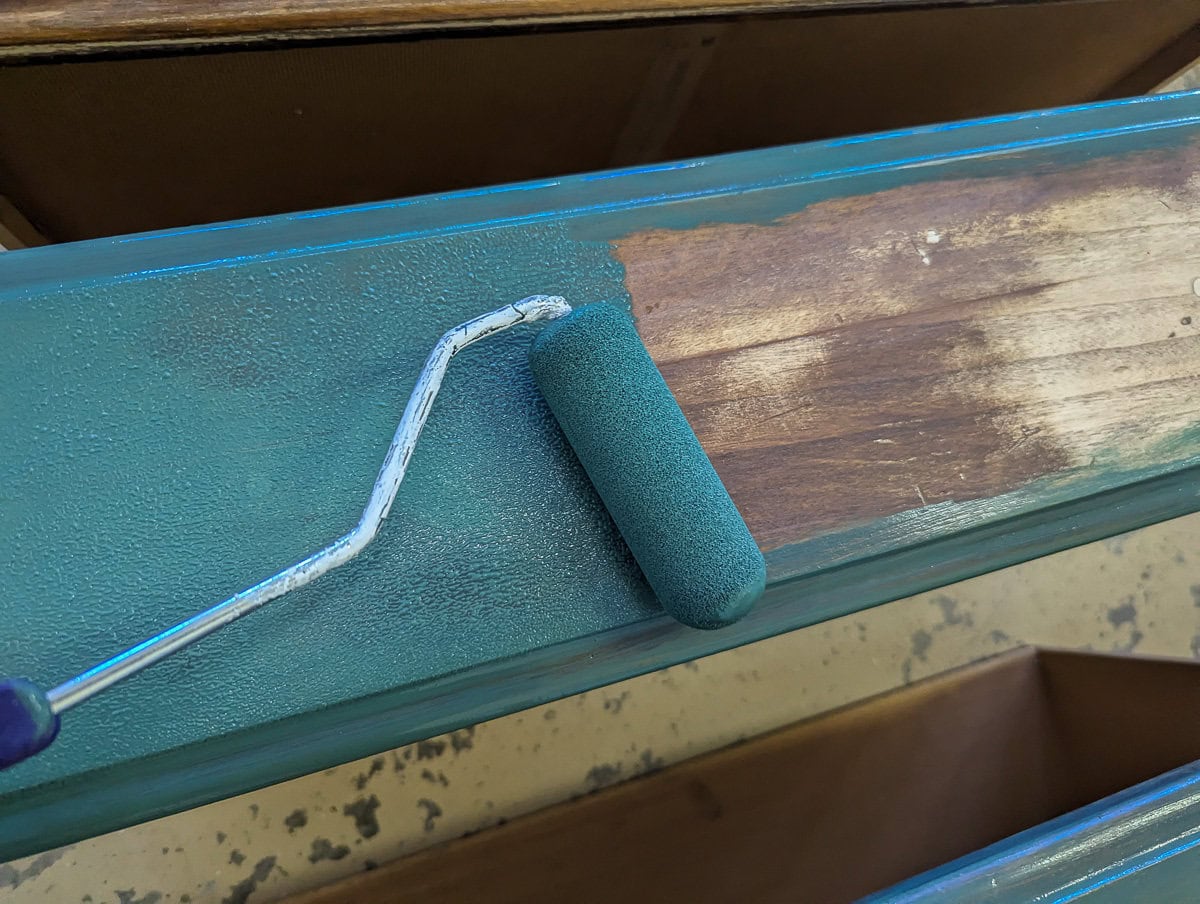
I always use a small foam paint roller and a high quality paint brush for painting furniture. In this case, I used the Zibra palm brush which is one of my favorites because it has super smooth bristles and also the handle is a lot more comfortable than most paint brushes. (And when you do a lot of painting, that really matters!)
I’ve tried all kinds of tricks for getting a super smooth finish on painted furniture and cabinets over the years. One of my favorite tricks is to roll the paint on with a foam roller and then immediately brush over it lightly with your paint brush. When you do this, the roller helps you paint quickly and the brush helps knock down any stippled texture left by the roller. You’ll want your paint brush to be slightly damp – you can either dip it lightly in your paint or spray it with a spray bottle of water. And you’ll want to gently brush it across the paint with long, even strokes, but it really gives a smooth finish.
If you are as obsessed with getting a super smooth finish as I am, you’ll want to check out this post that’s all about getting a really smooth surface when painting furniture and cabinets.
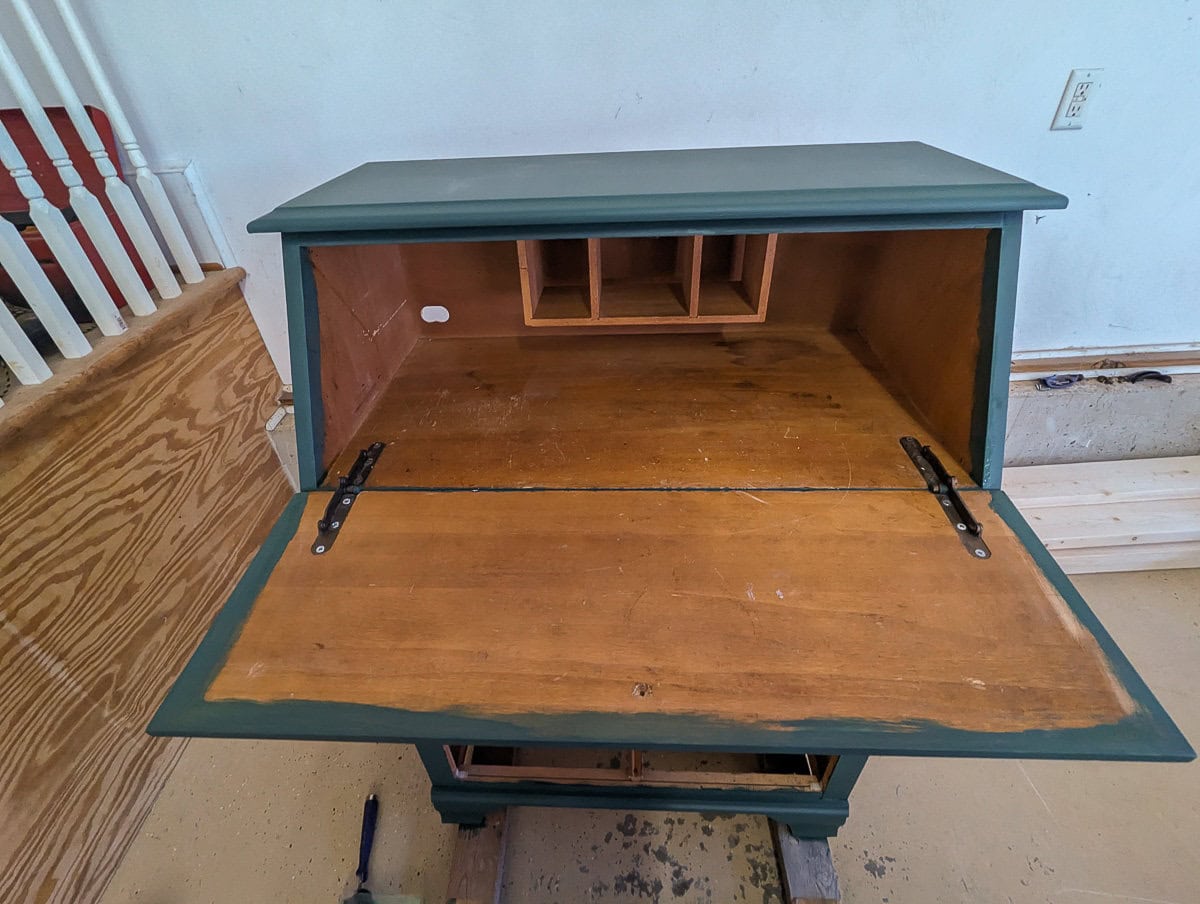
I decided I wanted to use wallpaper on the inside of my secretary, so I also painted around the edges of the open portion of the secretary desk. That way, if the wallpaper is off by a millimeter or two, it really won’t be noticeable.
I also painted the little cubbies in my secretary black (I just used the black Beyond Paint that I tested earlier). I knew it would be way too hard to wallpaper those little sections and the black paint would help it blend in.
Seal the secretary
Even though you don’t technically need to seal General Finishes Milk Paint, I’ve found it best to use sealer on any pieces that are going to get a lot of use. It just protects your finish so that it lasts a lot longer.
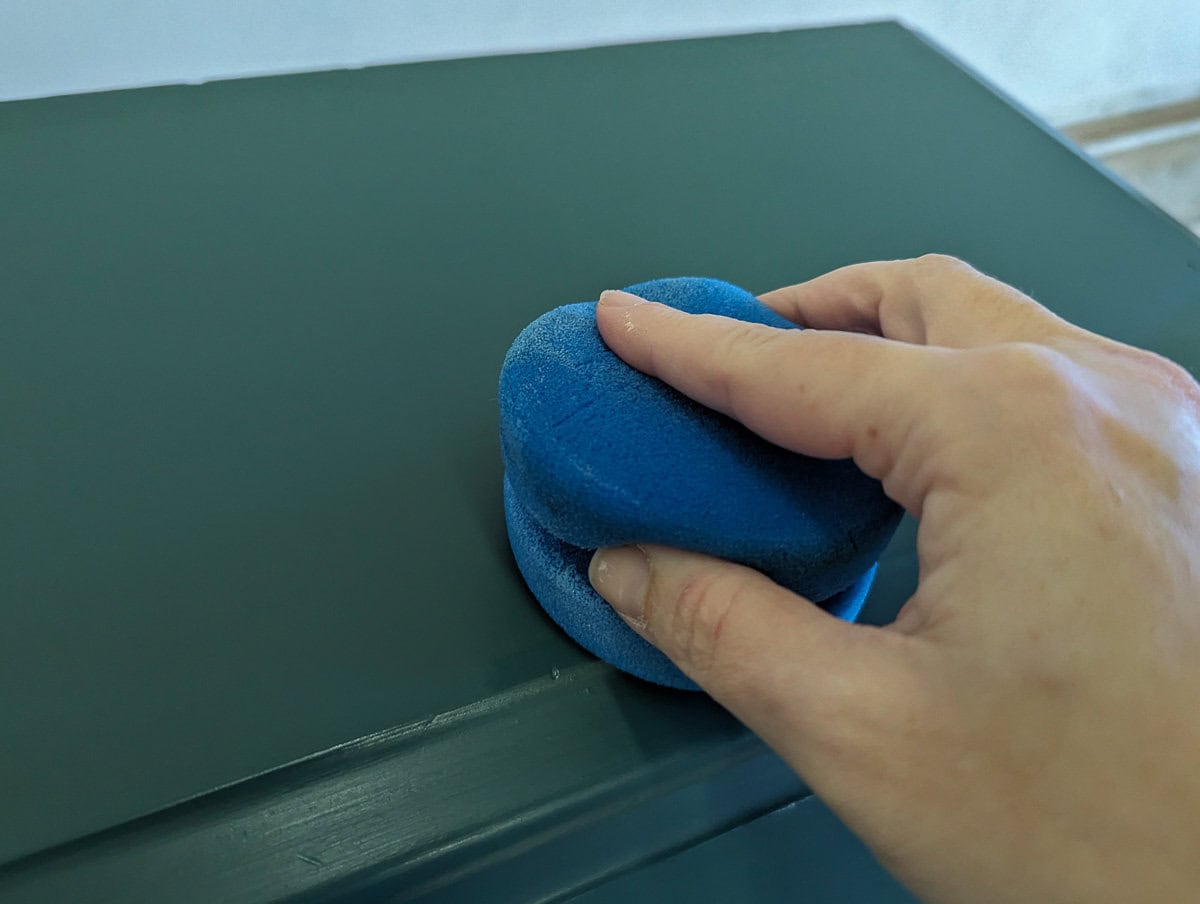
I applied Varathane water-based polyurethane using my favorite blue sponge applicator. And I used one of my favorite tricks for getting streak-free sealer: I mixed a little bit of my green paint into the sealer and it went on flawlessly.
I recently shared a detailed step-by-step tutorial on how to seal painted furniture without streaks. If sealing your furniture is something you struggle with, it’s full of tips for making the process easier.
Attach the new hardware
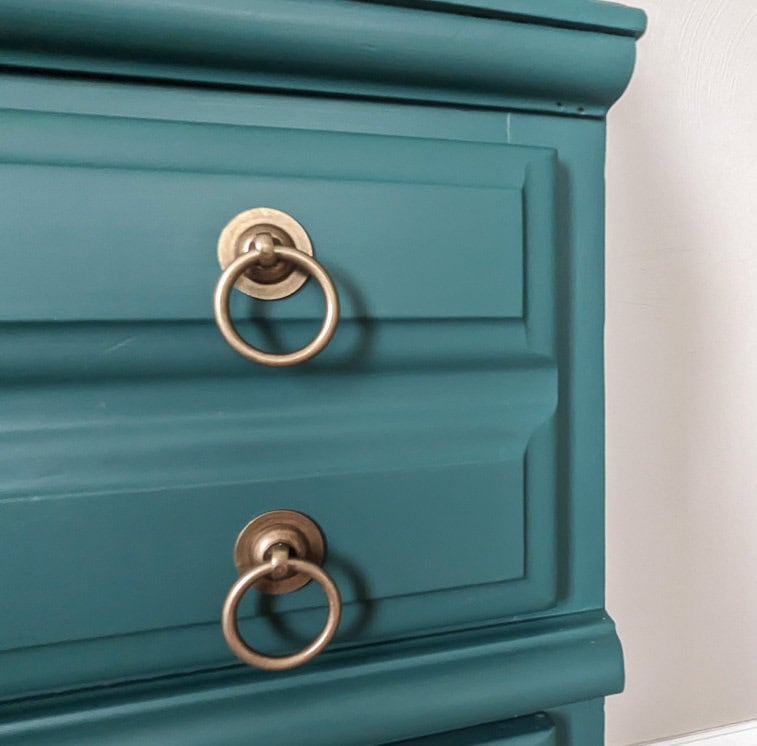
I drilled new holes for my new drawer pulls and installed them. At this point the exterior of my secretary was done and it was looking amazing.
Add the wallpaper
The final step to really make it pop was to line the open section with a fun wallpaper. After perusing tons of beautiful options, I decided on this beautiful peel and stick wallpaper. This paper is shockingly inexpensive but when it arrived, it didn’t feel or look cheap at all. One roll was enough to line the entire top section with a tiny bit leftover. Two rolls would have been enough to line the bottoms of the drawers as well.
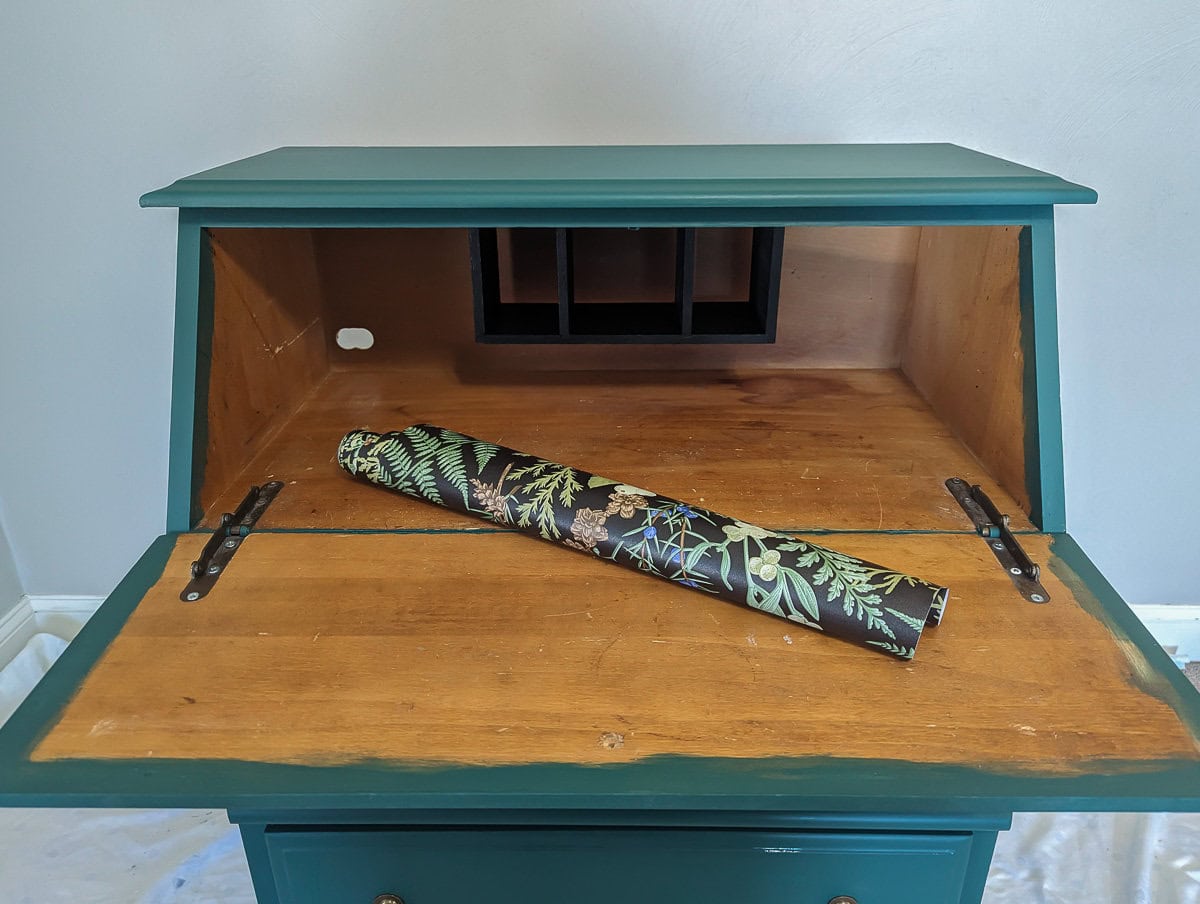
To apply the wallpaper, I held it up to one section at a time and used my fingernail to crease where it needed to be cut. Then I cut it to size. Be sure to test it before peeling off the backing and make any adjustments needed. Then you can peel off the backing and stick it in place.
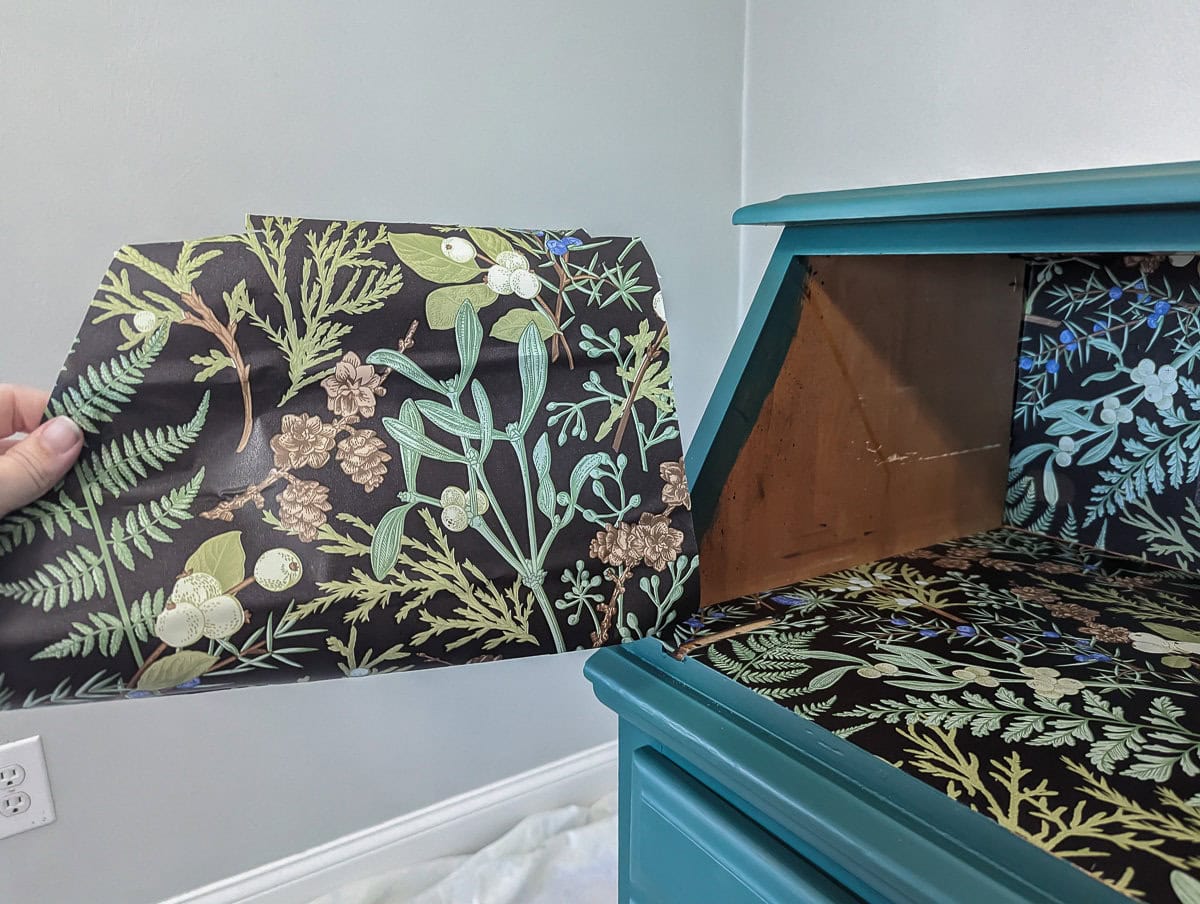
For my secretary, attaching wallpaper to the bottom and sides was super easy, but the back gave me a run for my money. Trying to line it up perfectly behind those cubbies was a challenge, but I got it done.
If there are any spots where the wallpaper needs a small trim, you can carefully trim it with an x-acto knife.
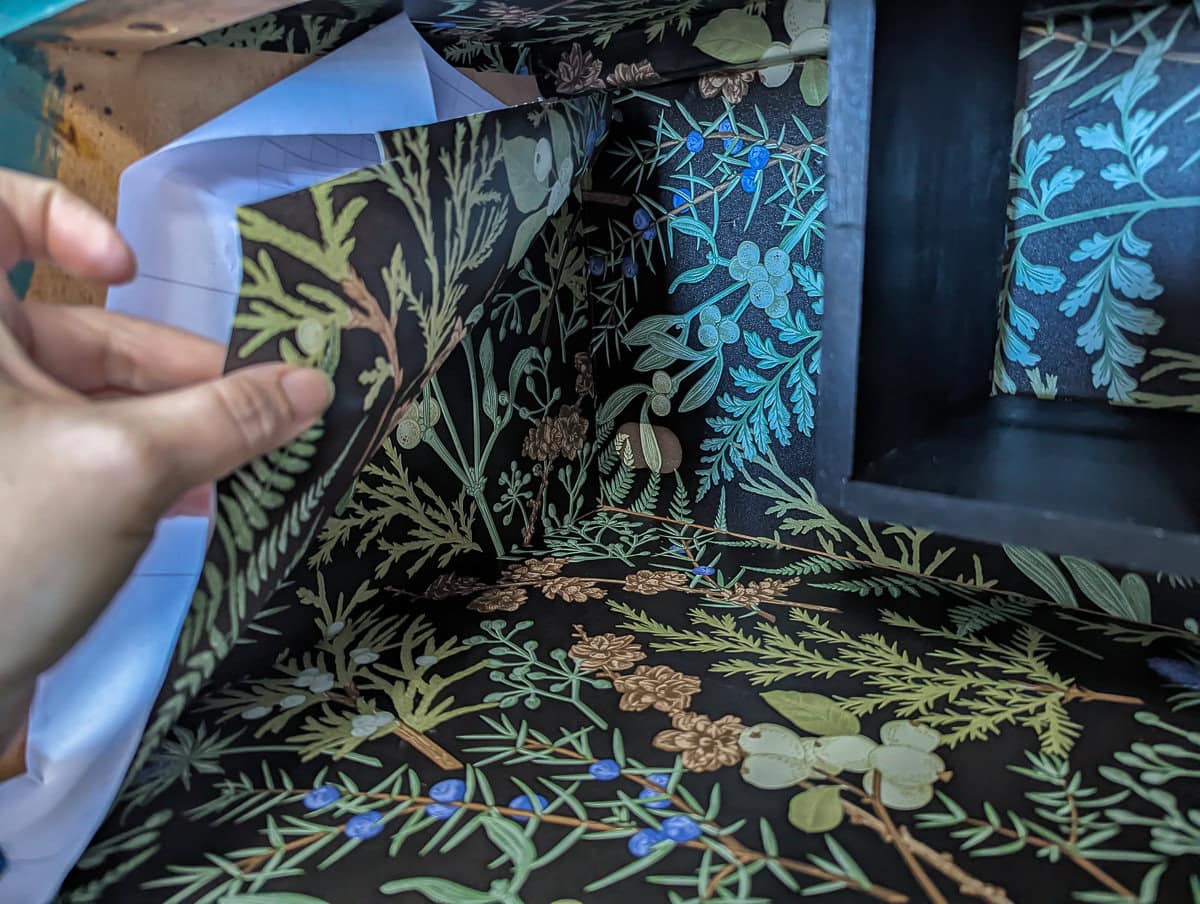
Once my wallpaper was in place, there were a few corners where a tiny bit of wood was peaking out between two pieces of wallpaper. I touched those areas up with a small paintbrush and some black paint and you really can’t see them at all now.
Finished Secretary Makeover
Ready for the reveal?
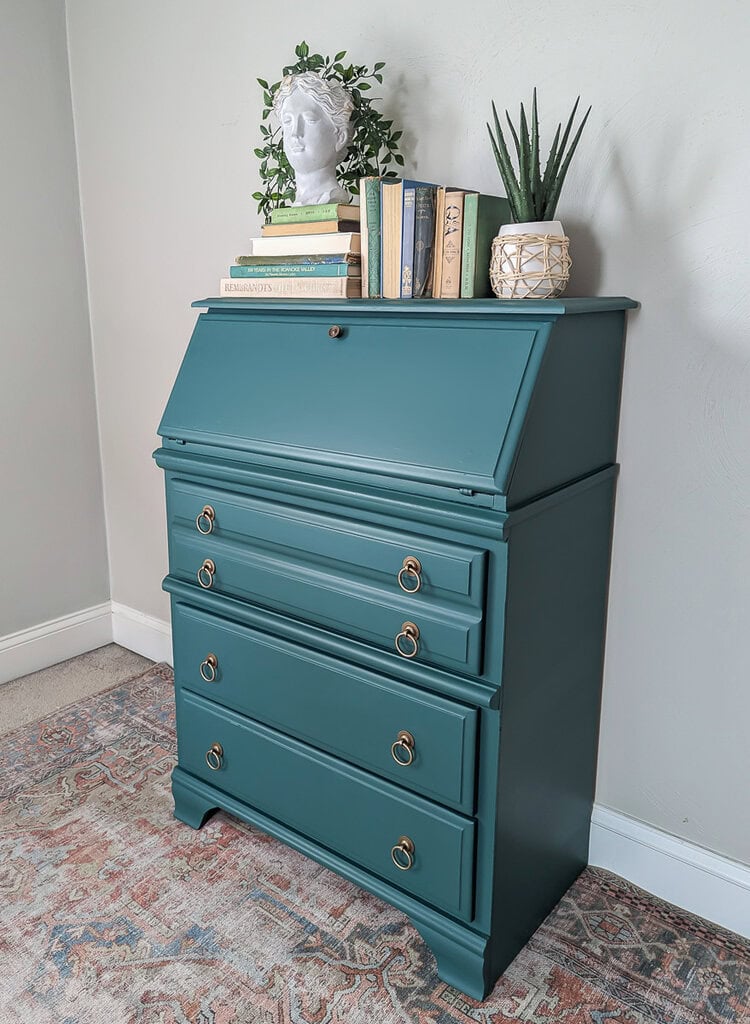
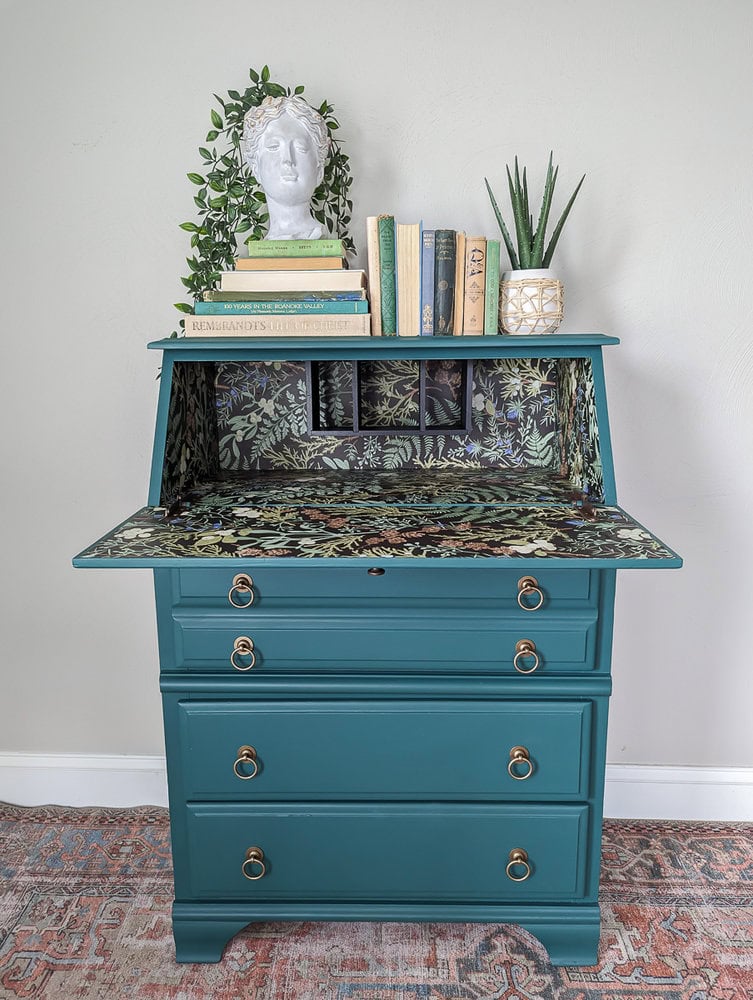
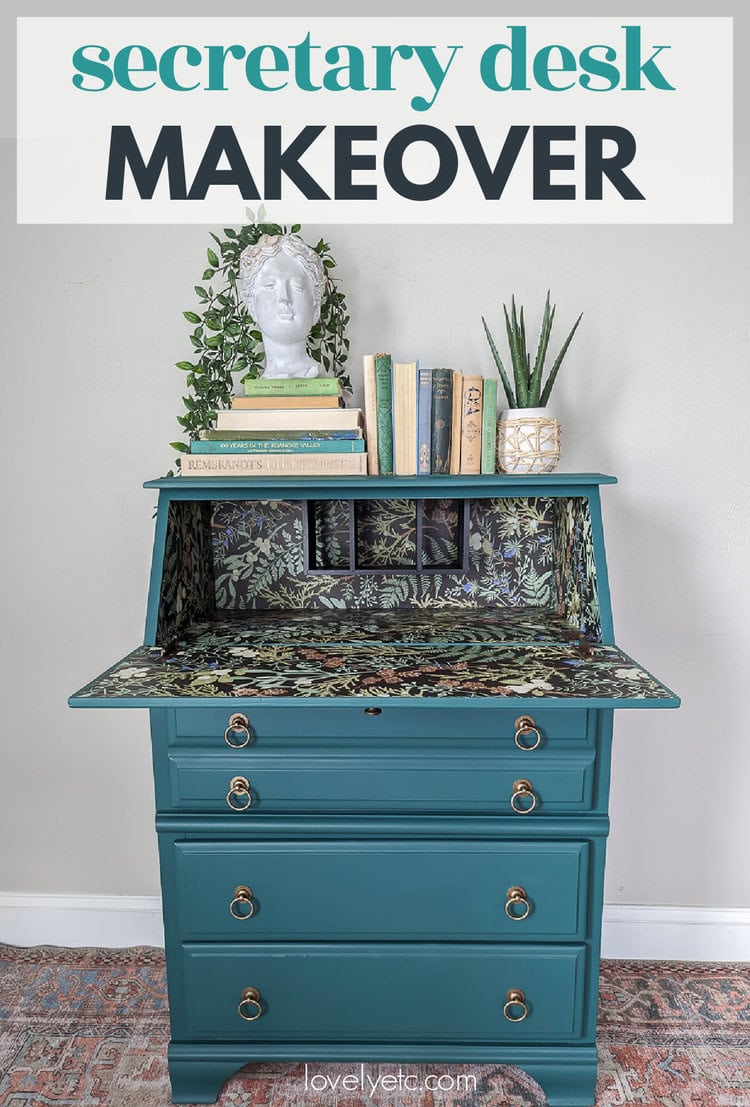
I love everything about it! That stunning green, the fun wallpaper, the brass hardware. And removing the wood buttons and freshening up the scalloped bottom really made a huge difference.
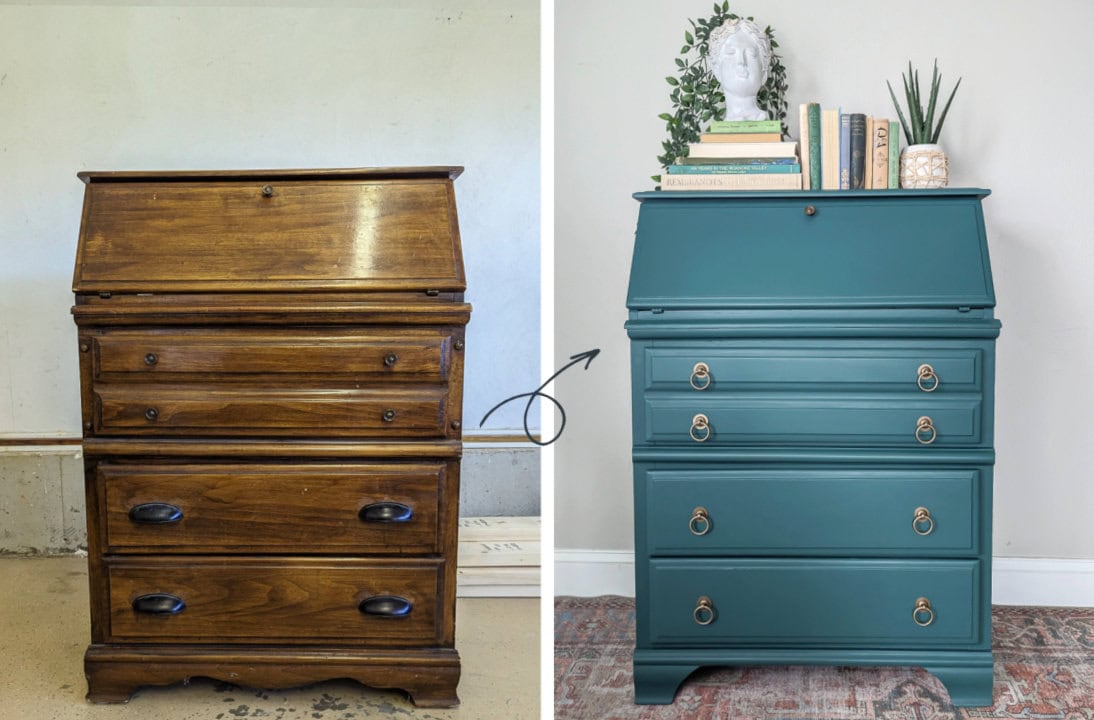
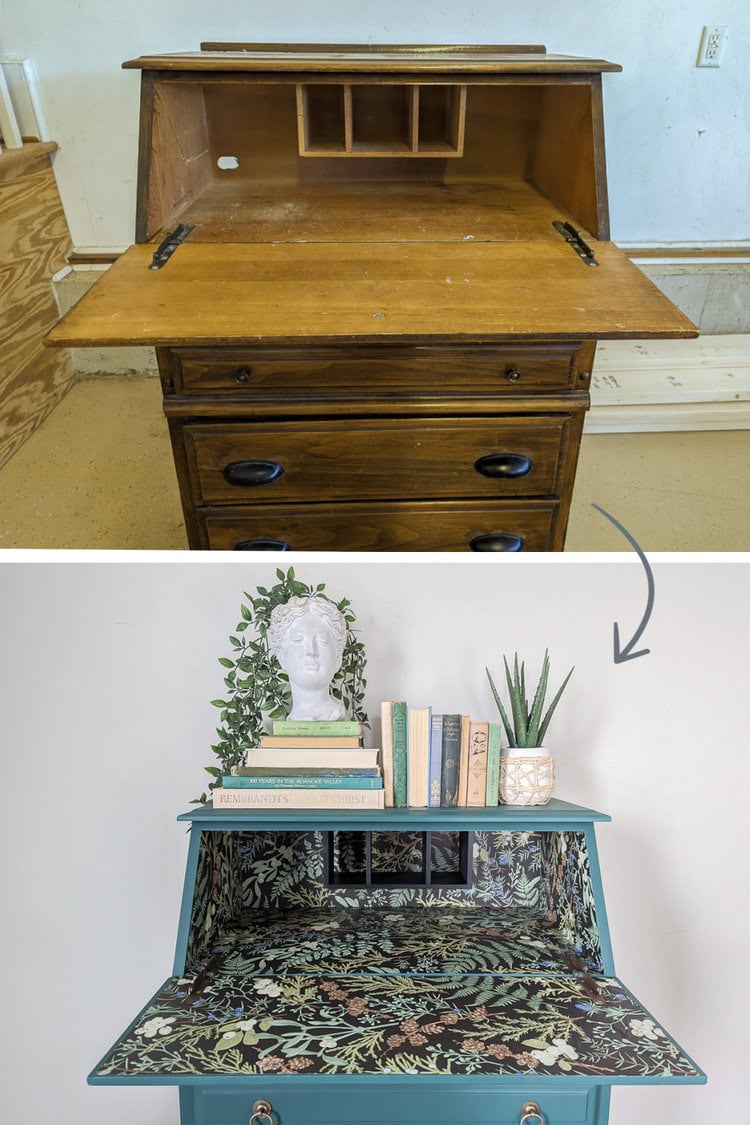
How’s that for a before and after!
More Furniture Painting Ideas
If you are looking for more furniture painting ideas, I’ve got you covered! Any of the posts linked below are a great place to start.
I’d love for you to pin this post on Pinterest!


Absolutely stunning! What a beautiful makeover. – your work is meticulous!
Thank you!
This is gorgeous , good job