How to Get a Super Smooth Finish When Painting Cabinets – With or Without a Paint Sprayer
Everything you need to know to get a super smooth finish on your painted cabinets including the best paints to use and how to get that perfect finish using a roller and brush.
By now we all know that painting cabinets is one of the best ways to update a kitchen or bathroom. Painting your own cabinets can completely transform your entire kitchen, it’s extremely budget-friendly, and anyone can do it, no special skills required.
But nobody wants to spend a lot of time and effort on something that doesn’t really look good in the end. So how do you make sure your DIY painted cabinets look amazing?
If you want beautiful painted cabinets, a really smooth paint finish is key. Nobody wants to see drips and brushstrokes all over their painted cabinets. We all want that perfectly smooth, flawless finish you would find on factory-painted cabinets.
And I’m happy to report, you can get that gorgeous smooth finish on your painted cabinets. There are a few tips and tricks you need to know, but getting a gorgeous finish isn’t really difficult and anybody can do it.
Today I’m going to share everything you need to know to paint cabinets with a perfectly smooth paint finish – whether you are using a paint sprayer or a good old paint roller and paint brush.

This post contains affiliate links which means if you make a purchase after clicking a link I will earn a small commission but it won’t cost you a penny more. Click here to see my full disclosure policy.
The Best Paints for Painting Cabinets
We can’t talk about getting a gorgeous finish on painted cabinets without talking about what kind of paint you need to use.
The best paints for cabinets go on smoothly and hold up well over time. They are non-yellowing and self-leveling (which really helps to prevent brushstrokes).
When you are painting walls, it doesn’t really matter brand of paint you use, but when you are painting cabinets, it can make a huge difference.
After doing quite a bit or research into the paints that really work well for painting cabinets, these are the paints I recommend:
- Benjamin Moore Advance: This is a self-leveling, non-yellowing, paint that helps block stains. It is also low VOC, low odor, dries to a hard finish, and does not require a separate sealer.
- Sherwin Williams Emerald Urethane Trim Enamel: This is a self-leveling, non-yellowing paint that dries to a very hard, durable finish. It also does not require a separate sealer. And while Sherwin Williams paints are pricey, they run 30-40% off sales pretty regularly.
- General Finishes Milk Paint: This is actually an acrylic paint, not a true milk paint. It is easy to work with, goes on smoothly, and dries to a hard finish. A separate sealer is not required, but it is recommended to use a sealer for high-traffic projects like painting cabinets. General Finishes High Performance Topcoat is my favorite furniture sealer and also works great for sealing painted cabinets. I used General Finishes Milk Paint + High Performance Topcoat to paint my bathroom cabinets as well as many furniture pieces and they have held up beautifully.
I do not recommend using chalk paint or regular latex wall paint for painting cabinets. There paints are just not formulated to hold up to the high level of use most of our cabinets endure.
Painting Oak Cabinets
If you are painting oak cabinets or other wood cabinets with very pronounced wood grain, getting a perfectly smooth paint finish can be a bit tricky.
I’m not talking about wood cabinets with a lot of color variation to the wood grain; I’m talking about cabinets with a lot of actual texture and grooves to the wood.

That texture will show through your finished paint job unless you fill it in first. If the wood grain doesn’t bother you, you can skip right to paint.
But if you want perfectly smooth cabinets that look like they were always painted, I have full instructions for the best way to fill the wood grain in this post.
Painting cabinets using a paint sprayer
We can’t talk about getting a smooth paint finish, without talking about paint sprayers.
Using a paint sprayer is one of the easiest ways to get a super smooth finish on your cabinets. By their very nature, paint sprayers eliminate brush strokes and roller marks completely.
And painting with a paint sprayer is almost always faster than using a paint roller and paint brush.
But there is one major downside to painting cabinets with a paint sprayer.
The prep.
There will be some prep work like removing cabinet doors and taping off walls no matter what method you use to paint your cabinets. But using a paint sprayer requires a lot more set up.
Since you can’t just pick cabinets up and carry them to the garage for painting, you have to protect everything around the cabinets including your ceiling, backsplash, countertops, sink, floors, walls, etc.
No matter how careful you are with your paint sprayer, there will be overspray so everything must be covered.
To solve this issue, a lot of people use a paint sprayer to paint their cabinet doors and drawers in a garage or outdoors and use a paint roller and brush to paint their cabinet boxes. That cuts down a lot on the excessive prep work.
Choosing the right paint sprayer
If you don’t already have a paint sprayer, remember you absolutely don’t need one to get a gorgeous finish on your painted cabinets. You can get a beautiful smooth paint finish using a roller and a paint brush.
But if you want to buy a paint sprayer to paint your cabinets, there are a few things to consider.
Most importantly, do you have an air compressor? If not, you’ll want to look for a paint sprayer that can plug right into an extension cord.
Paint sprayers come in a wide range of price points, from professional models that can cost more than $1000 to DIYer versions that cost less than $100.
I personally have and love the Homeright Super Finish Max Paint Sprayer. I really like this paint sprayer for a couple of reasons.
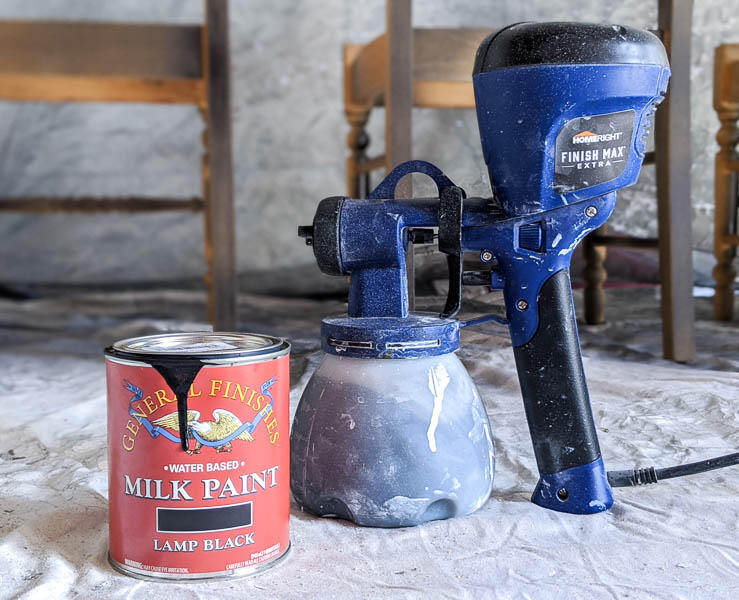
It plugs right into an extension cord, so you don’t need an air compressor. It’s also on the lower side of the price range.
I also like that it can handle most paints and sealers without thinning them with water. Not having to worry about figuring out the right amount of water to add to your paint really simplifies things. This sprayer comes with a few different spray tips and nozzles to work with different types of stains, paints, and sealers and the instruction manual makes it very easy to figure out which you need to use for your paint.
I have also heard a lot of great things about the Wagner Control Spray Max Paint Sprayer and it has a lot of amazing reviews. It also doesn’t require an air compressor and can spray unthinned paint. If I were buying a new sprayer today, this is the one I would buy.
How to get a smooth finish on cabinets using a paint roller and paint brush
Paint sprayers are great, but I know many DIYers don’t own one.
Luckily, you can still get a gorgeous, smooth paint finish using a paint roller and a paint brush. I have used this method many times for painting cabinets including in my own kitchen and bathroom and it works beautifully.
Materials
- Cabinet paint of your choice
- Small foam paint roller and tray – choose a small high density foam paint roller. These rollers are usually 4-6 inches wide and labeled for use on smooth surfaces like trim and doors. I’ve tried several brands of foam rollers and haven’t found a huge quality difference between brands.
- High quality paint brush – unlike rollers, using the right brand and type of paint brush makes a huge difference. I highly recommend a Purdy 2.5″ angled brush for painting cabinets. It gives a smooth finish and the angled end makes it easy to cut in along the edges. I also really like these Americana Decor paint brushes for getting a really smooth paint finish. They don’t hold as much paint as the Purdy brushes, but they give a super smooth finish.
- 300-400 grit sandpaper
Painting cabinets with a smooth finish
If you’re looking for a start-to-finish tutorial for painting cabinets, I’ve got a full tutorial for painting oak cabinets as well as a tutorial for painting bathroom cabinets using General Finishes paint.
In this post, I’m not going to rehash all the details of how to prep your cabinets, I’m just going to focus on getting that perfectly smooth paint finish. But keep in mind that you can’t get a super smooth paint finish unless you start with a clean, smooth surface to paint.
Preparing your paint
Before beginning, be sure to stir your paint well.
If you notice your paint looks extra thick, or it isn’t rolling on as smoothly as you’d like, you can mix in some Floetrol.
Floetrol is a paint additive that thins the paint so that it levels more easily, eliminating brush strokes and roller marks. This article is helpful if you want more info on Floetrol and how to use it.
Thinning your paint isn’t usually necessary if you are using one of the cabinet paints recommended above, but even good paints can thicken over time.
Painting cabinets with a foam roller
Start by using your foam roller to roll on the first coat of paint. If your cabinets have any kind of raised trim, you can use your paint brush to paint those areas.
When using the roller, make sure there is enough paint on your roller that you don’t have to put much pressure on the roller to paint. But also don’t load up with so much paint, you get a drippy mess; you want to find the sweet spot in between.
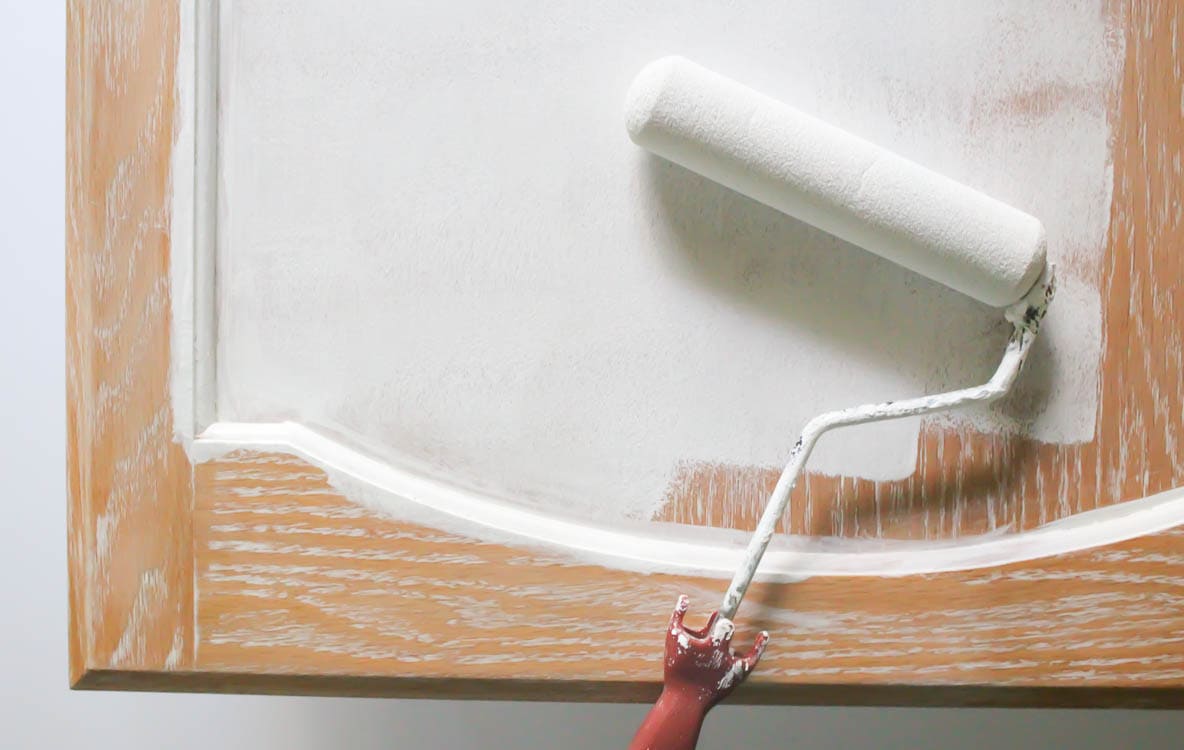
Once you have rolled on the first coat of paint, you may notice the finish looks a bit uneven. This is completely normal for the first coat of paint.
You may be tempted to try to touch up the paint but it is best to just leave it alone until it is completely dry. As the paint dries, it will continue to self-level and even out.
When the paint has completely dried, you can add a second coat. Once it dries, the second coat should look smoother and more even than the first.
Two coats of paint may be enough to get even paint coverage, but most of the time you will need three or four coats of paint, especially if you are painting your cabinets white.
Getting a super smooth final coat
Foam rollers are great at giving a fairly smooth finish, but in my experience they sometimes leave just a bit of an orange peel texture. The color is uniform, but the surface isn’t quite smooth.
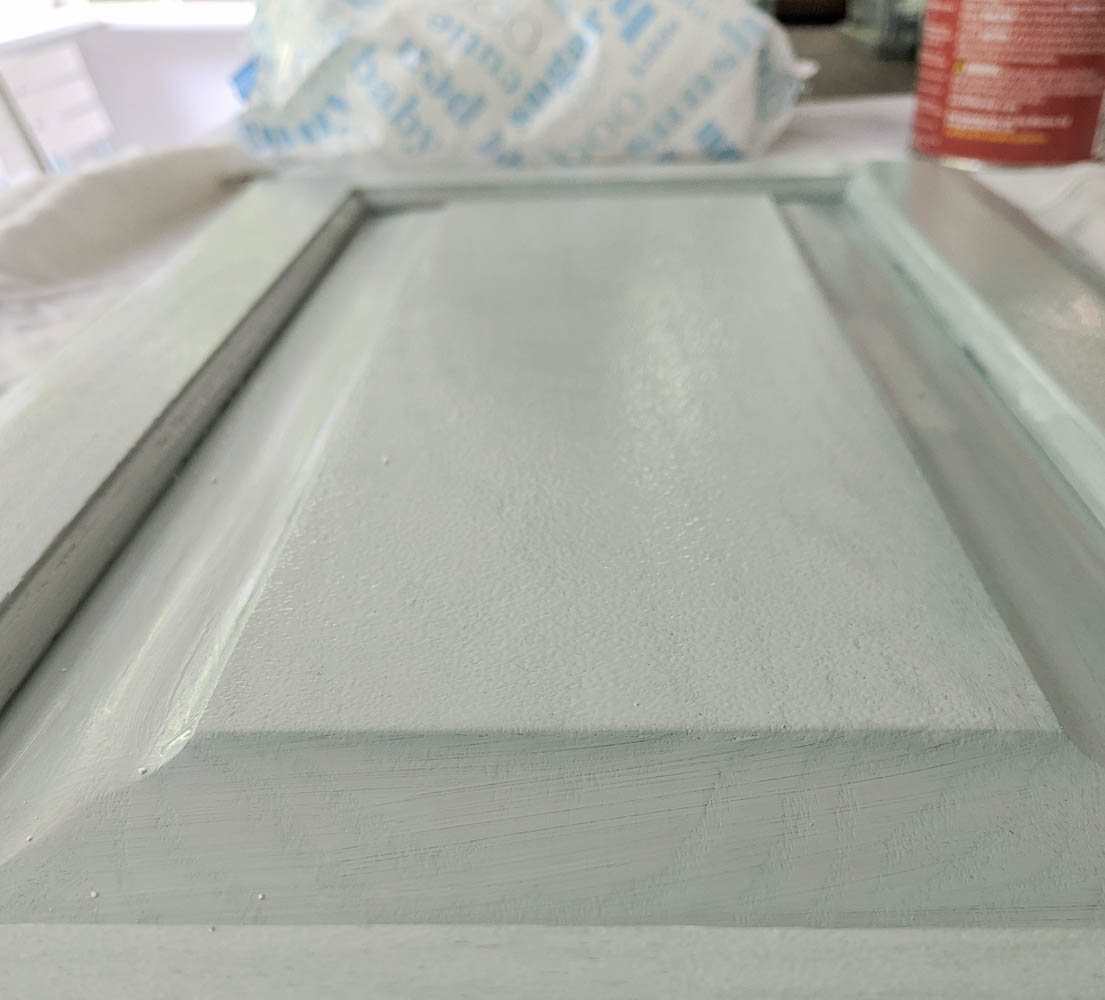
If you notice some of this texture on your cabinets, you can use a good paint brush to smooth that texture.
Before your final coat of paint, gently sand your cabinets using 300-400 grit sandpaper. This super-fine sandpaper will knock down any brush strokes and roller marks to give you a super smooth surface to work with.
Be sure your paint brush is clean and the bristles are smooth. (Sometimes with use, the paint brush bristles can start to spread and fray. This isn’t good for getting a really smooth finish.)
Dampen your paint brush with a bit of water.
For the final coat, roll the paint on with the roller and then immediately afterwards lightly run the damp paint brush over the painted surface using long, even strokes.
Once the paint dries, you should have a silky smooth finish.
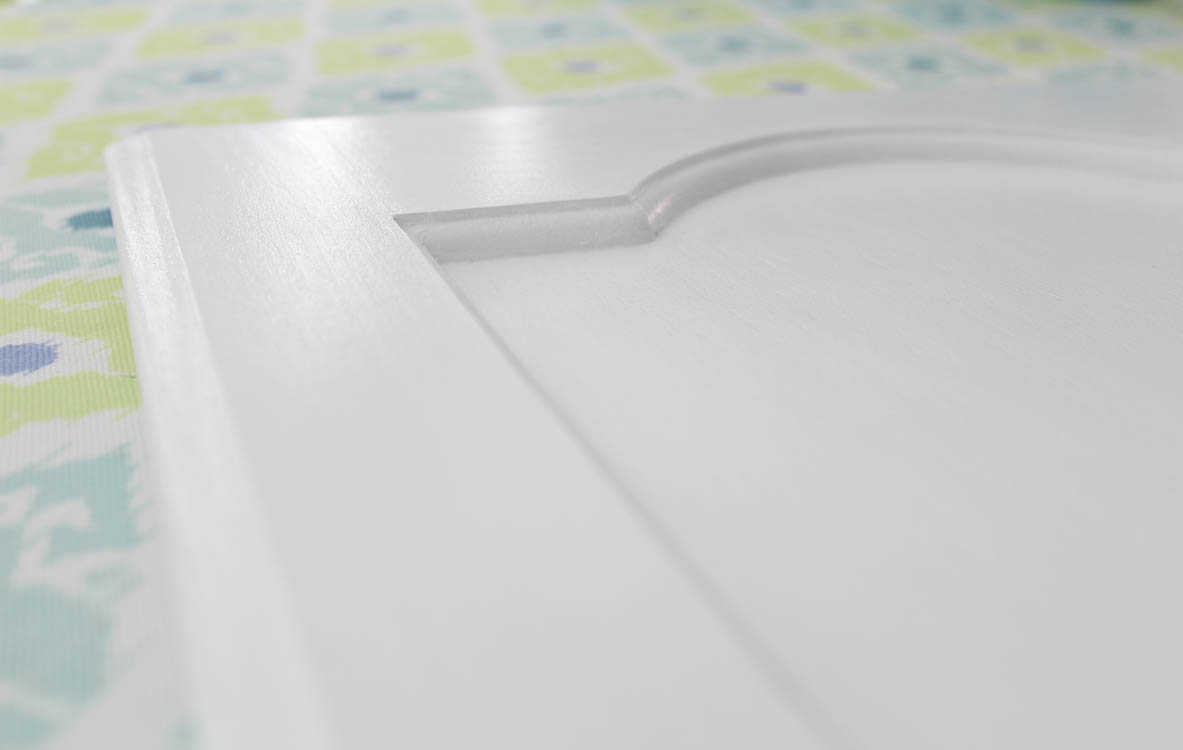

Seeing that beautiful finish is extremely satisfying and it will make your finished cabinets look amazing!
More DIY posts I think you’ll like:
- Painting Oak Cabinets White: An Amazing Transformation
- Bright White Kitchen Makeover on a Budget
- 21 Beautiful Painted Bathroom Cabinet Ideas
I’d love for you to share this post on Pinterest!
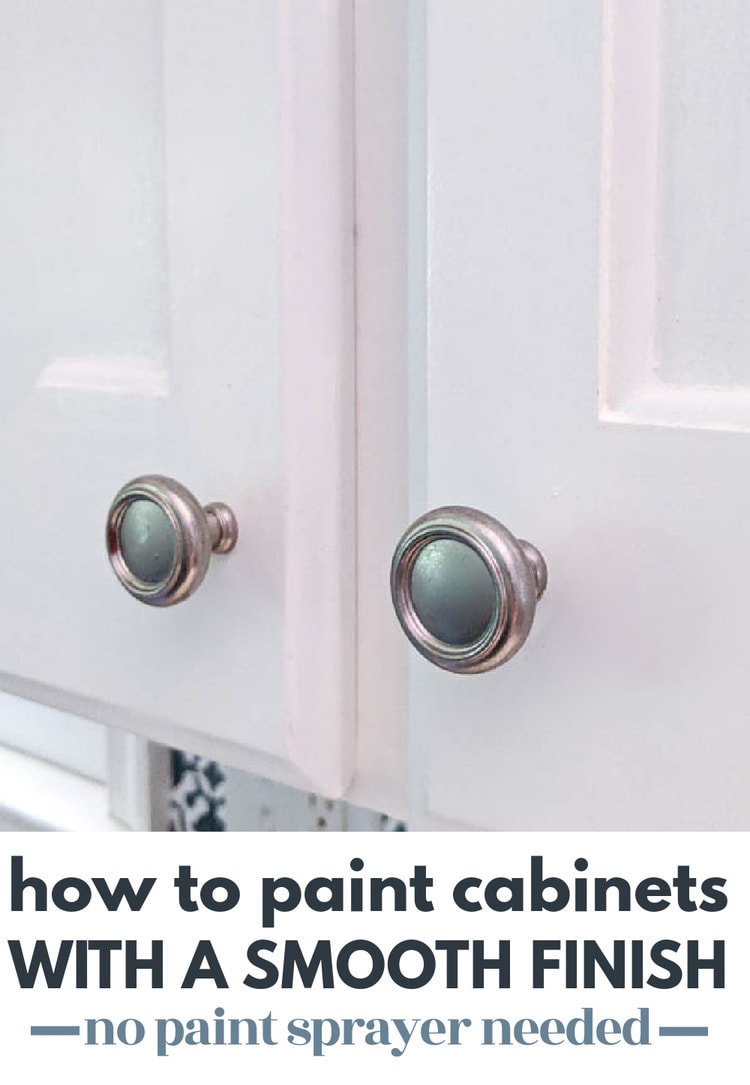

How to Get a Super Smooth Finish When Painting Cabinets - With or Without a Paint Sprayer
If you want beautiful painted cabinets, a really smooth paint finish is key. This tutorial will show you the steps to achieve a super smooth paint finish every time!
Materials
- Cabinet paint of your choice
- Small foam paint roller and tray
- High quality paint brush
- 300-400 grit sandpaper
Tools
Instructions
- Prepare your paint by stirring it well. If your paint is too thick, you can mix in some Floetrol.
- Start by painting your cabinets using a foam roller to roll on the first coat of paint. Be sure not to overload your roller. If you have any kind of raised trim, use a paint brush to paint those areas.
- Let the first coat of paint dry.
- Once the paint has completely dried, add a second coat. You may need 3-4 coats, especially if you are using a bright white paint.
- Before your final coat of paint, gently sand your cabinets with 300-400 grit sandpaper.
- For the last coat, roll the paint on with the roller.
- Immediately after, lightly run a damp paint brush over the painted surface with long, even strokes.
- Let dry for a smooth finish.
Recommended Products
As an Amazon Associate and member of other affiliate programs, I earn from qualifying purchases.


I was wondering if after I let the paint dry on my cabinets if I could smooth surface out with fine sanding and call it good or maybe put a wax on? Or is this a stupid ?
You can sand them smooth once the paint is dry. The risk is that it might change the color of the paint, especially if you are painting any color other than white. If you do decide to sand, I would use the highest grit possible – 300 or 400 grit are good for getting a super smooth finish. I probably wouldn’t wax cabinets just because wax has to be reapplied every few years and doesn’t give the most durable surface.
Do you suggest removing the cabinet doors if I’m going to roll the paint? I hear its more difficult if I have to remove cabinet doors and reinstall but its my first time and I’d like to not make it harder than it needs to be.
I always recommend removing the doors. I know some people paint the doors and drawers in place, but if they are painted more than once, that can lead to a build up of paint that can cause problems. In my opinion, it’s worth a little extra time to remove and reinstall them to get a better result.