How to paint furniture for the perfect finish every time
Painting furniture is one of the absolute best ways to give an old piece of furniture new life. But honestly, there is so much information out there about how to paint furniture, it can be really hard to know where to start.
This guide will guide you step by step through the furniture painting process and explain what you need to know to get a gorgeous finish on each piece of furniture you paint.
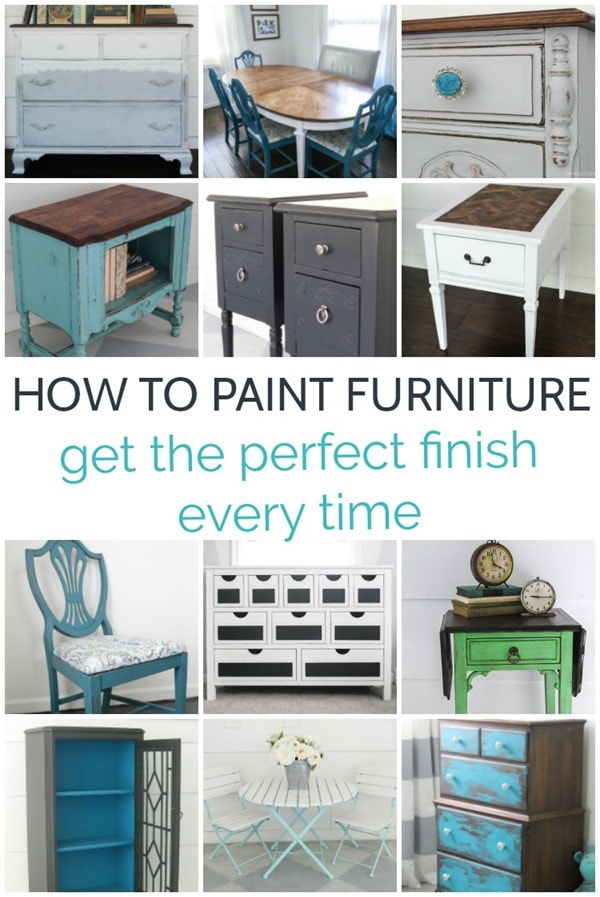
In addition to this post, I’ve also put together a quick furniture painting cheat sheet to help make your next furniture painting project a piece of cake.
Every piece of furniture is different so the process of painting furniture is a little different every time.
As inspiring as it is to see all of the beautifully painted furniture tutorials online, it can be difficult to know how they translate to your actual piece of furniture.
This quick checklist will walk you through exactly what steps you need to take when painting your specific piece of furniture. I’m sharing this checklist with all of my email subscribers for free.
Ok, are you ready to learn how to paint furniture and get a beautiful finish every time? Let’s do it!
This post contains affiliate links which means if you make a purchase after clicking a link I will earn a small commission but it won’t cost you a penny more. Click here to see my full disclosure policy.
Start with a plan
Before you do anything at all, start with a bit of planning.
What do you want your finished piece to look like?
Are you going for a rustic distressed finish or clean and smooth? What colors are you considering using?
Will your piece get a lot of daily use or will it be more of a display piece?
When you have a good idea of how you want your finished piece to look, it will make every decision along the way so much easier from whether or not you need a primer to which type of paint to use.
Prepping furniture for paint
There are quite a few brands of furniture paint out there that say they don’t require any prep.
That sounds amazing because who doesn’t want to skip all of the boring stuff and get started painting right away?
It can be so tempting to skip the prep and jump right into painting but don’t do it!
You are just asking for trouble if you skip straight to paint.
Even though lots of paint can technically be slapped straight onto furniture, you aren’t going to get a beautiful, lasting finish that way. And if it isn’t going to look beautiful, what’s the point of even doing it in the first place?
Cleaning
The very first thing you need to do before you paint any piece of furniture is do a thorough cleaning.
No matter what type of paint you are using, it isn’t going to stick to grease, dust, or other dirt.
My favorite way to clean furniture is simply to use warm water and Dawn dish soap. It is cheap, I always have it on hand, and it’s awesome at removing grease and dust.
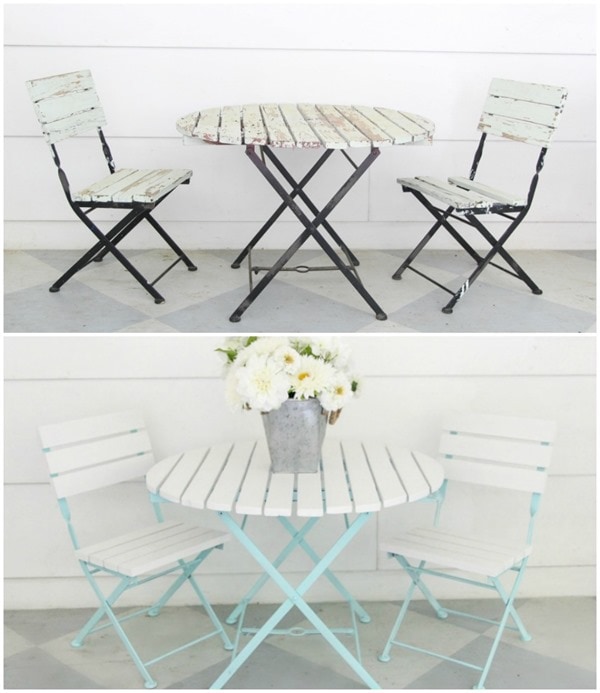
painted outdoor table and chairs
Repairing
Once your furniture is clean and dry, it’s time to do a good assessment. If anything is loose or needs to be repaired, this is the time to do it.
Fill in any holes and deep scratches with wood filler.
Go ahead and remove any hardware that you don’t want painted as well. If you are planning to replace the drawer pulls or knobs, check to see if you will need to change the placement of the screw holes.
If so, go ahead and fill in the old holes with wood filler and sand smooth.
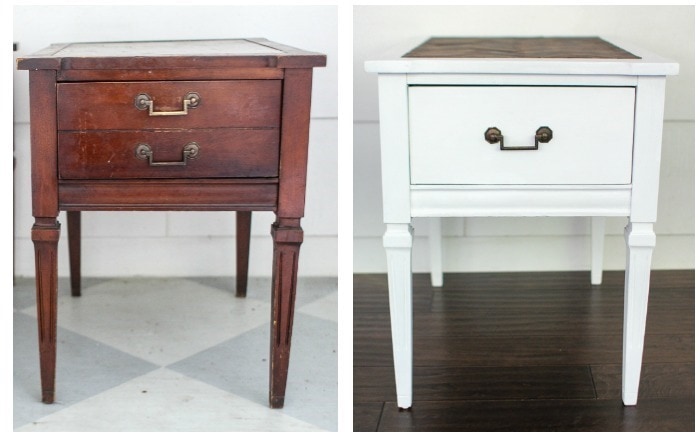
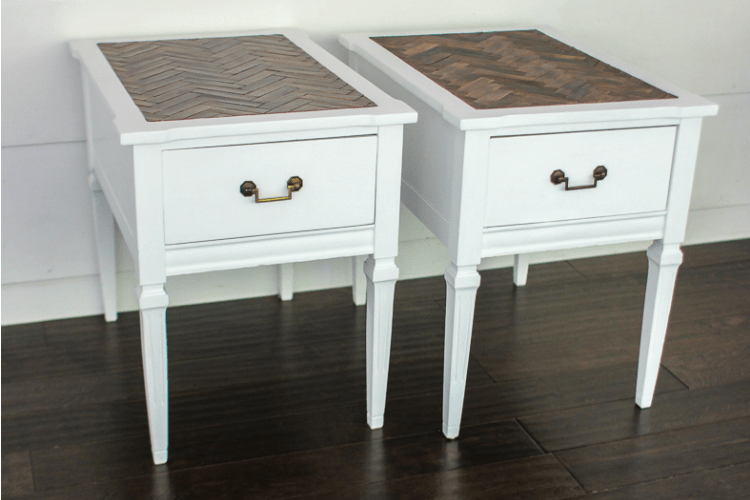
white end tables with herringbone top
Sanding
Most of the time you don’t have to sand your furniture before painting it.
If you are restaining a piece of furniture, you have to completely remove the old finish first, but not with painting.
I’d say this is one of the main reasons painting furniture has become so popular lately – it is a much easier way to bring old furniture back to life.
Even though you don’t need to remove the old finish, you do need to make sure you have a good surface for your paint to stick to.
If your furniture has any really rough spots, sand them smooth. (A general rule when sanding to a smooth finish is to sand with 100 grit sandpaper, followed by 150, and finish off with 220).
Also, if your furniture has a shiny, glossy finish, you will need to start by sanding it to rough it up a bit.
It is very hard for paint to stick to a slick, shiny surface. Roughing up your furniture with 220 grit sandpaper will give the paint something to stick to.
After sanding always be sure to remove any dust using a damp cloth or a tack cloth.
Once you are done sanding, if there are any sections of your furniture that you don’t want to be painted including hardware that cannot be removed, use painter’s tape to protect these.
Primer
Lots of furniture paints also say that you can skip the primer. This one is actually true…but there are some important exceptions.
If you are painting a piece of wood furniture with a very dark or reddish colored wood, you should really start with a good oil-based primer.
Wood furniture has tannins which are natural oils within the wood. When you paint wood furniture, the moisture in the paint can cause the wood grain to open and release the tannins.
This is particularly true of certain types of wood that are frequently used in furniture including mahogany, cherry, and knotty pine.
When you paint furniture white or another light color, these tannins will cause your beautiful paint finish to look yellow and splotchy. Not what you want!
You can prevent this whole bleed-through issue by sealing dark or reddish furniture first using either Zinsser Bullseye Shellac or Zinsser Cover Stain Oil-Based Primer.
Either of these products will create a barrier that prevents the tannins from bleeding through and yellowing your paint.
If you are painting anything made of raw, unfinished wood, it is also a good idea to use a primer first.
Any primer will work in this case. Latex primer is a good choice because it is easy to clean up using just water, but oil based is also fine.
(And in case you are wondering, no the paint with primer already added that you can buy at Lowes or Home Depot doesn’t count when it comes to painting furniture.)
Also, any time you are painting something white, it is a good idea to start with primer. White paint has very little pigment compared to other colors and usually requires a lot of coats to get good coverage.
Starting with a coat of white primer can really cut down on how much paint you will need. This can be a big time and money saver since paint is typically much more expensive than a primer.
Still have primer questions? You may want to check out this post all about what primer is and when to use it.
Paint
Finally, you get to actually start painting! This is the fun part.
If you aren’t sure what type of paint to use, I’ve got lots of info in this post about the best paints for furniture.
It is easiest to paint large, flat surfaces like table tops and sides of dressers with a small foam roller. Then you can use a paintbrush for smaller or more detailed sections.
It is important to use a good quality paint brush for painting furniture if you want a smooth finish. Most specialty furniture paint lines also carry a line of brushes that will work.
If you want to start out with a less expensive option, I like the Purdy 2.5 inch angled brush.
When painting furniture be sure to use long even strokes to get a nice smooth finish.
You will most likely need two coats of paint, but sometimes you may need more coats, especially if you are using a very light paint like white or a very saturated color like red or black.
Be sure to let the paint dry thoroughly between coats.
Distressing
Whether or not you want to distress your paint finish is totally up to you.
If you do decide to do some distressing, it will look most natural if you sand the paint by hand rather than using a power sander.
Start with 220 grit sandpaper and lightly sand your painted piece along the edges.
If this isn’t strong enough to take off the paint, try 150 grit.
Focus on sanding along all of the edges and corners of the piece, on any raised details, and along any drawer edges.
If you want a rougher look, you can also very lightly distress along the flat planes of the furniture, just proceed with caution.
The goal is for the furniture to look as if it has aged and been worn down with time and use, not as if someone has sanded the heck out of it.
That said, there really isn’t a right or wrong amount of distressing. Do what you think looks good.
If you end up wishing you hadn’t sanded quite so much, it is easy enough to repaint those areas.
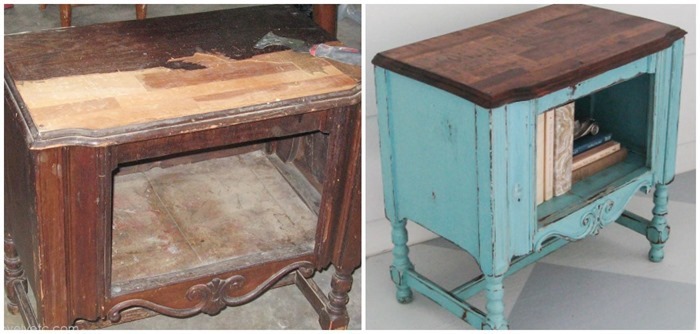
my favorite aqua furniture redo
Sealer
Finally, you need to protect your paint finish with sealer.
There are a few types of furniture paint that do not require a sealer or topcoat: DecoArt Satin Enamels, General Finishes Milk Paint, and Fusion Mineral Paint to name a few.
I have used each of these paints without a top coat with good results.
However, if you are planning to skip the sealer, there are a few things you need to keep in mind.
First, it is important that you are very gentle with your furniture for the first few weeks after painting.
All paint takes between a few days and a few weeks to fully cure or harden. During this initial period, it is very easy for furniture to get dents and chips.
Even beyond the first month, if your furniture is going to get heavy use, it is a good idea to use a quality topcoat.
It’s much better to take a few extra hours now to protect your paint finish than to have to repaint the entire thing because the finish got ruined.
If you do choose to use a topcoat, it is important to use something that is non-yellowing.
Also, think about what kind of sheen you want your furniture to have.
If you are painting something rustic or distressed, a matte finish is going to look best. If you want a more modern or cleaner look, you can choose between satin, semi-gloss, or glossy.
Just remember that semi-gloss and glossy finishes can be quite shiny and also tend to highlight imperfections.
There are a variety of good sealers available. You can find Minwax Polycrylic at most home improvement stores and it does work, but it can be tricky to get a smooth finish with.
My two favorite sealers are General Finishes High Performance Top Coat in Satin and General Finishes Flat out Flat Top Coat. Both are easy to apply, go on smoothly, and provide a durable finish.
Almost all chalk paints have to be sealed with a good top coat. Some people love to use wax as a sealer on their chalk-painted furniture, but any good sealer (including those listed above) will work.
Personally, I find wax to be difficult to apply well. I also don’t like that it has to be reapplied regularly unlike other sealers.
Whichever topcoat you choose to use, be sure to follow the directions on the can.
Some brands go on best with a brush, some with a sponge brush, and some with a rag.
(Still have questions about which top coat you should use? I’ve got a guide to the best and worst top coats that will help.)
Once your sealer is dry, be extra gentle with your furniture for the first few days.
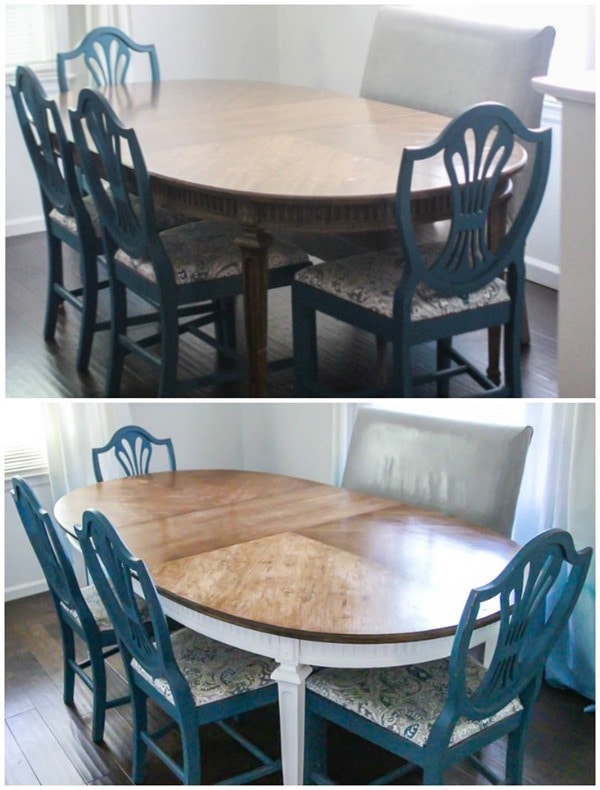
And now you know how to paint furniture like a pro. Not only that, but you can be confident your painted furniture will turn out beautifully and last for years!
Happy furniture painting! If you have questions or get stuck, I am happy to help. Just leave a comment below with your question.
There’s also a helpful post from porch.com where a bunch of furniture painting pros (including me!) answer common furniture painting questions.
Here are a few more posts I think you’ll find helpful:
- The Best and Worst Sealers for Painted Furniture
- The Best Paintbrushes for a Perfectly Smooth Paint Finish
- Painting Furniture White: Secrets to the Perfect Finish
- Everything You Need to Know about Primer
- How to Paint Outdoor Furniture Like a Pro
Or you can see all of my furniture flips right here.
I’d love for you to pin this post on Pinterest!
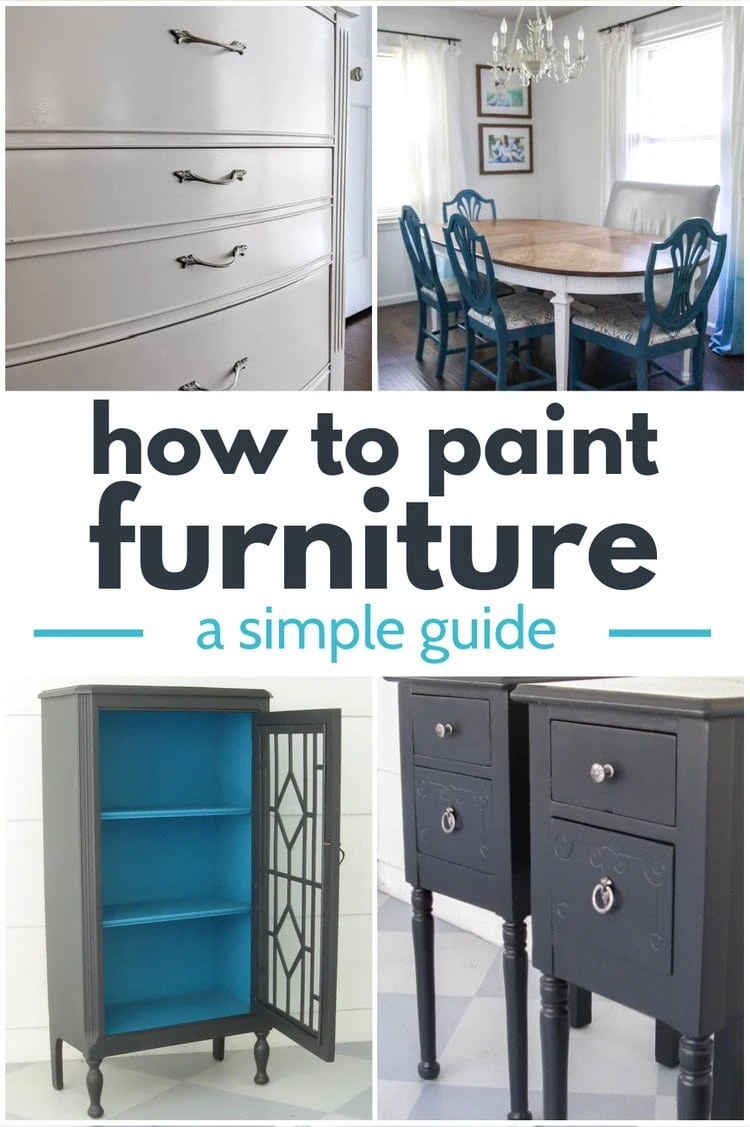

Google Web Story: Easy Way To Paint Furniture

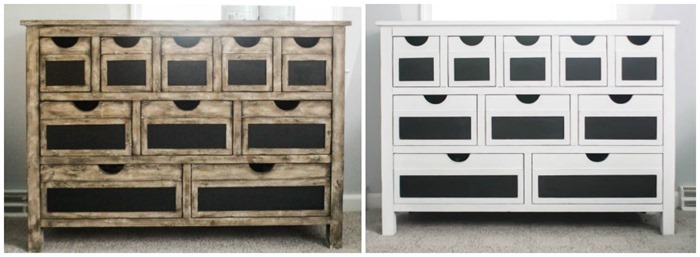
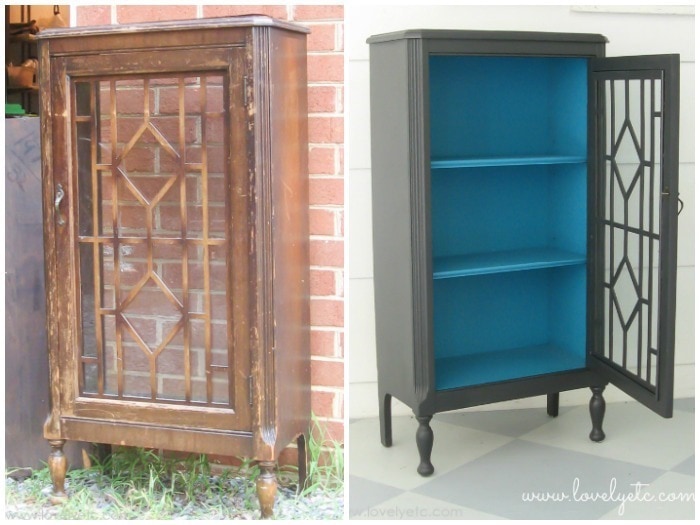

Why do we want to waste old furniture and make it an antique? We always used to engage them in the corner of our home. This is a great idea to incorporate in our home to give a chance to new change!!!
First time at painting furniture. Want to update 20 year old bedroom set
You can do it! And once you finish your first piece, you’ll be itching to start again!
I love new furniture but i adore up cycled pieces. I’m yet to actually fully re do a second hand piece. I’ve had a dabble here and there at putting a fresh coat of paint on a side table etc. but never anything like the examples above. Thanks for all the tips!
I hope they help!
I really wonder why other people just throw away old furniture. They don’t know the value and transformation they can do to it. Thanks for sharing this guide about painting furniture. I’ve learned a lot.
So true!
I just.finished painting 8 chairs with light gray paint. My husband managed.to bump.2.of the chairs together and the paint came.off.fairly easily. You said it can take up to 30.days to fully cure. Do I need to wait.that long.before I put a sealer on them? Or.can it.be done.sooner than that. I really don’t want to start on the table until I get answers on this.
Sorry to be slow to reply to this time-sensitive question. Yes, the paint won’t fully cure for thirty days, but you can go ahead and seal them as soon as the paint is dry to the touch. The sealer will be a huge help in protecting the paint while it cures.
Hi there, which sealer would you recommend for going over a black painted dresser? It would need to be pretty sturdy but don’t want a cloudy finish over top!
I love General Finishes High Performance Top Coat. It is easy to apply, gives a durable finish, and I have used it over black paint with great results.
Looking forward to receiving your tips on painting furniture. I plan to paint a cabinet with two glass doors black on the exterior and white interior. This will be my first piece
It sounds like it will be beautiful! Let me know if you have any questions once you get started!
I just found you and am so glad. Your attitude and presentation is really delightful. The tutorials are so easy to follow and very informative. Thanks for helpful sharing!
Thanks!
This is just what I’m looking for! Thank you for taking the time to share your knowledge. Looking forward for more tips!
I’m glad it helps!
I have a pneumatic gravity fed paint gun that’s fully adjustable as far as paint viscosity and spray come. Is it sensible to use it? Which steps will it work best? (Primer, paint, finish) and lastly, I have a 5 drawer dresser, 3 drawer wide vanity, and a 3, half width drawer desk. All getting modernized and semigloss or matte light purple or whited.. or both.
Thank you so much! Great material here!
Yes, your paint gun should work well for painting furniture! I generally use an oil-based primer when painting furniture to prevent wood tannins from bleeding through, so I don’t use a paint sprayer for that. But if you are using a latex primer, you could definitely thin it if needed and spray it. Paint sprayers generally work really well for both paint and sealer. Good luck with your projects – they sound great!
Great advice for amateurs!
Thanks!
I am just looking for the free furniture painting guide! My husband and I just bought our first house, and I have bought a few furniture items of Facebook marketplace that I would like to flip! Your posts have been more helpful than anyone else’s that I have read.
Thank you! I am so happy to hear that – I really work hard to make my posts truly helpful and not just more fluff on the internet!
Hello, I’m new to furniture painting. Should I lightly sand the last coat of paint on a nightstand before applying a sealer? If so, what grit should I use?
Unless the paint feels gritty or rough, you really don’t have to sand the last coat before applying sealer. I have painted lots of furniture and never do this. But if you do want to or if your paint is feeling a bit rough to the touch, you can sand it very lightly with 300 or 400 grit sandpaper.