The Best Stencils for Signs plus How to Choose One
I’m sharing my picks for the best stencils for DIY signs along with tips for choosing the right stencil and other materials for your own DIY sign projects.
Stencils are one of the easiest ways to make gorgeous custom signs and decor, even if you aren’t particularly artistic and don’t have the best handwriting.
I recently shared my tried-and-true process for getting crisp lines when stenciling on wood. Since sharing my tutorial, I’ve gotten lots of questions about different types of stencils and choosing the best stencils for beautiful wood signs.
So today I’m sharing everything I’ve learned about choosing the right stencil, different types of DIY sign materials, and my picks for the best sign stencils out there.
This post contains affiliate links which means if you make a purchase after clicking a link I will earn a small commission but it won’t cost you a penny more. Click here to see my full disclosure policy.
Types of Stencils
There are a few different types of stencils you can buy for stenciling signs. Choosing the best type for you depends on a few factors like whether you want to be able to make multiple signs using the same stencil.
Vinyl Stencils
Vinyl Stencils are made from thin vinyl with an adhesive backing.
(Note: A vinyl stencil is not the same thing as vinyl lettering. I know some people make signs using vinyl letters, but I am not personally a fan. Vinyl lettering really stands out on wood signs because the difference in the sheen and texture is very obvious up close. Vinyl stencils, however, allow you to paint the lettering so that it looks much more authentic.)
The good: Vinyl stencils are easy to use because once you remove the protective film, they stick to the surface you are stenciling and don’t move around. These are usually pretty inexpensive and there are lots of vinyl stencil designs for sale on Etsy.
The bad: They can only be used one time. These are perfect when you want to stencil something unique, but don’t make sense if you are planning to stencil the same design multiples items.
Reusable Stencils
Reusable stencils are exactly what they sound like: stencils that can be reused many times. This is my favorite type of stencil to buy.
They are typically made from a thin, durable material like plastic or mylar and can be cleaned and reused for multiple projects.
The good: You can reuse one stencil for multiple projects. If you think you will want to reuse one stencil design for several different projects, this kind of stencil is the most cost-effective.
You can buy this type of stencil online from Etsy or Amazon, but you can also find a limited number of designs at craft supply stores if you don’t want to wait for something to be shipped to you.
The bad: These stencils typically cost a bit more since they are made from more durable materials. They may also have higher shipping costs when buying online.
SVG File Stencils
SVG File Stencils are a bit different, but I still wanted to mention them here. If you search for stencils on Etsy, you will find lots of SVG stencils and it can be very confusing. SVG file stencils are stencil designs that you can download.
You can turn these into physical stencils using a Silhouette or Cricut cutting machine. You won’t receive a physical stencil, but buying a pre-made stencil design saves you the work of designing your own stencil.
The good: You can choose to make your physical stencil from vinyl or a reusable material like mylar. You can also choose what size to make it.
This type of stencil is typically very inexpensive although you do have to buy the materials to make your stencil separately.
The bad: The biggest downside of these stencil designs is that you need to own a Silhouette or Cricut. If you do lots of crafting, it may be worth the upfront investment of buying one of these cutting machines since they can do so many things. But if you just want to make a couple of signs, it isn’t worth it.
(Full disclosure, I bought a Silhouette Cameo a few years ago. I used it a few times and loved how easy it was to make stencils and other things. But I didn’t use it enough to justify the cost, so I sold it on Facebook Marketplace. I do, however, have many friends who use theirs all the time so I think it really just depends on your DIY style.)
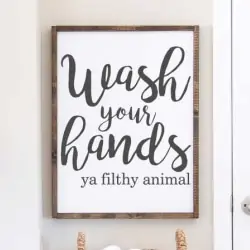
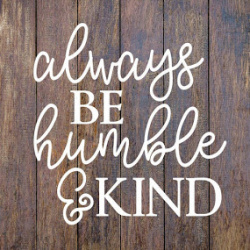
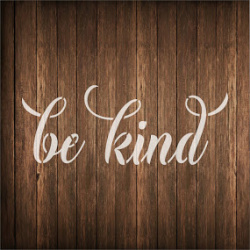
The Best Vinyl Stencils for Signs
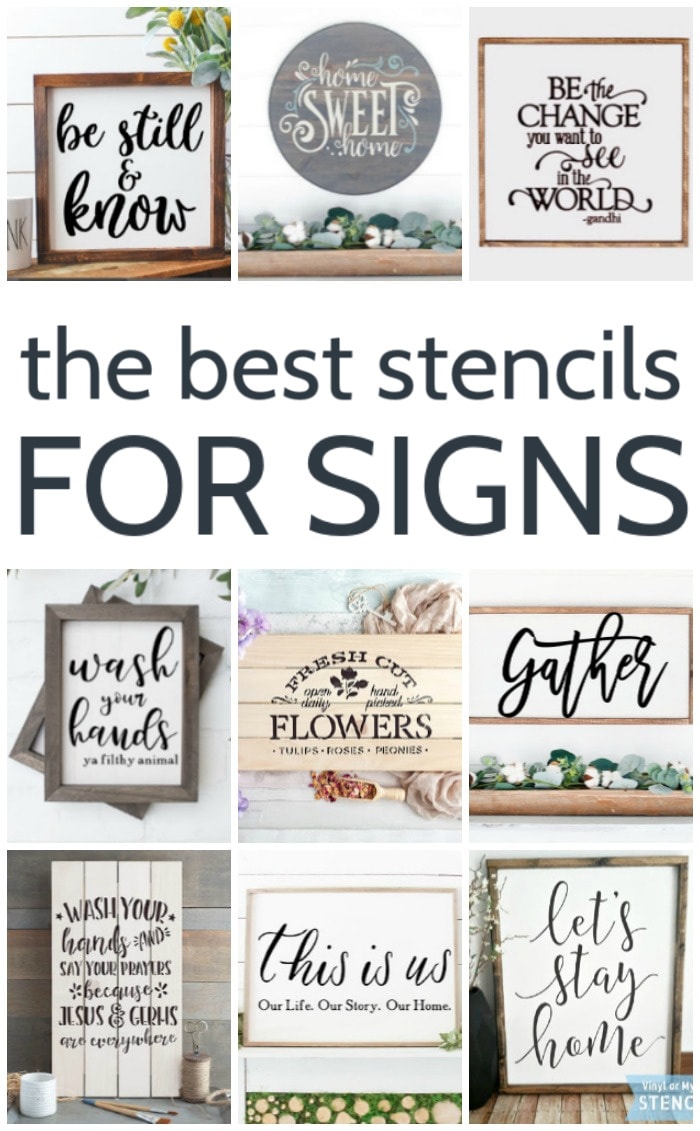
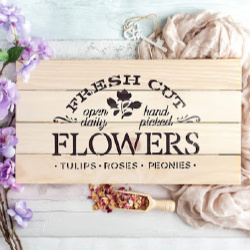
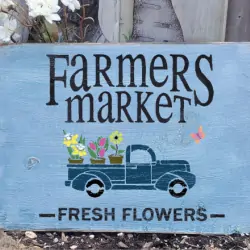
After scouring all of my favorite stencil sources, these are my favorite vinyl stencils. I made sure to include some of the most popular stencil designs as well as some more unique stencils.
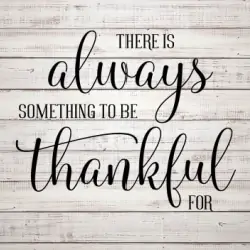
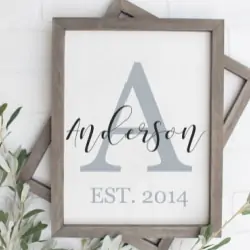
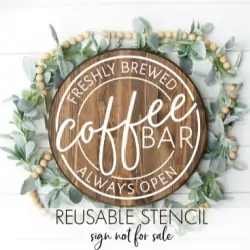
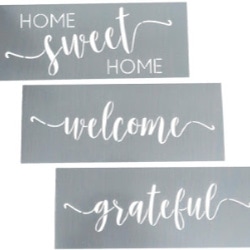
The Best Reusable Stencils for Signs
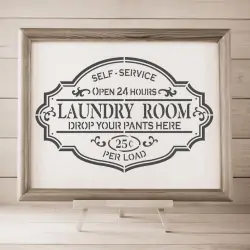
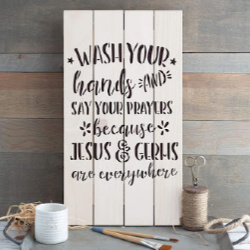
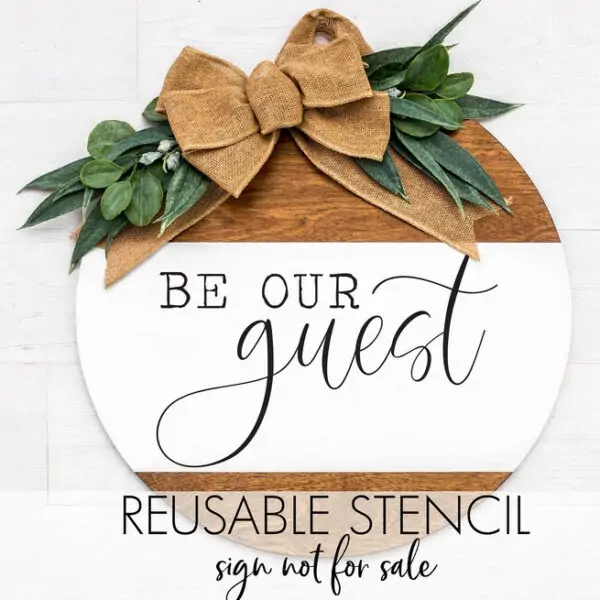
And these are my top picks for reusable stencils, including some I have used before and some I would love to use in the future.
Stenciled Sign Options
Once you have a great stencil, you also need something to use it on. Whenever you are stenciling, you want to choose something flat and fairly smooth for the best results.
There are many, many different ways to make a stenciled sign from wood or other materials. These are a few of my favorites to help get your creativity flowing.
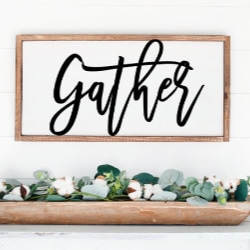
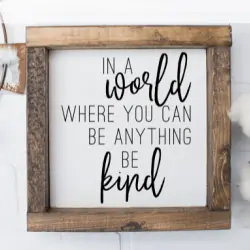
- You can make a farmhouse style framed sign using a plywood backing and with a simple DIY frame.
- You can use a more simple unframed sign made from thick plywood cut to size. This style of sign works especially well for sitting upright on a shelf.
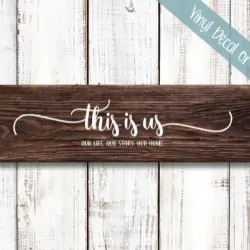
- You can make a more rustic sign from several wood planks attached together.
- You can repurpose something like a tray or cutting board to make your sign. The patina of the weathered wood can give your sign more of a vintage feel.
- You can make a sign from a pre-cut wood round. These are great for hanging on your front door in place of a wreath.
- You can buy many different styles of pre-cut sign bases at craft supply stores. I’ve linked a few great options below this list.
- Cabinet doors also make fantastic DIY signs.
- You can also stencil your sign on an old window or mirror. (Vinyl lettering also works well for this.)
Pre-Cut Sign Bases
Below are a few of the signs I have made using many of these options to give you some ideas.
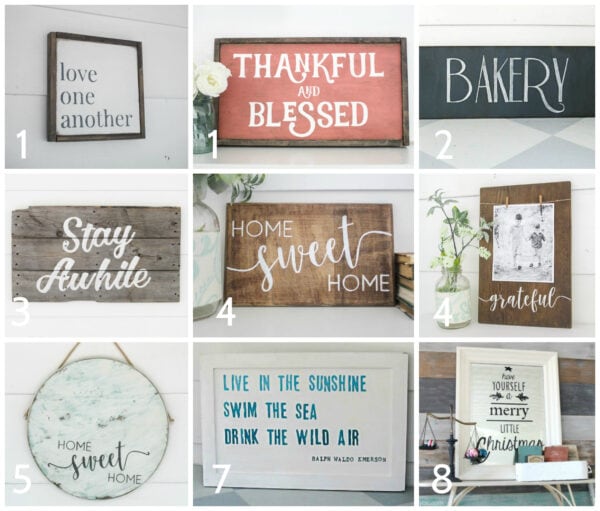
Now all you need to do is choose your stencil, choose your base, and get started!
More help for making DIY signs
If you want a little more guidance, I have a great step-by-step tutorial on stenciling on wood. Or for a completely different option, I also have a tutorial on transferring designs to wood without using a stencil.
And finally, I’ve also got a great tutorial for making a framed DIY wood sign from start to finish.
I’d love for you to share this post on Pinterest!





I’m wondering if you have any tutorials on how to line up reusable stencil letters evenly when creating a word on a cutting board?
I don’t but maybe I should make one soon! When I am trying to line up individual letter stencils, I start by making a straight line on the surface I am going to stencil with painters tape. Then I line up the bottom of my letters with the tape so they are all straight. I always start with the middle letter of the word or phrase. (When counting the letters, be sure to count the spaces between words as well. If there is an even total number, just center the middle two letters.) Then work out from the middle, trying to keep the letters as evenly spaced as possible.
I etch glass & mirror pieces. How do I keep the “inside” pieces of letters in place with a reusable stencil? I don’t like the amount of waste generated with vinyl stencils but use them because of the ability to have things floating such as the middle of letters.
This is a great question. A lot of reusable stencils have the ‘middle’ parts attached to the rest of the stencil with small strips. You can use the stencils like this and then touch up the stenciled design to cover those connectors once you remove the stencil. When you are using stencils to paint this is pretty easy, but I know it probably isn’t so simple when you are etching glass. Another option would be to cut the middle pieces from the rest of the stencil and use repositionable spray adhesive to attach them to the surface you are stenciling. I use repositionable spray adhesive a lot when stenciling to keep my stencil in place and help prevent paint from seeping under the stencil. It should keep the stencil in place fairly well and make it’s use more similar to the vinyl stencils you usually use.