How to easily transfer lettering and designs onto any surface
Today I want to share another quick tip that will help simplify so many of your DIY projects. This is one of my favorite, no cost, DIY tricks that I find myself using constantly.
This is a super simple method for transferring lettering and designs onto any surface including wood, walls, painted furniture, signs, and more. I have used this method many, many times for all types of projects (scroll to the bottom for a ton of project ideas).
You’ll be able to transfer custom lettering in absolutely any font in any size as well as simple images. And best of all, this method doesn’t require any fancy printers or cutting machines and it works beautifully every time.
This post contains affiliate links which means if you make a purchase after clicking a link I will earn a small commission but it won’t cost you a penny more. Click here to see my full disclosure policy.
How to transfer designs onto wood and other surfaces
You will need a printout your image or typography to be transferred, a pencil, a surface to transfer it onto, and painter’s tape. If you are transferring your design onto a dark surface, you will also need a piece of chalk.
This transfer method works on any surface that pencil or chalk will stick to. It is best for transferring onto fairly smooth surfaces like cardboard, paper, or wood, but I have also used it successfully on textured walls.
First, you need to have a paper copy of the image or lettering to be transferred. You can simply print this on your home computer.
If you need a larger size printed, it is pretty inexpensive to get black and white enlargements at your local copy store. You can also get up to a 3’ x 4’ engineering print for around $5 at Staples.
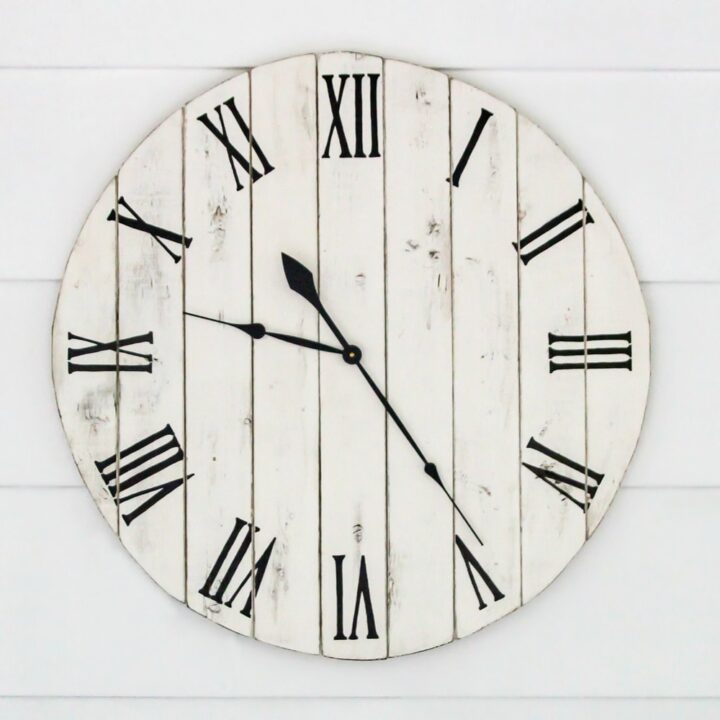
These process photos were taken while creating a DIY Wooden Farmhouse Clock. The full clock tutorial can be found in my book, Wood Plank Projects.
Turn over the printout and rub pencil lead all over the back side of the paper.Be sure to cover the entire area behind the design you are transferring.
If you are transferring your design onto a very dark surface, rub the back of your printout with a piece of white chalk instead of a pencil.
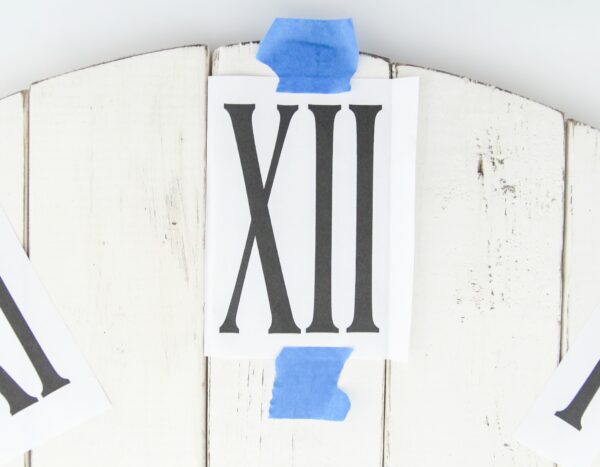
Turn your design back over and place it on top of the surface you want to transfer it to, with the pencil side down. Be sure to pay attention to whether it is centered and straight.
You can use a few pieces of painter’s tape to keep the paper from moving around.
Use a pen or a sharp pencil to trace the outline of each part of your design. Be sure to maintain light pressure as you are tracing.
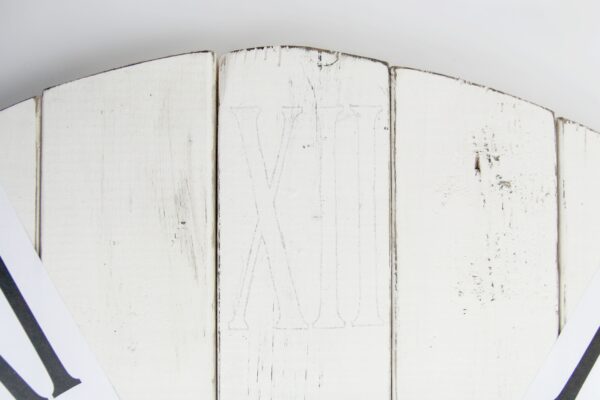
Once you have traced everything, remove the paper and you will see a pencil outline of everything you just traced.
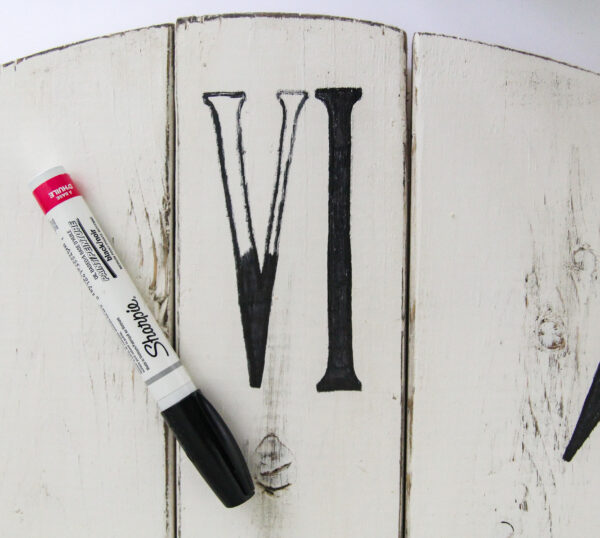
You can then finish your design however you choose. When lettering signs, I always prefer to use Sharpie paint markers. They are so much easier to use than a paintbrush and work really well.
Oil-based paint markers work well for wood and most other materials. Water-based paint markers are best if drawing directly on a wall.
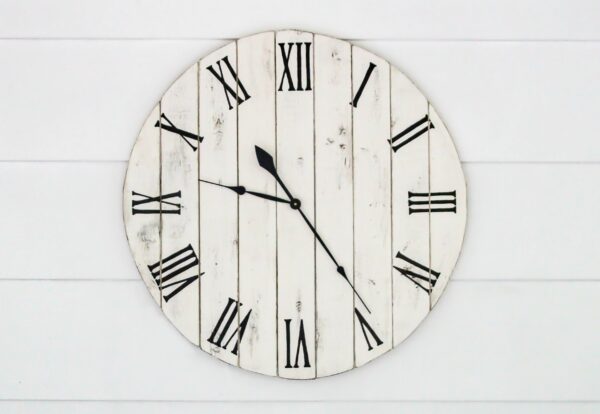
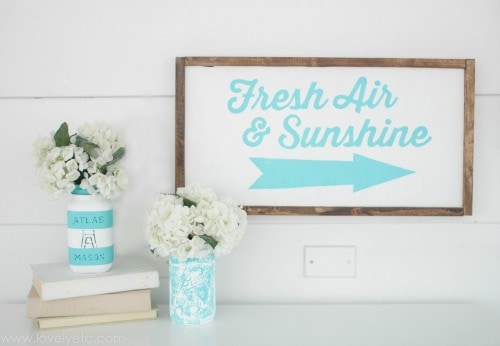
This is also my absolute favorite method for creating DIY signs. You can easily make signs with perfect lettering using any font and size you want.
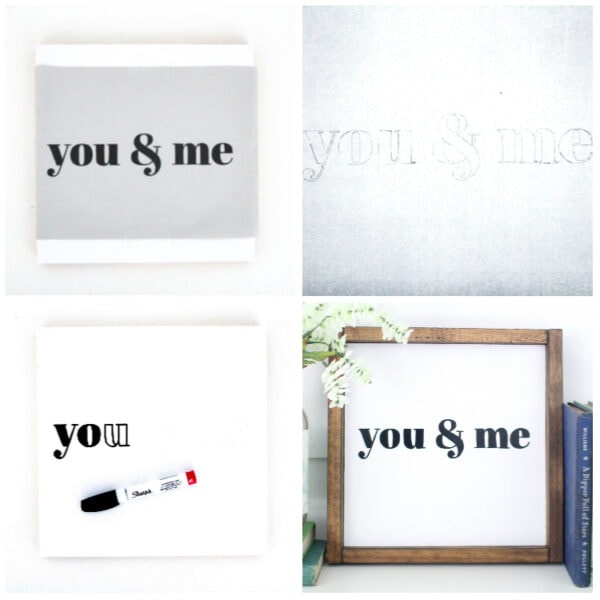
Tutorial for making framed DIY wood signs here
And here is an example of how this same process works using chalk to transfer a design onto a dark background.
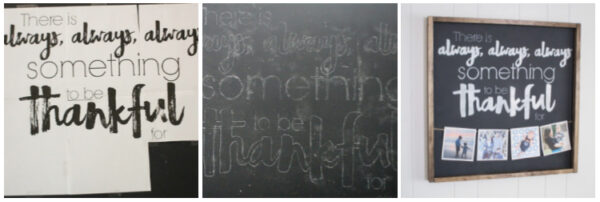
Thankful sign tutorial is here
More great DIY Projects made using this simple transfer method
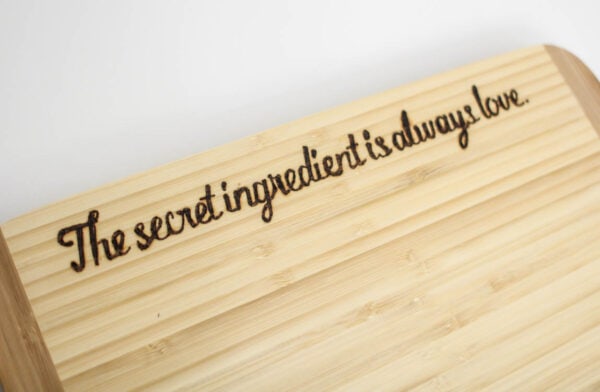
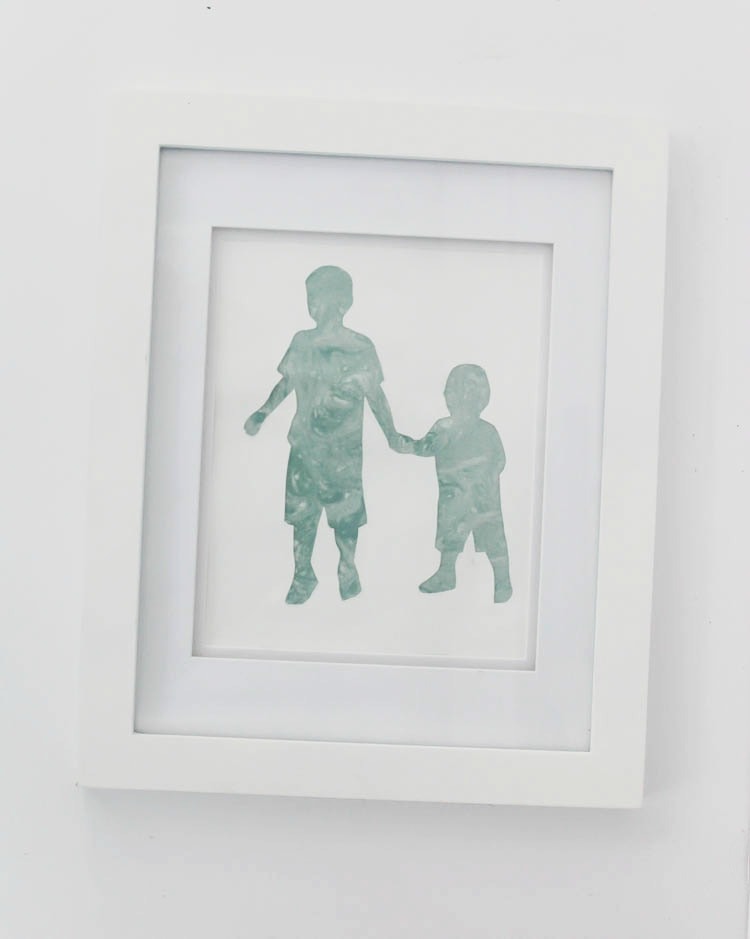
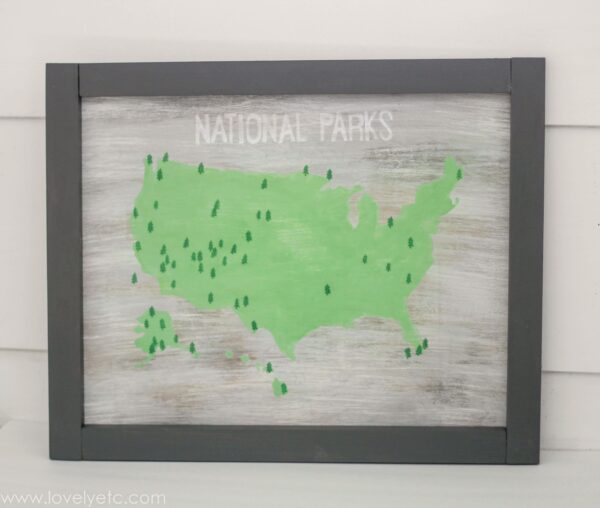
Even though I love this method for making signs, it also works great for lots of other DIY projects including wall murals, unique furniture, paper cutouts, silhouette art, and wood burning projects. Just click the links below to visit the full tutorials.
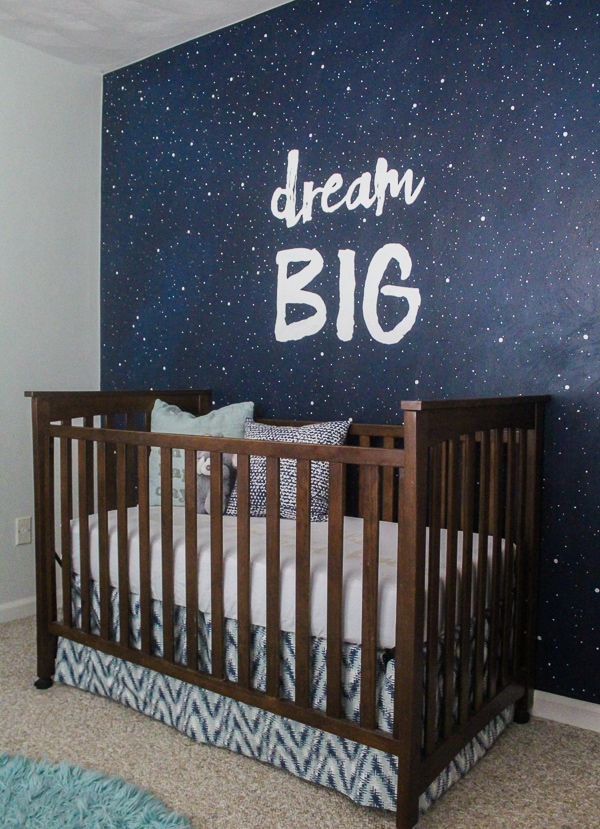
Dream Big Mural in the Nursery (using a chalk transfer on a dark wall)
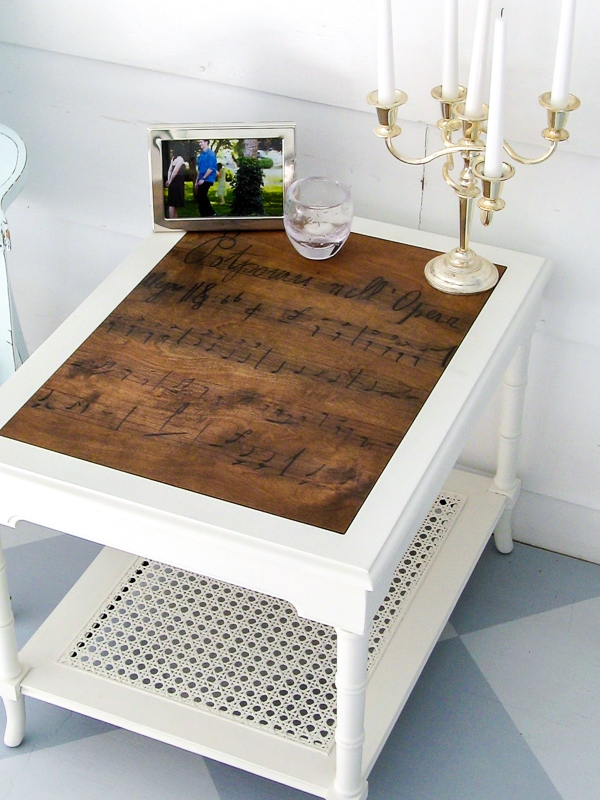
End table with a custom wood top with music transfer

DIY Thankful Photo Display Sign
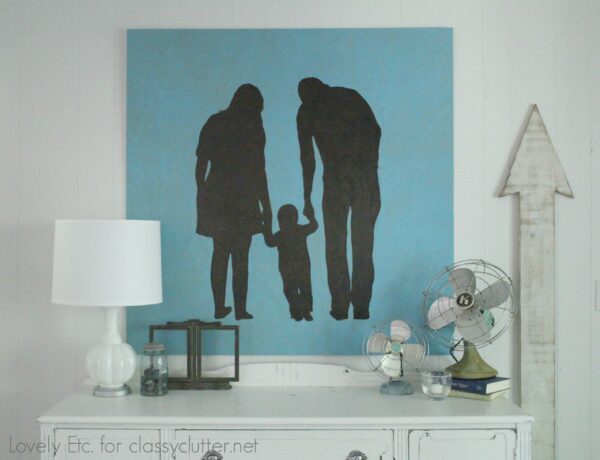
Oversized Family Silhouette Art


How to easily transfer lettering and designs onto any surface
This is a super simple method for transferring lettering and designs onto any surface including wood, walls, painted furniture, signs, and more.
Materials
- Printed image or typography
- a pencil
- a surface for transfer
- painter’s tape
Instructions
- Turn over the printout and rub a pencil all over the back side.
- Turn your design back over and place it on top of your surface with the pencil side down.
- Use painter’s tape to keep the paper from moving.
- Use a pen or a sharp pencil to trace the outline of each part of your design.
- Remove paper. The design will be lightly outlined on your surface in pencil. Then you can trace over it or fill it in with paint or a paint marker.
Notes
If you are transferring your image to a dark surface, you can use chalk in place of a pencil. The light chalk will be much easier to see on a dark surface than pencil.
Recommended Products
As an Amazon Associate and member of other affiliate programs, I earn from qualifying purchases.


I’d love for you to pin this for later!

Google Web Story: How to Transfer Lettering and Designs
Hi Carrie! I have just started following your blog and I just wanted to tell you how much i am enjoying it. I have definitely have to try this so i “Pin”ed it. I have found so many great ideas here and inspirtation. thank you so much and have a Merry Christmas.
Cheryl
Thanks for pinning and following along! Merry Christmas!
Hi Carrie,
This is a great blog- thank you. Would this method work on painted rocks?
Thanks, Julie
Yes, it definitely should work as long as the rocks are smooth enough.