The boys’ shared bedroom is finished and it is so much better than I even imagined! I am thrilled to share it (show it off) today!
If you’ve been following along, you know this whole room makeover went down in only six weeks. Linda from Calling it Home dreamed up the very motivating One Room Challenge to challenge designers and bloggers to make over one room in their homes in only six weeks.
I decided this spring I was going to take on the challenge and transform my son Griffin’s room into a shared room for both of my boys, Griffin and Asher. I had a little extra incentive: I’m now 32 weeks pregnant with baby number three so it was time Asher (almost 2 years old) to vacate the nursery.
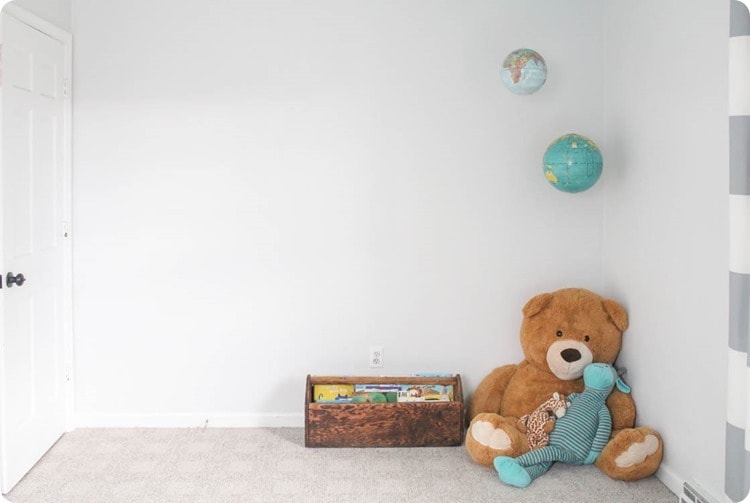
Six weeks ago the bedroom looked like this:
It was a pretty cute room for a little boy, though a bit bare. But it definitely needed some help to work as a shared space.
The main goals for the room: two beds (pretty important), better storage space, and generally cuter. You can see the design plan here, but the basic idea was a mix of vintage and modern with a bit of an outdoor adventure theme.
And like all of my home projects, this room was definitely put together on a budget. I used my favorite combo of DIY projects, repurposing what we already had, and shopping for deals to put together a room that is inexpensive but full of personality.
Ready to see how it all came together?
Shared Boys Bedroom Reveal
At the risk of sounding conceited, it’s pretty great right?? This may be my favorite room in our house.
And even more importantly, both boys love it! Well, Asher didn’t actually say so because he’s not quite there with conversation but he loves playing in there and hanging out on his new bed.
(This post contains some affiliate links. I also received a free play teepee to use in the room from Minted. The hard work and opinions here are all my own. See my full disclosure here.)
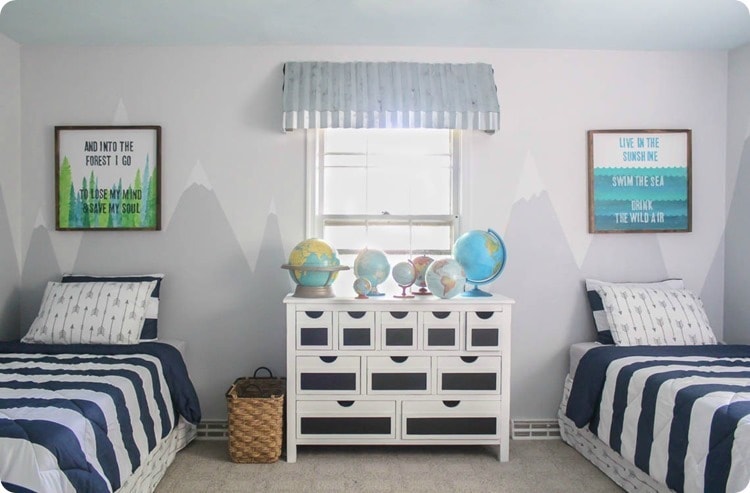
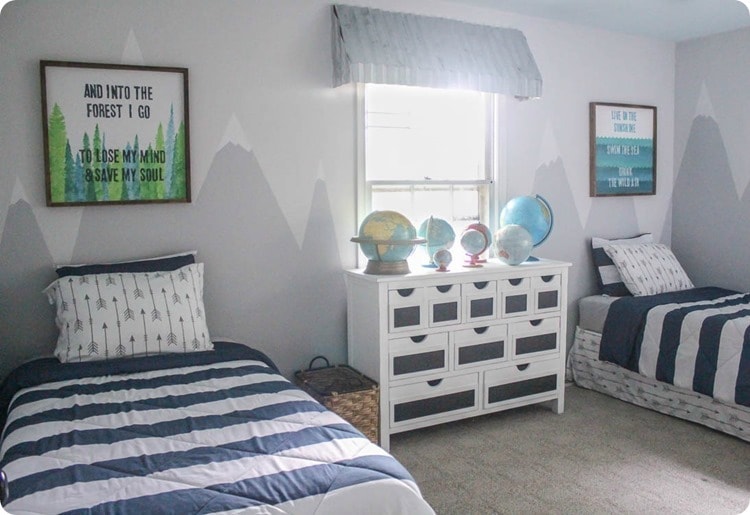
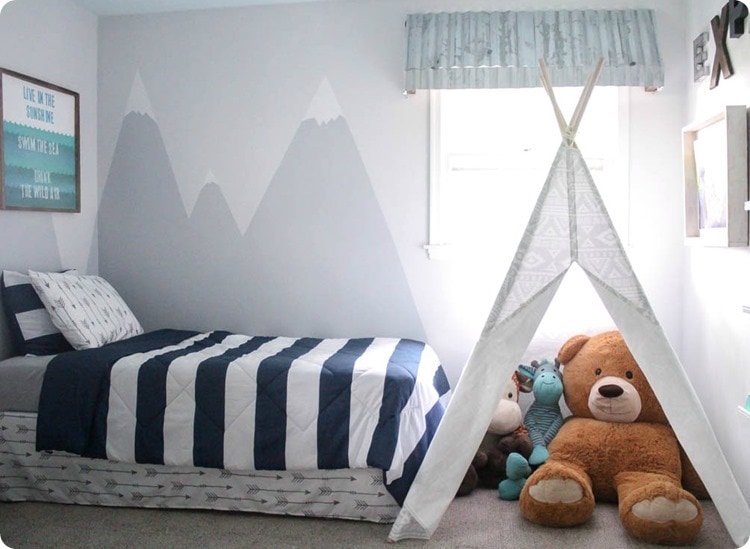
I love a mix of vintage and modern pieces and those farmhouse style window awnings are my favorite vintage touch in this room. I fell in love with a picture of old awnings in Joanna Gaines’ farmhouse and knew they would be perfect for this room. So I figured out how to build my own and I have a full tutorial right here.
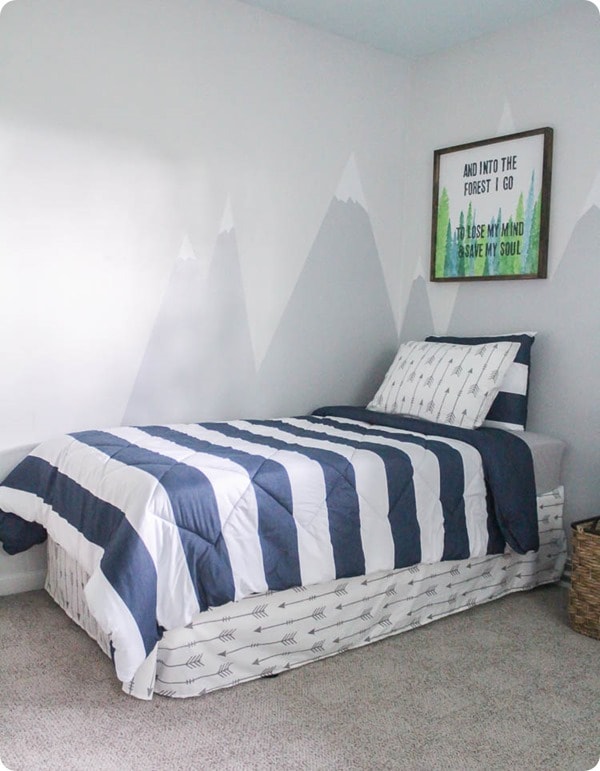
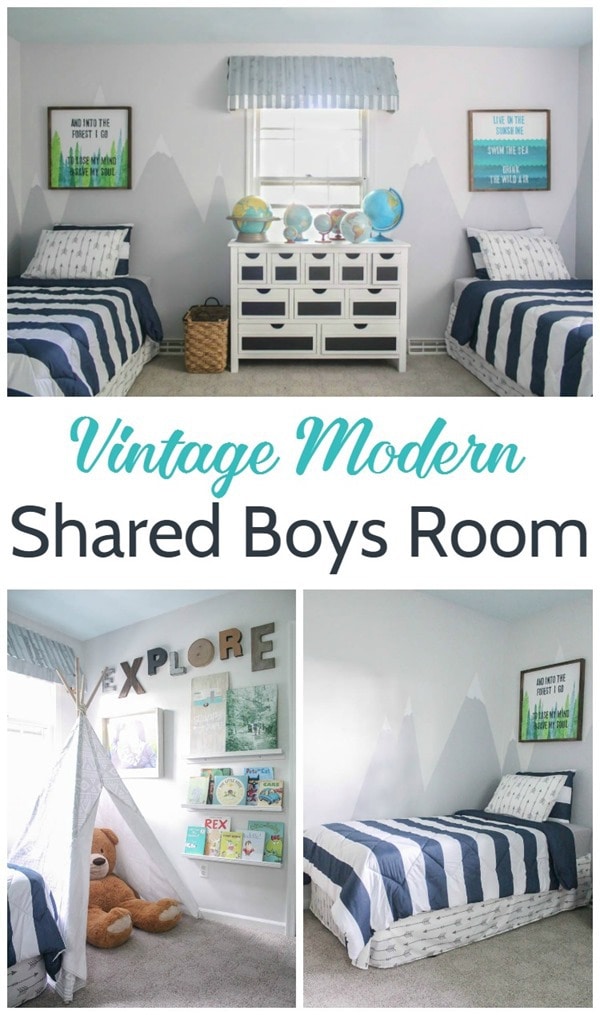
I still love the mountains that I painted in here a couple of years ago, so I extended them further around the room to act as headboards for both beds.
I had a surprisingly hard time finding cute little boy bedding, but in the end I found these cute striped comforters and arrow sheet sets. And since we never use flat sheets around here, I used the flat sheets to make quick and easy custom bed skirts.
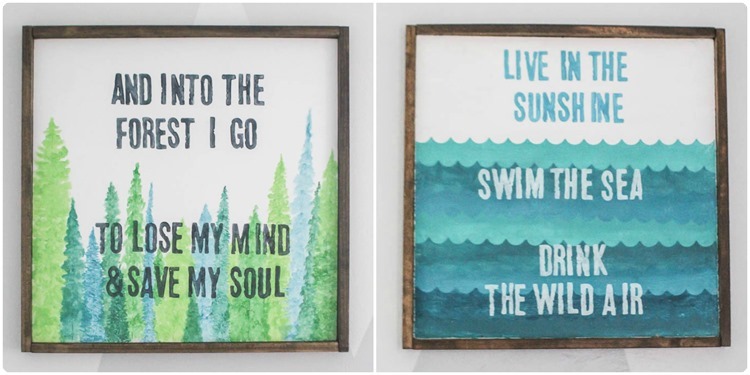
I made both of the signs over the beds. I made the Live in the Sunshine sign a few years ago. I absolutely love the quote by Ralph Waldo Emerson and I think it totally sums up my ideal of childhood.
I wanted to make a second sign to go over Asher’s bed that would coordinate so I chose a quote by John Muir that I love. But…I painted this sign late at night and as I was editing these photos, I realized that I totally screwed up the quote.
The last part is supposed to say “to lose my mind and find my soul.” Not save my soul. Whomp-whomp. I know nobody else probably cares, but I do, so I will be fixing that little mistake soon!
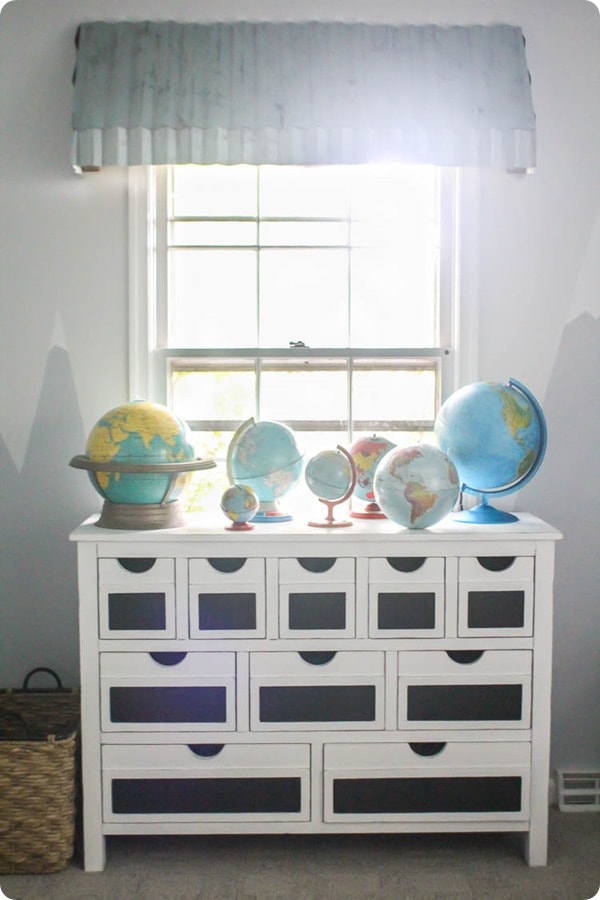
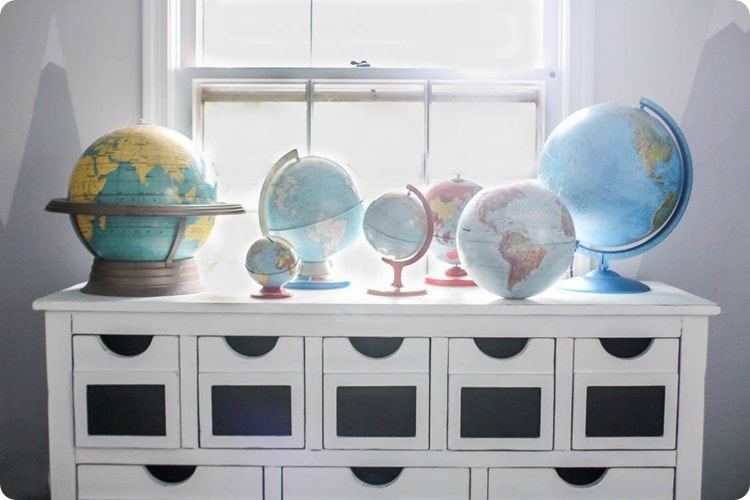
We already had this dresser; all it needed was a fresh coat of white paint. And I’ve been collecting the vintage globes from yard sales over the past few years.
One of the things I really needed for the room was some sort of nightlight or small lamp. Luckily, I scored a light up globe lamp at a yard sale last weekend. It is the one on the right and it makes the perfect nightlight.
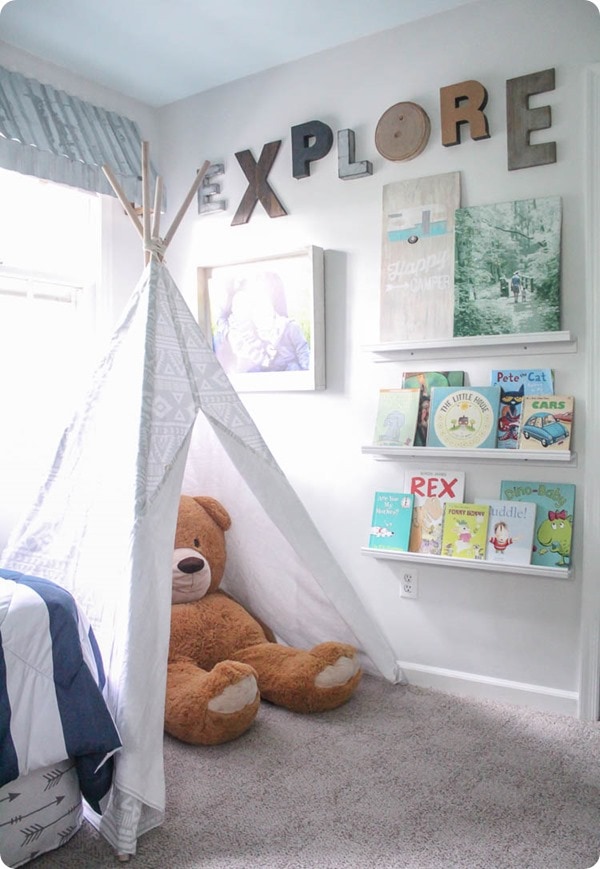
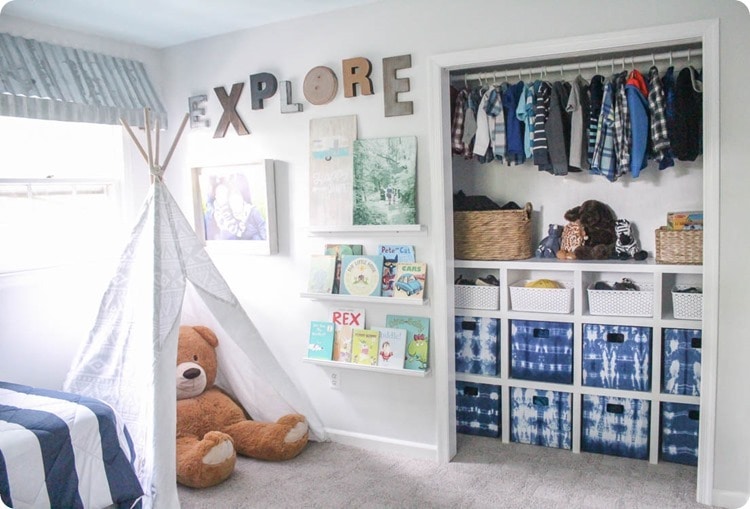
I absolutely love how this corner of the room came together. I knew I wanted some picture ledges to hold some of the boys’ books. They just make it so much easier for them to see what books they have.
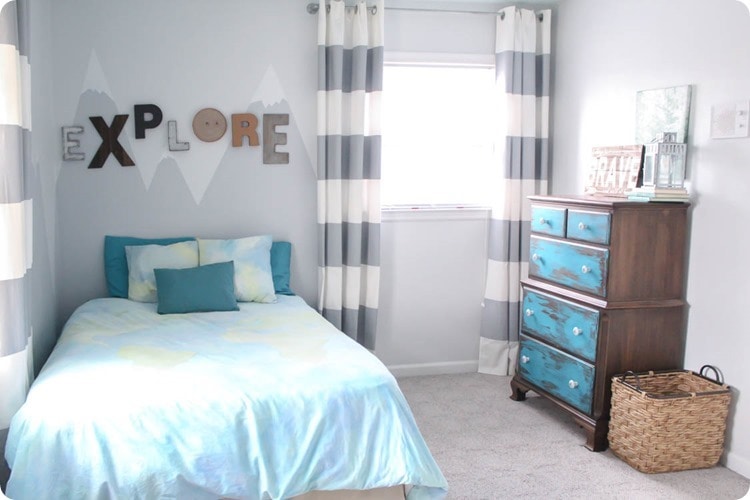
The explore letters were in the room before, I just moved them to a new spot.
And to balance things out, I added a photo of the boys together next to the shelves. The ‘frame’ is actually an old shallow drawer I found at some point. I used a command strip to stick the photo to the back of the drawer: instant art!
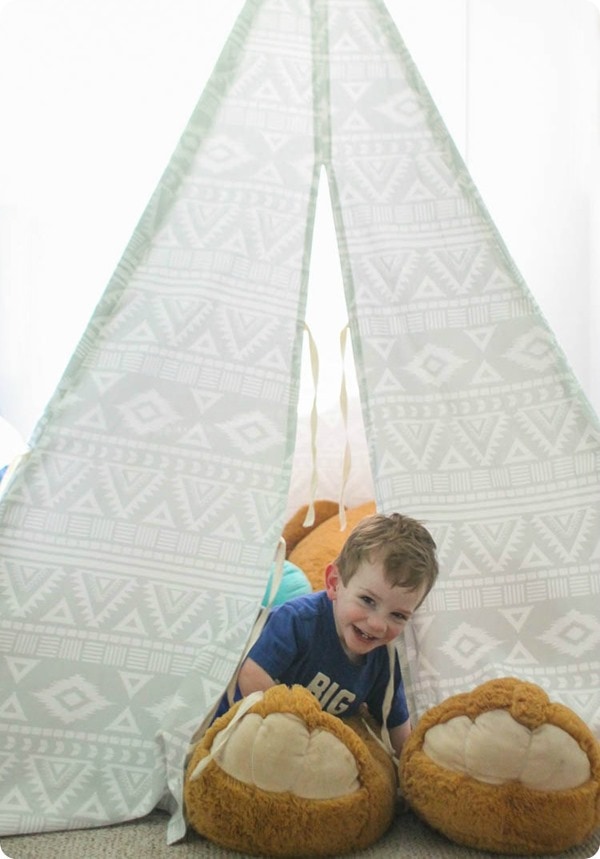
The adorable play teepee came from Minted. When Minted offered to send me something for the boys’ room, I knew exactly what I wanted.
The thing I really love about their play tents is you can choose whatever fabric you want from their collection of gorgeous artist-designed prints. I chose this fun neutral Aztec print and I love how it works with everything else in the room.
Both boys absolutely love it as well. Honestly, it’s their favorite part of the whole room and Asher has been sleeping in the tent the past few weeks rather than his big boy bed!
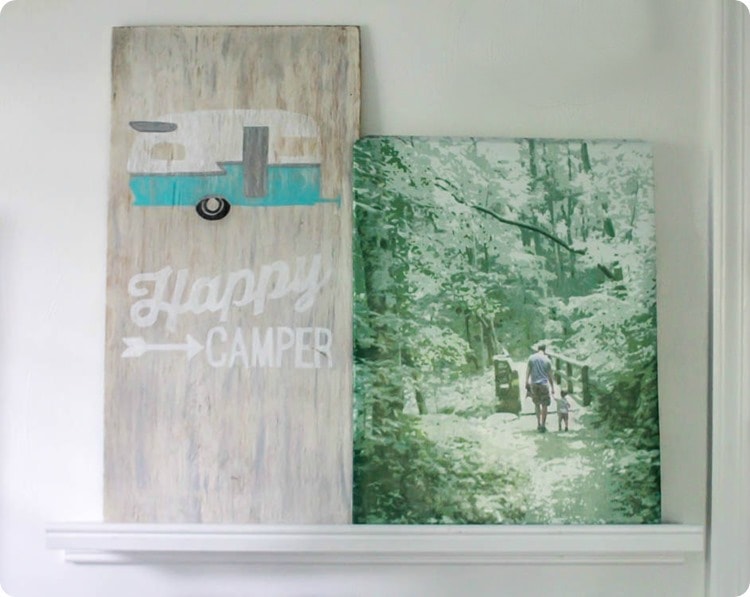
Until the boys get a bit taller, I decided the top shelf was the perfect spot for some fun art. I made the happy camper sign a few years ago and the photo is a DIY photo canvas that I made from a family photo. (I shared exactly how to turn a photo into a graphic piece of art here.
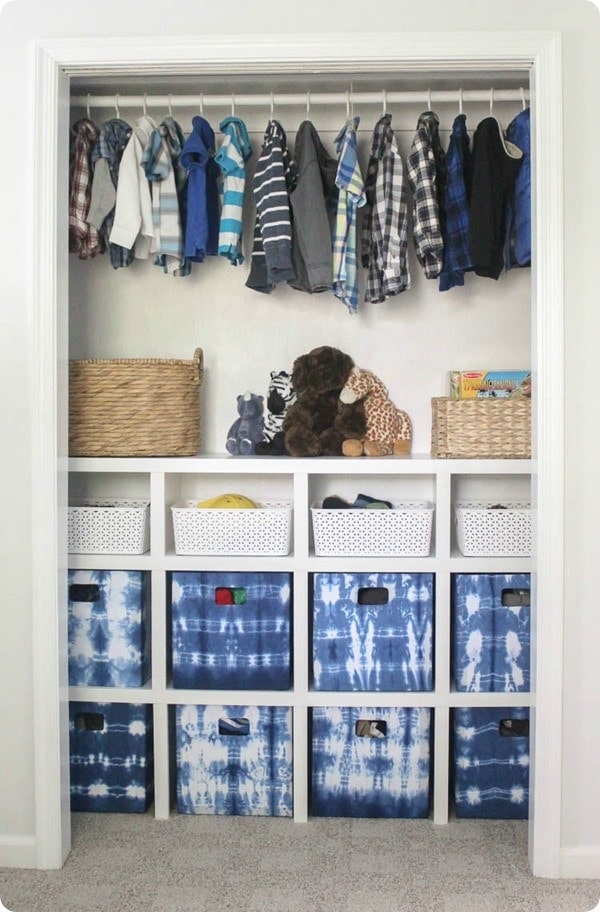
And finally that awesome closet. The old closet was full of dead space and terribly lacking in actual storage. I built custom shelves and DIY fabric storage cubes to help hold all of their tiny little clothes and shoes.
In the end, the closet turned out so cute, I decided just to leave the old blah sliding closet doors off altogether. And aside from looking cute, it is way easier to access everything in the closet now without having to worry about sliding the doors back and forth to reach what you need.
And that’s the room! Pulling this room together in just six weeks was no joke, but I am so happy that I went for it and actually pulled it off! It turns out deadlines are very motivating!
Source list
Complete shopping guide and list of DIY tutorials
Paint colors:
-
- walls: Valspar silver dust
- ceiling: Valspar icy blue
- mountains: Valspar silver leaf
Mountain mural: DIY tutorial here
Blue and white rugby stripe comforter: Target
Bedskirt: DIY made from flat sheet, tutorial here.
Painted signs over beds: Live in the Sunshine tutorial here
Metal farmhouse window awnings: DIY, tutorial here.
White dresser: an update to a dresser I already owned, tutorial here
Vintage globes: gathered from yard sales, similar ones from Etsy here
Light up globe: yard sale find, similar from Amazon here
Teepee: custom teepee from Minted, fabric is Tribal in the color Winter
Picture book shelves: Knoppang picture ledges from Ikea
DIY pop art photo canvas: tutorial here
Happy camper sign: tutorial here
Explore letters: tutorial here
DIY closet shelves: tutorial here
Fabric storage boxes: DIY tutorial here, fabric here
White plastic storage bins: Target
Ready for more awesome room reveals? You can see all of the finished rooms from the guest participants in the One Room Challenge right here.
And be sure to check out my other favorite room reveals from my own house as well:

Cassie Bustamante says
carrie, this room is so great! i LOOOOVE the signs you made for over their beds and i am not much of a sign person, so that is saying something! :) they are awesome!!!
Carrie says
Thanks Cassie! I love those signs too – they are definitely a different spin than most signs you see out there!
ashley@biggerthanthethreeofus says
I love that you extended the mountains!! It’s such a sweet room! I really love the open closet and how you organized it and bookshelf/Explore wall! Way to go Mama!
Carrie says
Thanks Ashley! I am loving the room and so are the boys so that’s a major win!
morgan says
I LOVE how this turned out – it will foster such a sense of adventure in your kids! And to attempt this while pregnant – you are so brave!!
I just shared my ORC reveal, check it out here: http://www.charlestoncrafted.com/2017/05/10/orc-reveal-fully-diy-remodeled-walk-master-closet/
Carrie says
Thanks Morgan!
Cecilia says
I absolutely love how this room came together! Love the quotes (even though you make a small mistake) and I am crushing on the awning! Can’t wait for that tutorial!
Great room! I can see your boys enjoying it for a long time!
Carrie says
Thank you Cecilia! I love those awnings too! They definitely weren’t the easiest part of the room but they were well worth it!
Erin @ Lemons, Lavender, & Laundry says
What a great space for your boys! I am totally taking your idea of using the flat sheet as a bed skirt. My kids all hate their flat sheets, and neither of my boys have a bed skirt. Perfect solution! Beautiful job!
Carrie says
Thanks Erin! The bed skirts were such an easy solution to the problem!
Julie says
This room is SO cute! I love the art you made and the wall with books. That closet is so organized, and the globes are such a fun touch!
Carrie says
Thank you Julie! I had so much fun doing this room!
Maritha says
Lovely Wish I had little boys :)
Carrie says
Ah thanks, Maritha!
Bre says
What a fun and sweet room! Love those fabric covered storage boxes you made and the dresser full of globes. Those boys are going to have so many fun adventures ahead!
Carrie says
Thank you Bre! I hope so!
Jessica | Petal + Ply says
The galvanized cornices are so AWESOME!!!! And, you did a wonderful job on the signs!
Carrie says
Thanks Jessica! I love both of those things too!
grammy goodwill says
I love how the boys’ room turned out. My favorite is the window awning and your mountains. I like the globes, too, because that is something I also collect.
Carrie says
Thanks! I love collecting globes and I was so happy to find a spot to use them. I don’t know about you, but I have been finding them harder and harder to find the past few years.
Nicki says
This shared room is just the cutest! I absolutely love the walls!
Carrie says
Thank you Nicki!
Betsy @ Happily Ever After, Etc. says
I love that teepee! It’s so much fun in their room and makes the perfect reading spot for the bears. The whole room is such a cute extension of the first little guys room! Love it!
Carrie says
Thank you Betsy! I would say the teepee is definitely the boys’ favorite part. Plus, it is great for hiding away those gigantic stuffed animals!
Gretchen@BoxyColonial says
Love this room! It’s so cool that you can pick out the fabric for the tent (giant bear peeking out of tent is my favorite photo in here :)), and that closet looks both super cute and super efficient–the best combination!
Carrie says
Thanks Gretchen! I definitely spent way too long looking at all of the fabric options for that tent!