Dresser Vanity Makeover: A Huge Transformation with Paint and Hardware
I’m sharing all the details of how I completely transformed the dresser vanity in our bathroom with a fresh coat of paint and some new hardware.
It’s been awhile since I shared a good furniture makeover, and I’m very excited to share how this one turned out.
I’m not really sure whether to call this a dresser makeover or a bathroom vanity makeover, but either way, it’s an excellent example of how simply changing a piece of furniture’s paint color and hardware can completely transform it.
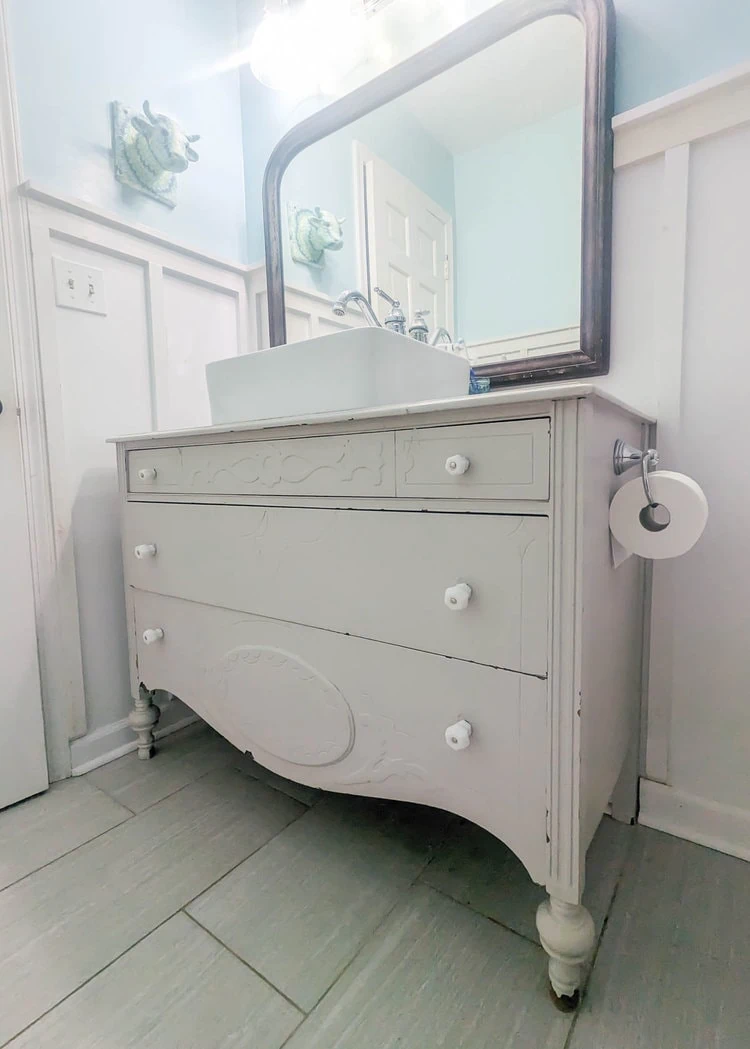
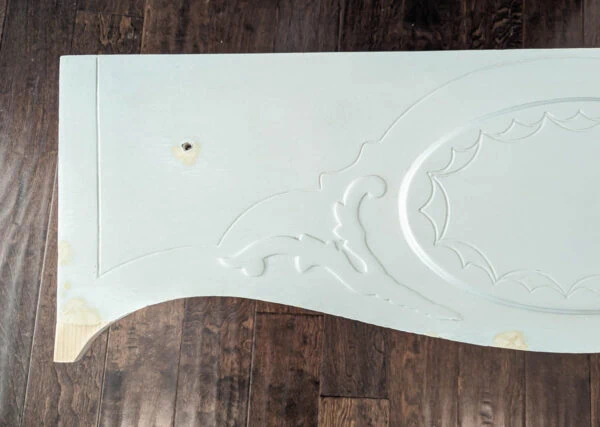
This is how my antique dresser turned bathroom vanity looked when I first installed it years ago:
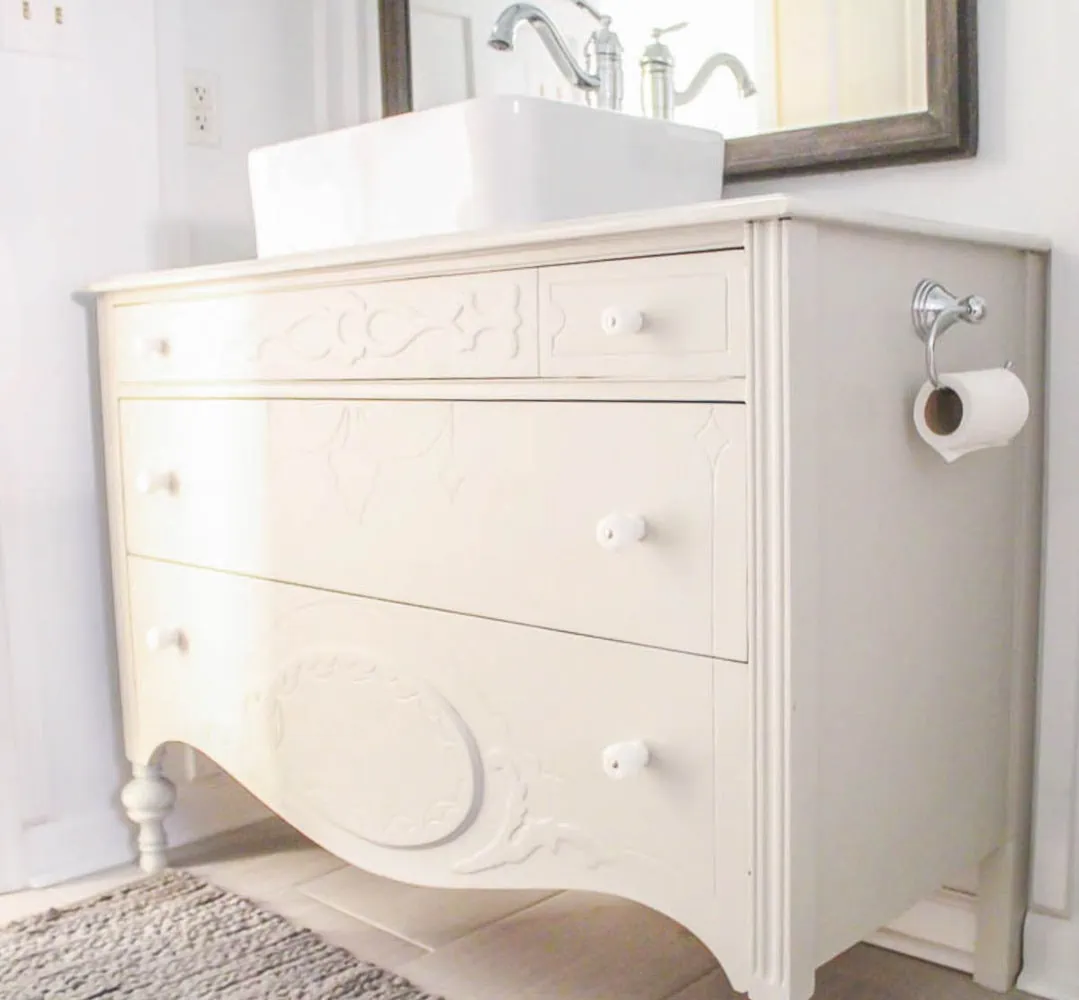
I have absolutely loved this vanity: it has great proportions, beautiful curvy legs, and tons of storage. But after seven years of heavy use by our three boys, it was definitely in need of a little TLC.
I shared all the details about how this dresser vanity has held up a few weeks ago if you’re interested in digging into the good, the bad, and the ugly of using an antique dresser as a vanity.
I was actually really excited to give this dresser vanity a makeover. Not only was it looking a bit worn down, but I’d been itching to change the paint color for awhile now.
While the original gray was a lovely color, it was just too similar to the wall and floor color, so the dresser really faded into the background. This time I around, I wanted to choose a paint color that would help it stand out.
In this post, I’m sharing exactly how I gave this dresser vanity a complete makeover including repairing the chipped drawers, painting it a bold new color, and replacing the hardware.
This post contains affiliate links which means if you make a purchase after clicking a link I will earn a small commission but it won’t cost you a penny more. Click here to see my full disclosure policy.
Supplies
- General Finishes Milk Paint – This is one of my favorite paints for painting furniture and cabinets. For this vanity, I used the color Twilight.
- General Finishes High Performance Topcoat in Satin – my favorite furniture sealer
- small foam paint roller and paint tray
- high quality angle paint brush
- blue sponge applicator – this is only a couple of bucks and is great for applying topcoat with a really smooth finish
- wood filler
- Set of vintage-style brass drawer pulls – I found mine on Amazon for super cheap and they look beautiful
How to transform a dresser vanity
In this post I’m sharing the steps for this particular furniture makeover, but you may also want to check out my much more detailed step-by-step tutorial for painting any dresser.
Repairing the broken drawer
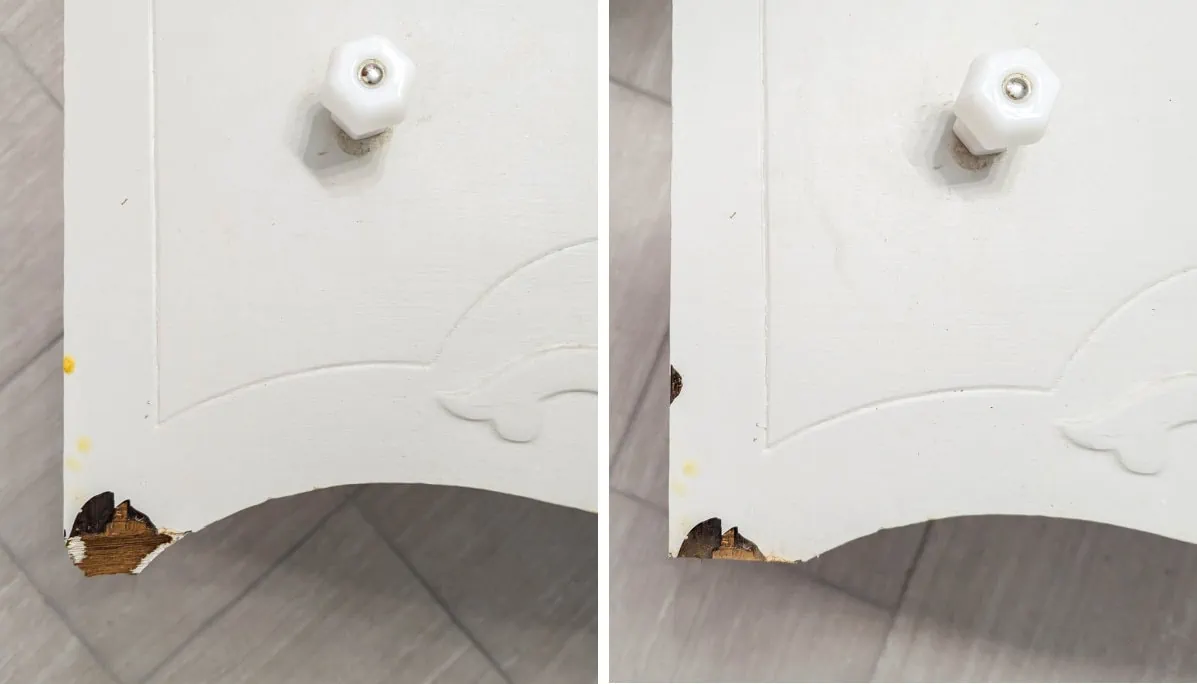
All in all, my vanity was in decent shape other than a few chips in the paint, but there was one section where the ornate drawer bottom had broken off.
To repair it, I started by cutting the rough broken edge with an oscillating tool to make a straight line.
I traced the curve along the bottom of the other half of the drawer to create a pattern.
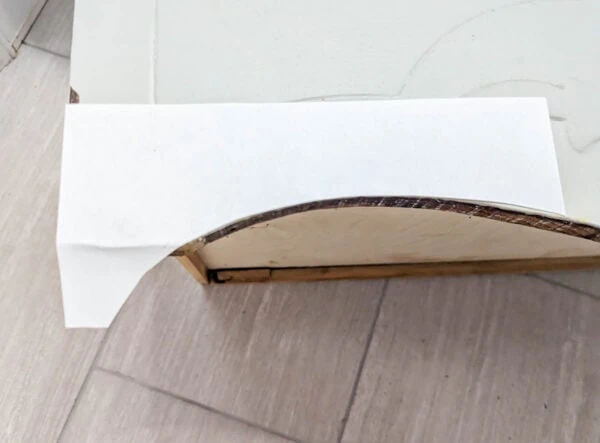
Then I used that pattern to cut a piece of scrap wood to size with my jigsaw. I attached the new piece to my dresser using wood glue and nails.
I also used wood filler to fill in rough areas. In some places where the paint had chipped, the older layers of paint had also chipped away creating a divot. I filled these with wood filler and once it was completely dry, sanded it smooth with 220 grit sandpaper.
Prepping for paint
I always clean any piece of furniture thoroughly before painting. No matter how great your paint is, it isn’t going to stick to dirt and grease.
When repainting furniture or cabinets that have previously been painted, you may need to use primer first to ensure the new paint adheres well. Thankfully, since I was the one who had previously painted my vanity, I knew what kind of paint and sealer I had used and was able to skip the primer.
Check out my guide for step-by-step details on safely repainting furniture that has previously been painted.
Painting the vanity
Once all the prep is done, it’s time for the best part: paint.
I chose to use General Finishes milk paint. This is one of my favorite paints to use on furniture and cabinets because it is easy to apply and dries to a very durable finish. I used General Finishes milk paint when I painted the vanity in my other bathroom a few years ago and have been really happy with how well it has held up.
I chose a super dark blue shade called Twilight. Twilight is a cross between a classic navy blue and black.
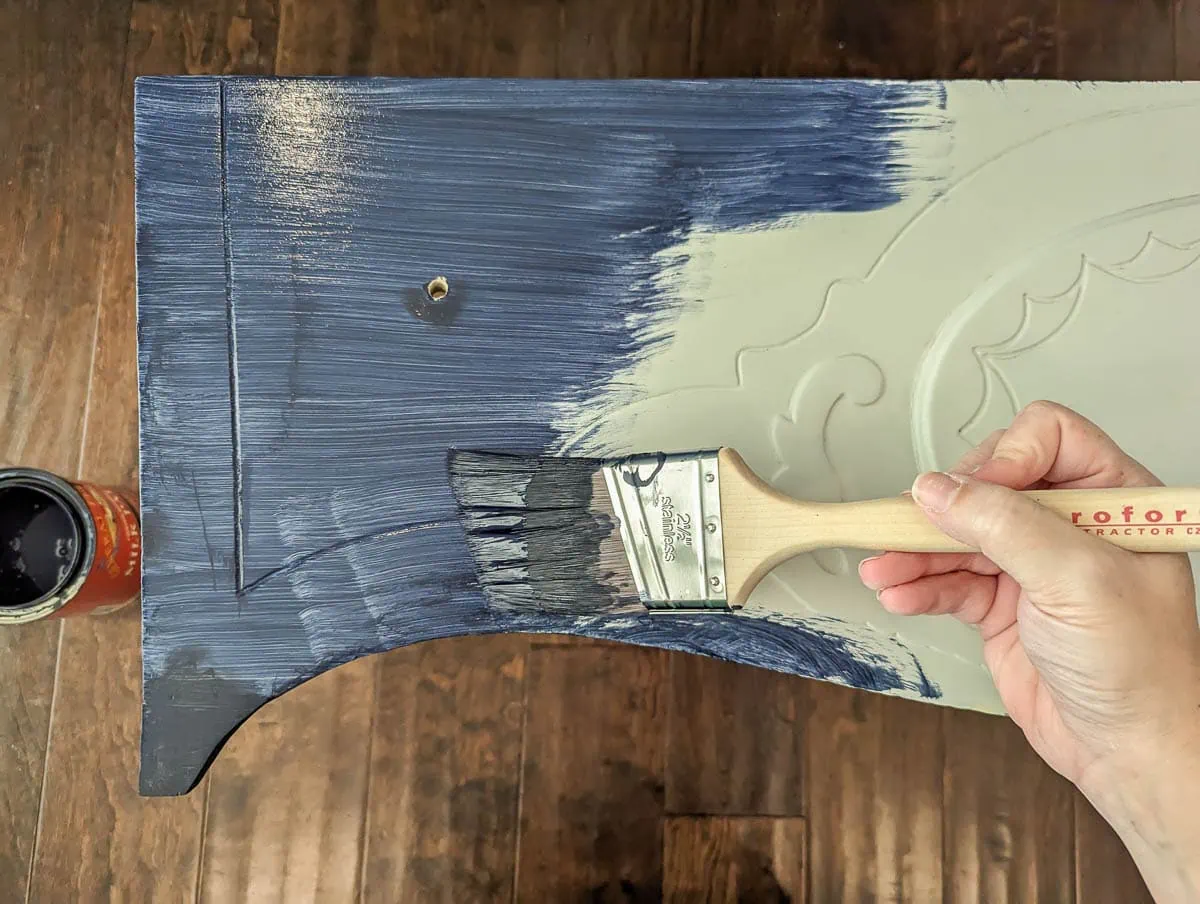
This paint goes on looking much brighter than I was expecting. But as it dries, it darkens quite a bit. You can really see how much it changes in the photo below; the top drawer is dry while the bottom drawer has just been painted.
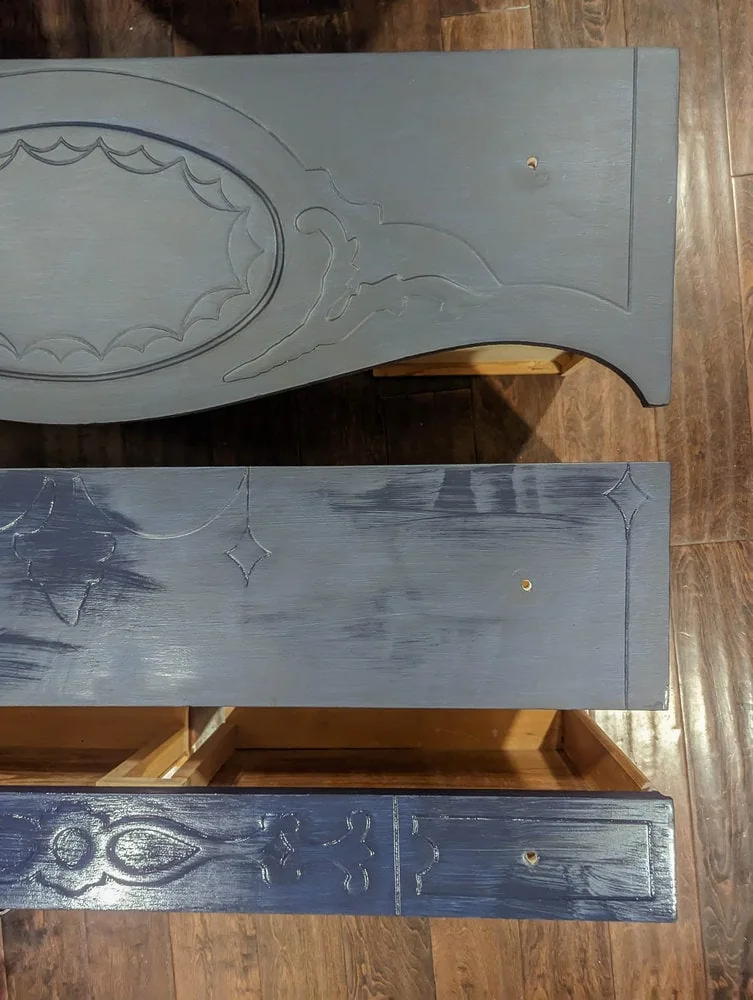
It took three coats of paint to get really even coverage since this paint color is so dark.
Applying the sealer
You don’t have to use a top coat with this paint, but when painting pieces that will get a lot of use like cabinets, I highly recommend that you do. It will definitely help your paint finish last longer.
General Finishes milk paint dries to a matte paint finish that I really love, but when you add a top coat over paint, the top coat is what actually determines the sheen your finished project will have.
I strongly considered using a matte top coat since I was loving the more flat look of the paint. But in the end, I decided to use a satin top coat instead.
In general, I prefer to use satin and semi-gloss finishes for bathroom projects because they are more wipeable and tend to hold up better to moisture.
I wanted this vanity to be extra protected since it gets so much use, so I applied three coats of General Finishes High Performance Top Coat in satin.
This is my favorite sealer to use on painted furniture, but there is one quirk that I think it’s helpful to point out. GF High Performance Top Coat comes in five different sheens: dead flat, flat, satin, semi-gloss, and gloss. The flat and satin sheen in particular are a lot more reflective than other similar products.
I used the satin sheen on my dresser vanity and it’s closer to the shine level I would expect from a semi-gloss product. If you are looking for something closer to other satin finishes, I would choose the flat sheen instead; it will give you just a subtle hint of shine.
You can get more info on choosing the best top coats here.
Installing the new hardware
The final step was installing the new hardware.
I considered reusing the same milk glass drawer pulls I’d used previously, but they just didn’t match the new more refined finish.
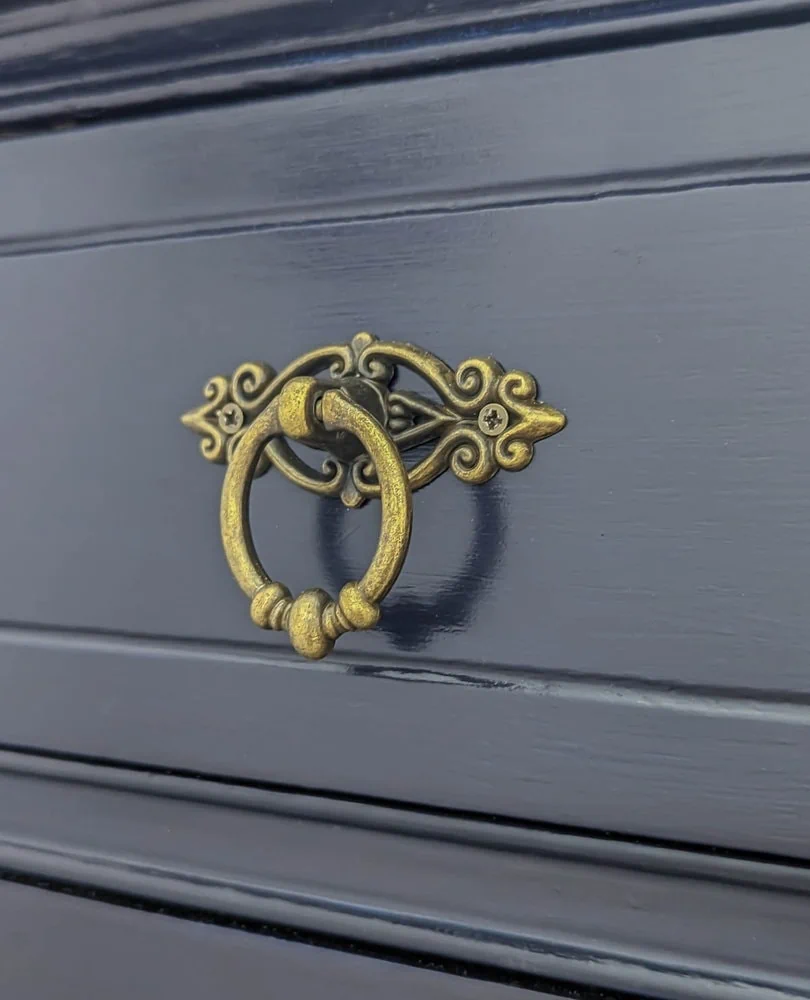
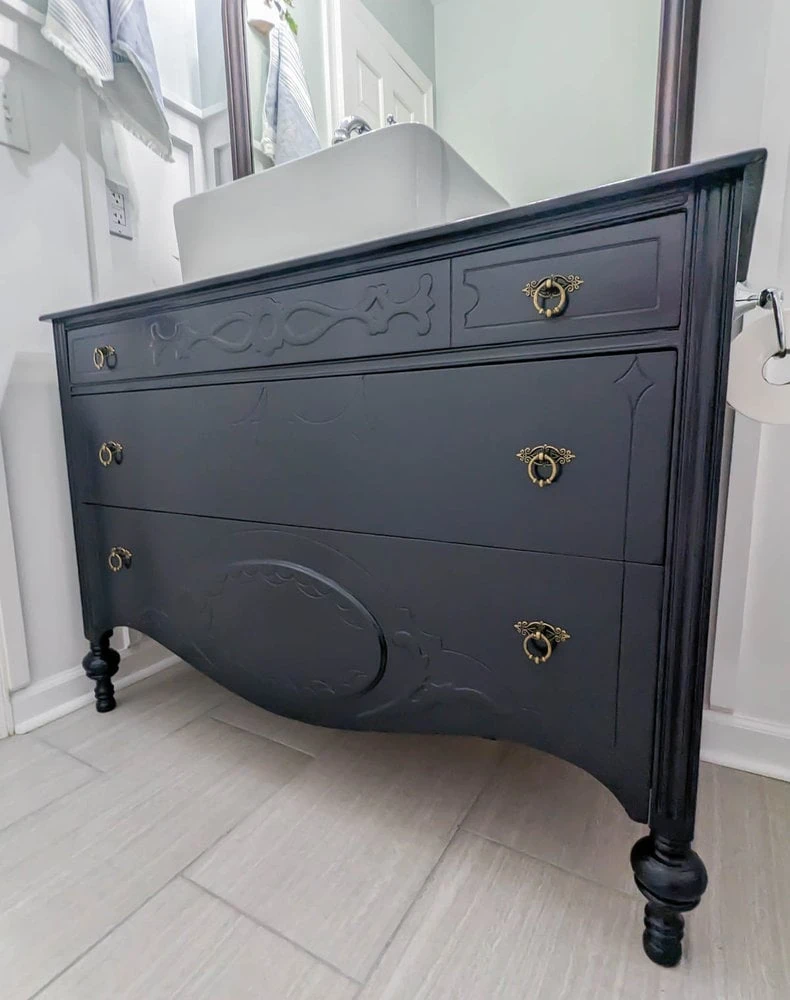
Instead, I ordered new brass hardware from Amazon and they look gorgeous against the dark blue paint finish.
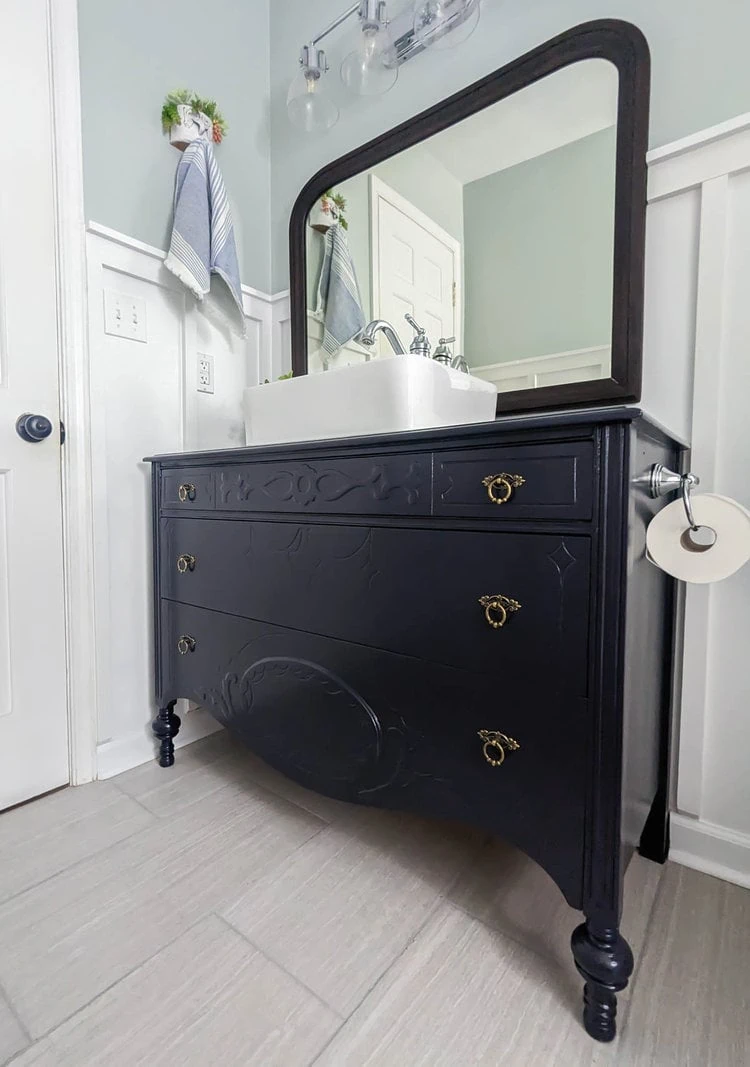
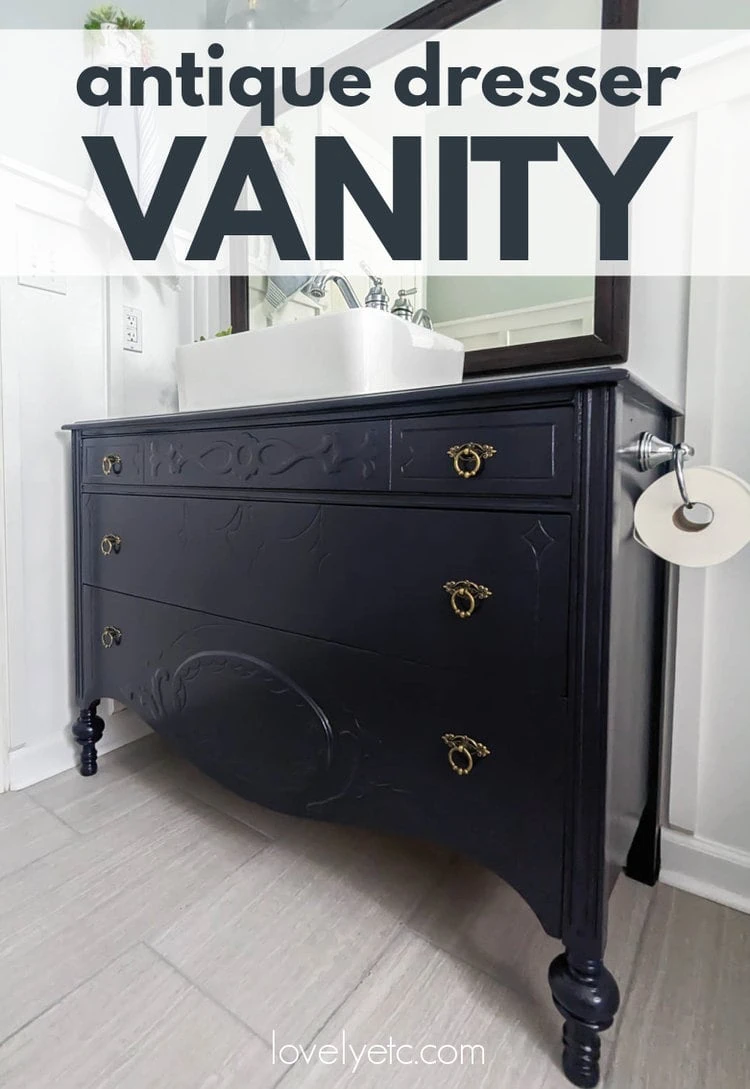
The completed makeover
I liked this dresser vanity before, but I absolutely love it now.
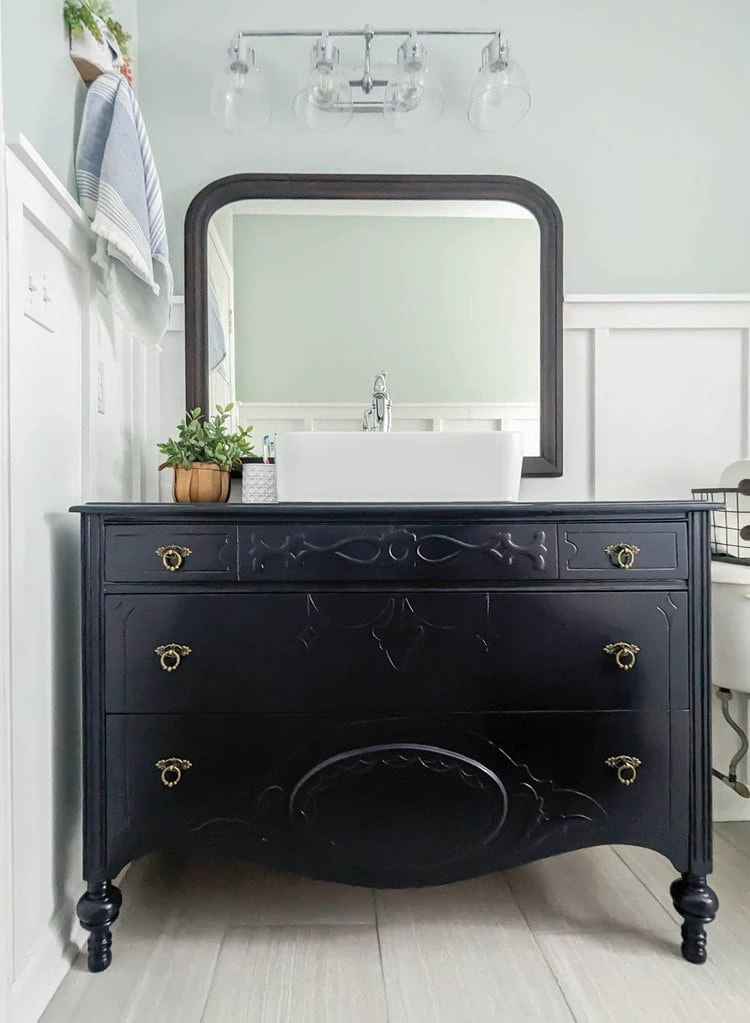
The combo of that gorgeous dark blue and the vintage style brass hardware is perfection. It looks like it was always meant to look this way.
One thing I didn’t anticipate is how much more the carved and raised details really stand out now.
Usually we think about distressing and using dark wax or glazes to bring out details like this, but I love how this very reflective smooth finish really accentuates all the detail on the drawer fronts.
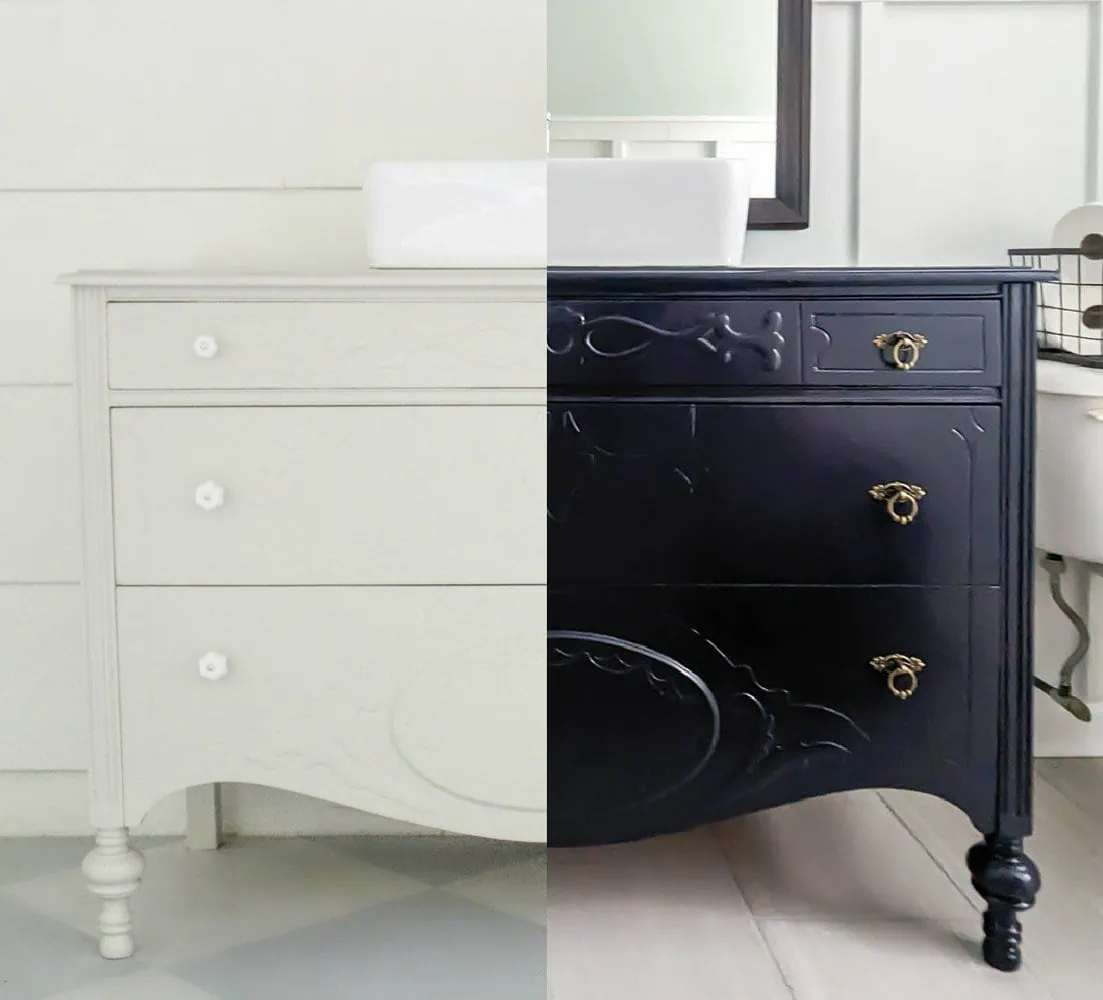
This dresser is a great example of how making a few small changes can completely change the look and feel of a piece of furniture.
When it was painted light gray with milk glass drawer pulls, it was a sweet little modern farmhouse piece. And with it’s new dark glossy paint and brass hardware, it’s an attention-grabbing classic.
If you missed it, be sure to check out the rest of my budget-friendly bathroom makeover. I was able to make big changes just by changing up the paint and swapping out a few accessories and I love how it came together.
I’d love for you to pin this post on Pinterest!

Google Web Story: DIY Dresser Vanity Makeover with Paint
WOW! That is beautiful. You’re ideas & projects are such encouragement.
Thank you so much!
Beautiful…transformation, elegant!!