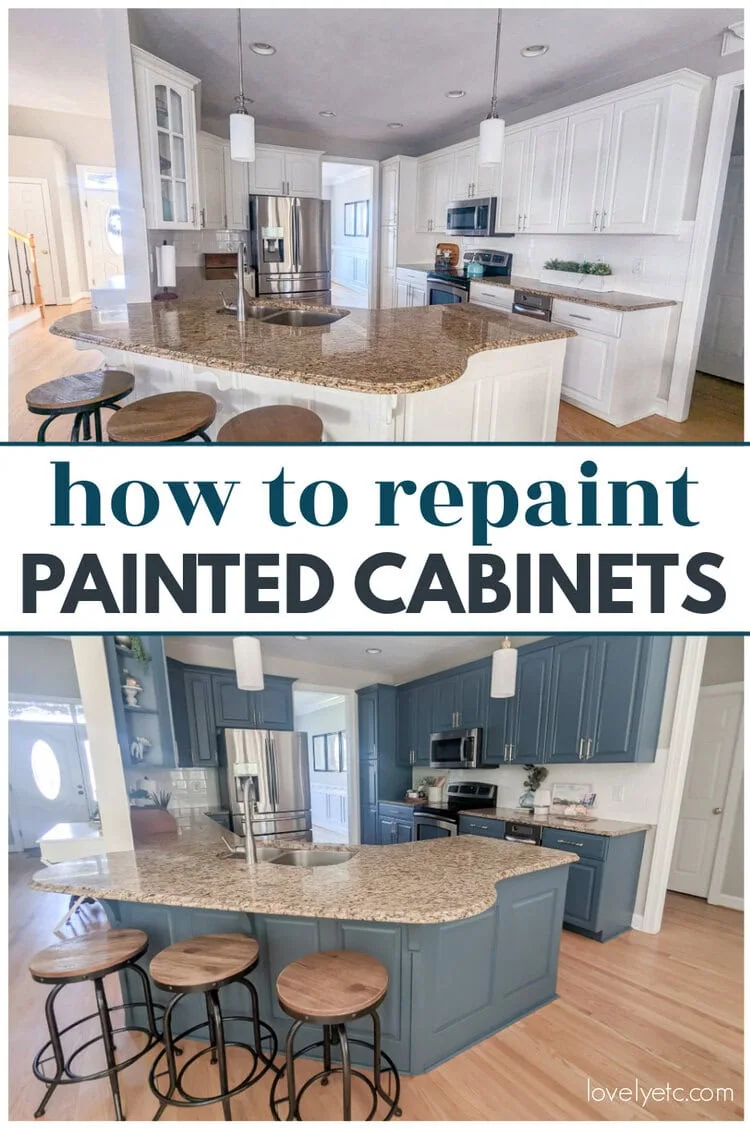
How to Repaint Painted Cabinets with a Gorgeous Paint Finish that Lasts
Everything you need to know repaint kitchen cabinets that have been painted before including how to properly prep your cabinets and how to make sure the paint lasts.
Painting your kitchen cabinets is one of the best ways to completely change the look of your kitchen without spending a lot of money. And since painted cabinets have been incredibly popular for more than a decade now, there’s a good chance you may be painting cabinets that have been painted before.
Maybe you’re repainting your cabinets because the paint finish is getting worn and chipped or maybe you’re just ready for a fresh, new color. Either way, there are certain steps you need to follow to get a beautiful finish that will last for years to come.
Note – If you still love the color of your cabinets but the paint is starting to show a bit of wear, you do not have to repaint them! You can simply touch up the imperfections instead! This post breaks down how to perfectly touch up chipped cabinets (and it’s so much easier than completely repainting them!)
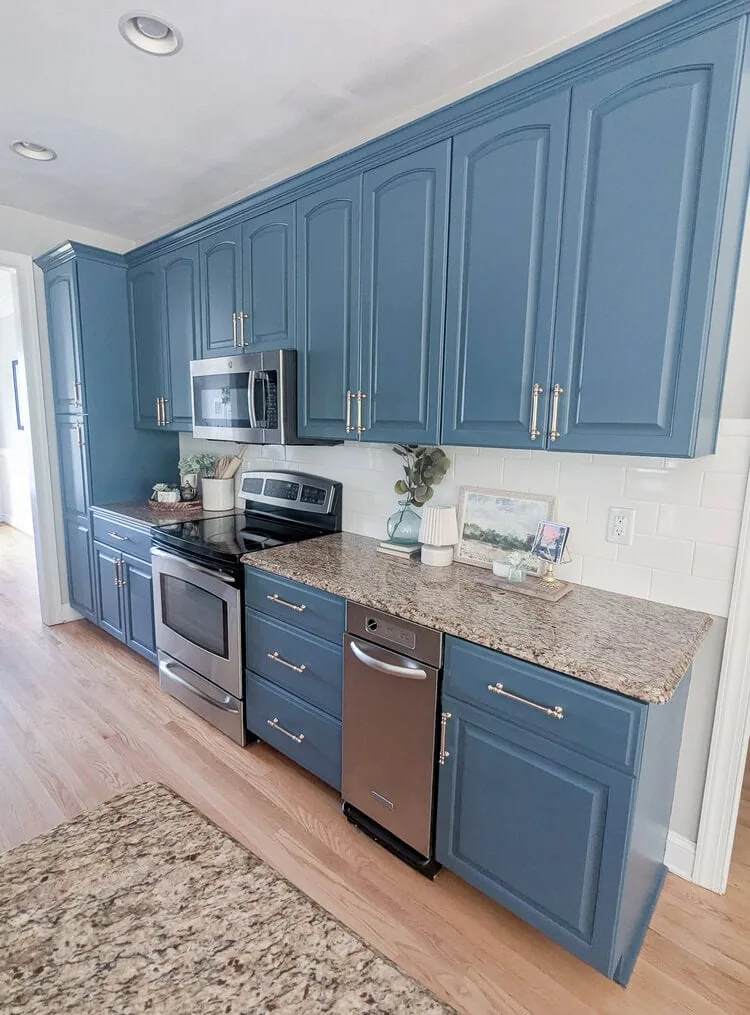
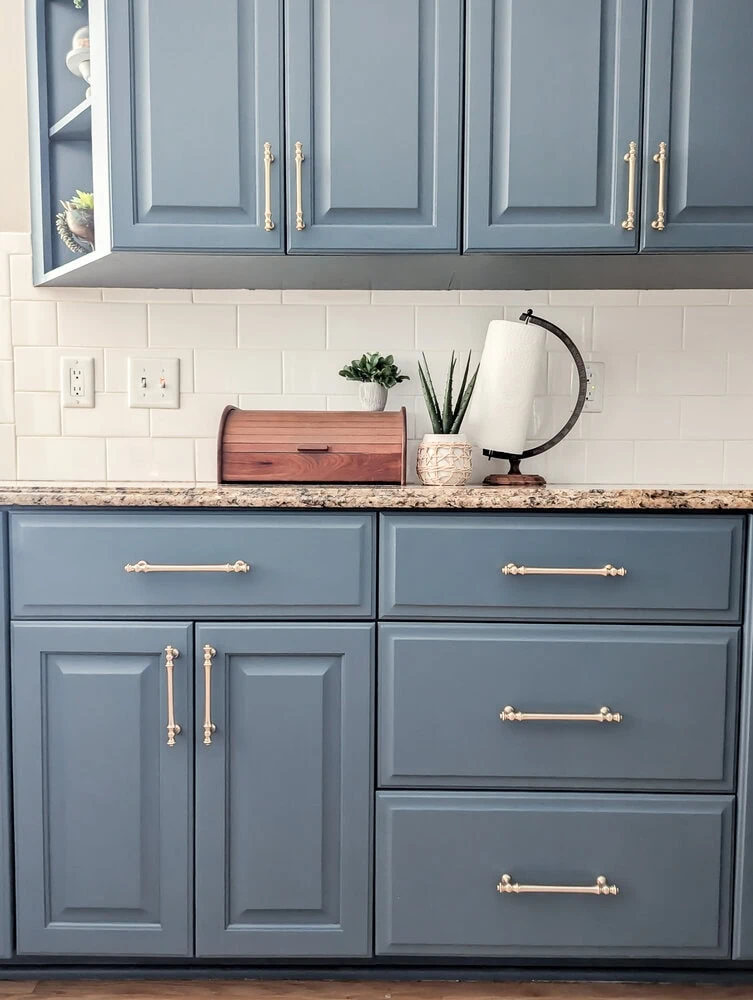
I recently repainted my own white cabinets a stunning blue (Sherwin Williams Waterloo) and it totally transformed my kitchen.
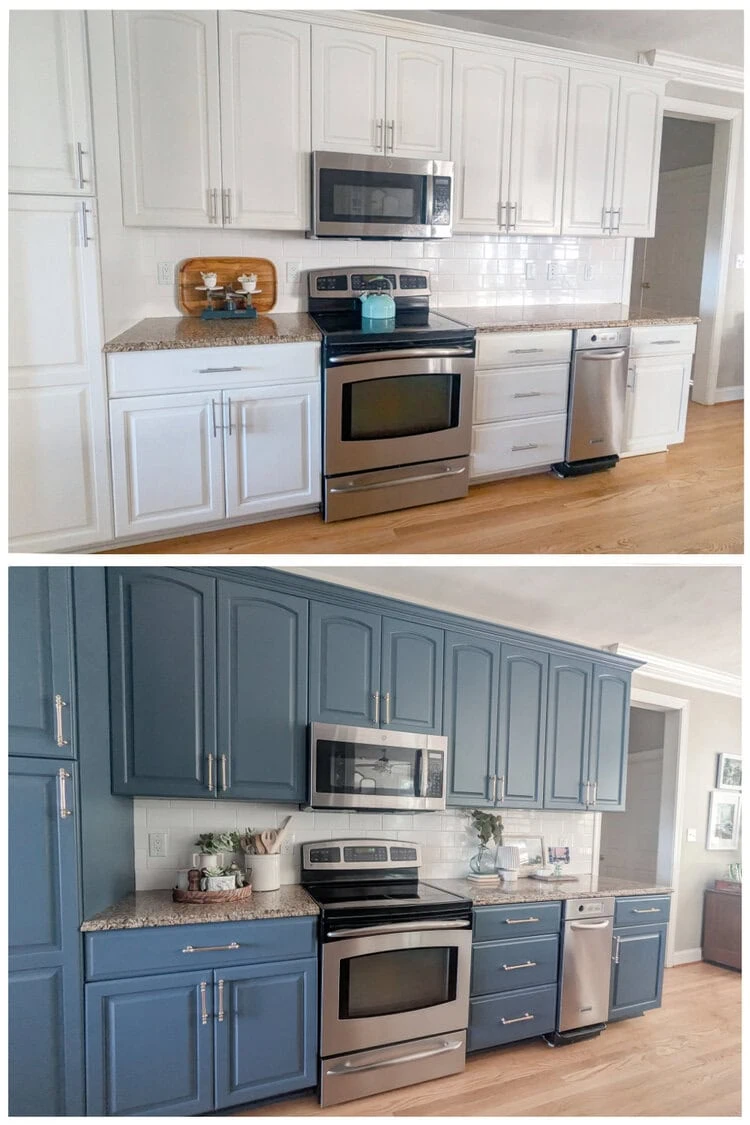
Even though most of the room is exactly the same, just repainting the cabinets made such a dramatic difference!
Want more details? I have another post with lots more before and after photos and all the details of my budget kitchen makeover!
In this post I’m breaking down everything you need to know to ensure your repainted cabinets look gorgeous and last for years to come. (Because nobody wants to spend days or even weeks painting their cabinets, only to have the paint start scratching off as soon as you’re done!)
This post contains affiliate links which means if you make a purchase after clicking a link I will earn a small commission but it won’t cost you a penny more. Click here to see my full disclosure policy.
How is repainting cabinets different than painting cabinets?
Believe it or not, repainting cabinets that have been painted before is actually quite different from painting cabinets for the very first time. Some things are the same like the best kinds of paint to use and the best tricks for getting a buttery smooth paint finish.
But prepping your cabinets for paint – that process is completely different.
When you’re painting wood finish cabinets, the biggest concerns are making sure the wood has a good surface for the paint to adhere to and ensuring the wood tannins can’t bleed through and yellow your paint finish.
When you are repainting painted cabinets, you really don’t have to worry about wood tannins. Instead, there are other potential problems:
- If the old paint finish is chipping and peeling, the new paint will also chip and peel unless you fix the issue.
- If the cabinets were previously painted with oil-based paint or sealed with wax, you’ll need to take special steps to make sure your new paint sticks.
Figuring out and dealing with these issues can mean the difference between a professional looking paint job and a huge mess.
Start with some detective work
How you prepare your cabinets for paint depends largely on what kind of paint is already on them.
If you painted your cabinets yourself a few years ago, then you already know exactly what kind of paint you used. But if your cabinets were painted by someone else, you’re going to need to do a little detective work before you start painting.
First, it helps if you have some idea of when your cabinets might have been painted. If they were painted within the last ten years, they were most likely painted using a water-based paint that can pretty easily be painted over. But if they were potentially painted further in the past, there’s a decent chance they were painted with an oil-based paint.
Testing for oil-based paint
Luckily, there’s an easy test you can do to determine whether your cabinets were painted with oil-based paint.
- Pour a little bit of nail polish remover (with acetone) or rubbing alcohol onto a rag. Be sure to use a dark rag for light paint and vice versa so it will be easy to tell if the paint is rubbing off.
- Rub it onto your painted cabinet.
- If some of the paint rubs off, it is latex paint. If no paint rubs off, it is oil-based paint.
If you don’t have acetone, you can also paint a little test spot of water-based paint onto your cabinets. Let the paint dry overnight and then scratch it will your fingernail. If it painted over oil-based paint, the new paint will peel right off while the paint underneath remains intact.
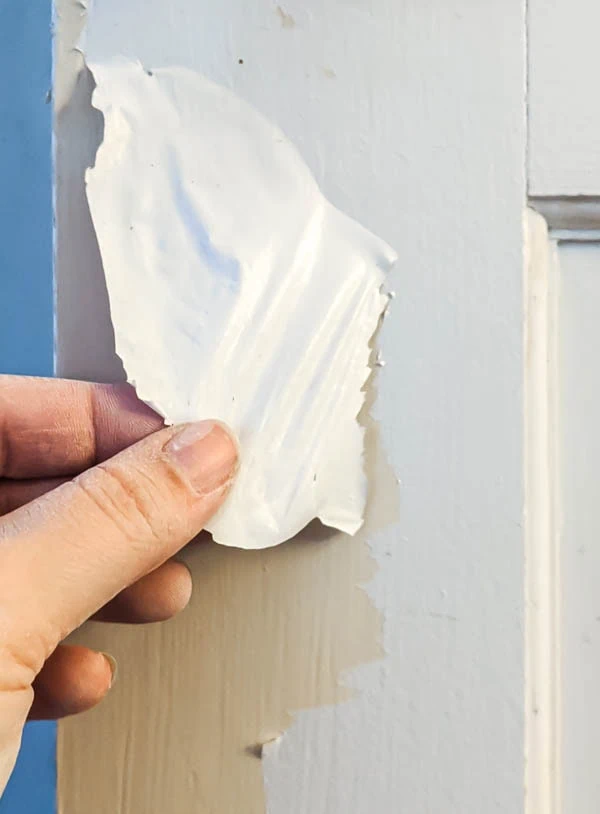
This photo shows what happens when you paint water-based paint directly over oil-based paint – a lesson I unfortunately learned from personal experience at our last house.
If your cabinets are painted with oil-based paint, you aren’t stuck repainting them with oil-based paint. First apply an oil-based primer and then you can paint over that with either oil- or water-based paints. If you want more details on this, I have a post all about the ins and outs of painting over oil-based paints.
Special circumstances
If your cabinets weren’t painted with oil-based paint, there’s about a 99% chance that they were painted with regular water-based paint and you can skip ahead to the next section. But there are a few special circumstances you should be aware of that can pop up occasionally.
- Lead paint. If your cabinets are quite old, there’s a chance they were painted with lead-based paint. Most lead paints were phased out after 1978 so this really only applies to cabinets that could possibly have paint from before that time. If you suspect there’s a chance your cabinets could have lead paint, you can buy a lead paint test for just a few dollars. The test will tell you within minutes if there is any lead paint present. If there is, you’ll need to follow the proper procedures for safely painting over lead paint.
- Wax finish. Several years ago when chalk paint first became very popular, people started chalk painting and waxing everything in sight – including cabinets. The problem is you can’t paint over wax. (Some chalk paints say they can be applied directly over wax, but there are tons of stipulations and exceptions to this and it’s just generally a really bad idea.) You can generally tell if something has a wax finish because it will feel waxy to the touch. If your cabinets have a wax finish, you’ll need to remove the wax with mineral spirits before doing anything else.
If your cabinets don’t have oil-based paint, lead paint, or wax on them, you’re ready to move on to the next step – prepping for paint!
Prepping your cabinets for fresh paint
Prepping cabinets for paint is honestly the most confusing and also the most time-consuming part of the entire project. If you prep your cabinets properly, they will look amazing once painted and the paint finish will last for years. If you don’t, you’ll see imperfections right from the start.
But knowing how to prep your cabinets properly isn’t as easy as it seems. Do you need to sand first? Well, sometimes. What about primer? Honestly, it depends.
Yeah, clear as mud. And when you are repainting painted cabinets, it can be even more confusing than normal.
How you need to prep your specific cabinets really depends on a few factors – the condition of your cabinets, the current paint finish, and the new paint you’ll be using. I’m going to break it down step by step below so you can easily figure out exactly what you need to do.
Do you need to strip the old paint?
Thankfully, you absolutely do not need to strip off all the old paint to repaint your cabinets. The only time I would ever consider stripping the old paint first is if your cabinets have been painted over many times and the paint has become noticeably thick.
Do you have to sand?
Sanding can be time-consuming and messy, so if you don’t need to sand your cabinets, I would skip it. But there are times when sanding is absolutely needed.
If your cabinets meet any of the following conditions, you need to sand them:
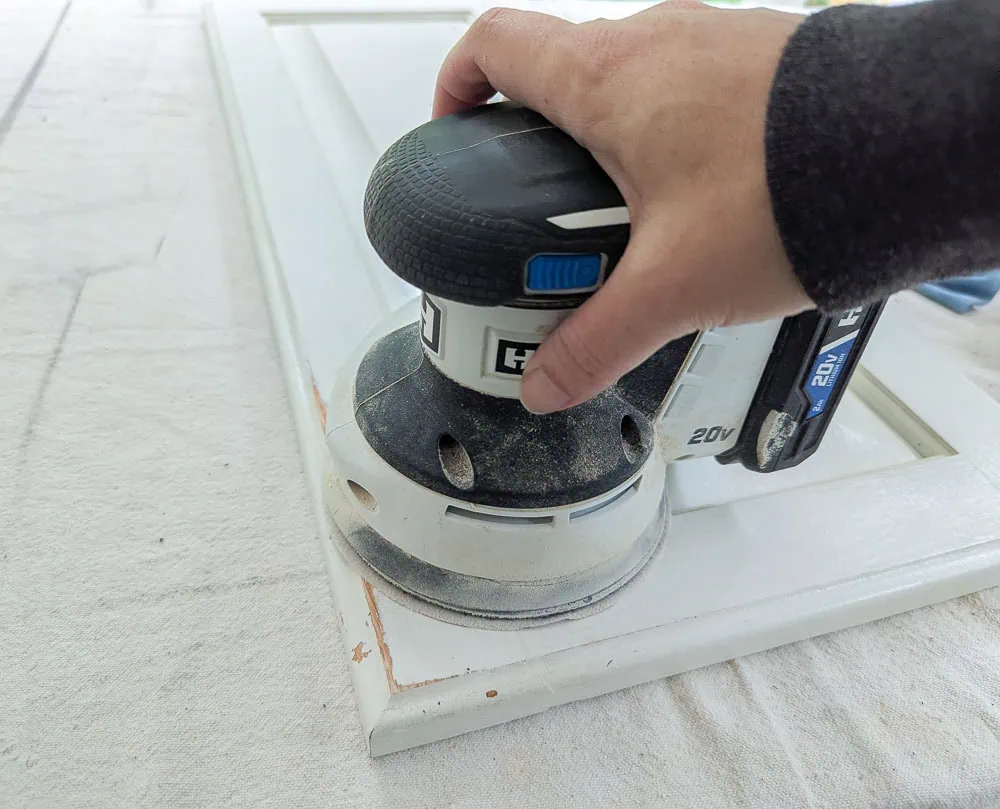
- If your cabinets have a slick, shiny finish, you need to start by lightly sanding them with 220 grit sandpaper. This will rough them up just enough that the primer/paint has something to stick to.
- If your cabinets have loose, peeling, or flaking paint, you need to sand off all the loose bits. As you sand around flaking areas, more paint may begin to flake off. Just keep sanding until you get to paint that is firmly attached.
- If your cabinets are chipped, have drip marks and brushstrokes, or are very rough to the touch, you need to sand them smooth before painting. Sand any brushstrokes, shallow chips, and other imperfections with 220 grit sandpaper. You don’t have to sand all of your cabinets – just smooth out the rough areas.
When do you need to use primer?
Whether or not you need to use primer depends on what kind of paint was previously on your cabinets and what kind of new paint you will be applying.
- If your cabinets were painted with oil-based paint, you’ll need to use an oil-based primer as mentioned previously. I like Zinsser oil-based primer.
- If your cabinets have a shiny, slick finish, you should start with a coat of primer. The primer can grip the shiny finish better than paint and gives the paint something to stick to. And yes, for shiny surfaces including laminate cabinets and factory-painted cabinets I recommend both lightly sanding and priming.
- If your cabinets have lots of bare wood showing through the old paint, you might need to use primer. When painting over bare wood, wood tannins can bleed through and cause your paint to yellow. Dark woods and red-toned woods like cherry are particularly bad about bleeding through. If your cabinets have a lot of bare wood showing, I would recommend at least priming those areas.
- If your new cabinet paint requires primer, you obviously need to start with a coat of primer. Some paints that work well on cabinets don’t require a separate primer including General Finishes Milk Paint and Fusion Mineral Paint. Other popular cabinet paints including Benjamin Moore Advance and Sherwin Williams Emerald Trim Urethane do require primer first.
If none of these apply to you, you can safely skip the primer. Just to be extra sure, it’s a good idea to do a small test to make sure your paint adheres well. Just paint a small patch of paint, let it dry completely, and gently scratch it to make sure it sticks. It takes a few weeks for paint to fully harden, but after a full day, it should be hardened enough not to easily scratch or peel off. If it does, I’d start with primer.
What is the best paint to use for repainting cabinets?
Choosing a high quality paint for your cabinets is super important. Using a good paint will give you a better paint finish right from the start and will also help your paint continue looking beautiful for years to come.
The best paints for cabinets:
- adhere well to hardwood surfaces
- are self-leveling
- give a hard, durable finish that resists scratches and chips
- withstand moisture well
- are scrubbable
Keeping all that in mind, these are my top picks for painting cabinets:
- General Finishes Milk Paint – This is an acrylic furniture paint that is easy to apply, goes on very smooth, and holds up well over time. It doesn’t require a separate primer, but I do recommend sealing with a top coat on high traffic pieces like cabinets. I painted two bathroom vanities in our last house with General Finishes milk paint and both help up extremely well.
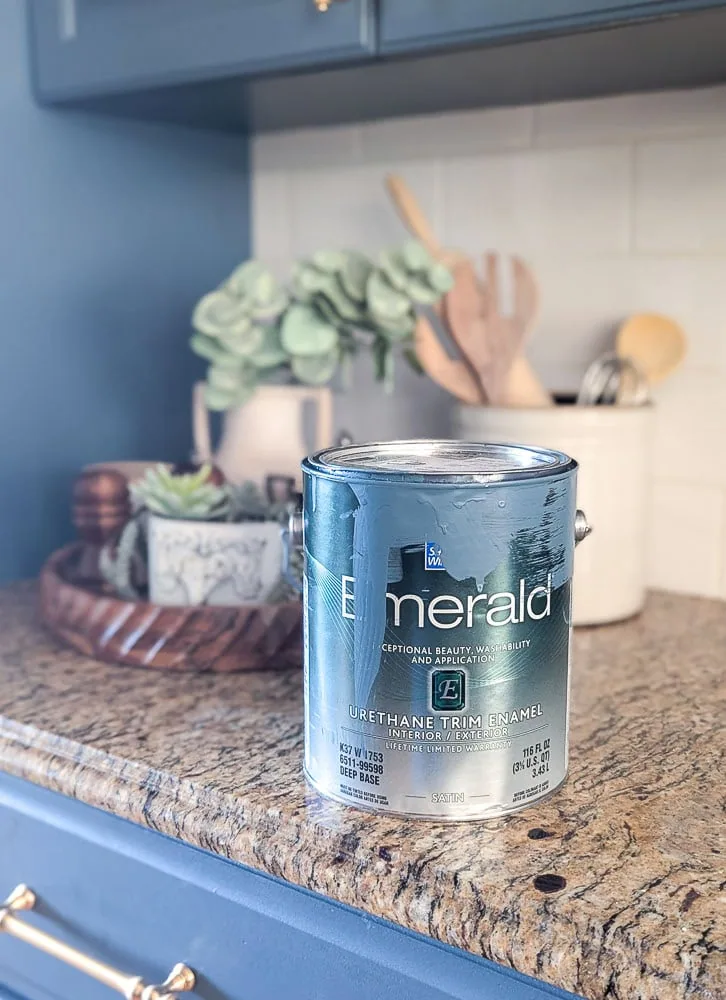
- Sherwin Williams Emerald Urethane Trim Enamel– This is a water-based enamel paint that creates a hard, durable finish. I chose this paint to repaint my kitchen cabinets and I was very impressed with how smoothly it went on and the coverage I got with such a deep, saturated color.
- Benjamin Moore Advance – This is a water-based alkyd paint that is specifically designed to give trim and cabinets a hard, durable finish. I haven’t personally painted cabinets with this paint, but it comes highly recommended by many DIYers I personally know and trust.
How to Repaint Painted Cabinets
Once you’ve figured out what kind of paint you are dealing with and decided whether your cabinets need to be sanded or primed, the rest of the steps are really the same whether you are painting your cabinets for the first time or the fifth time.
Paint sprayer vs. Paint roller and brush
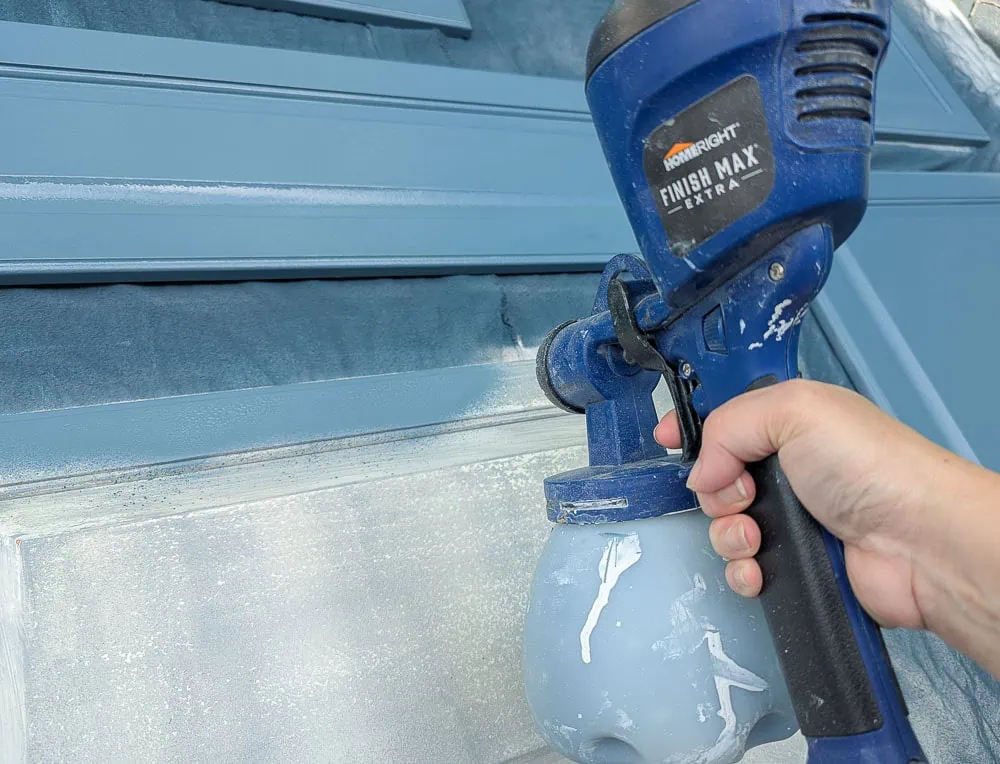
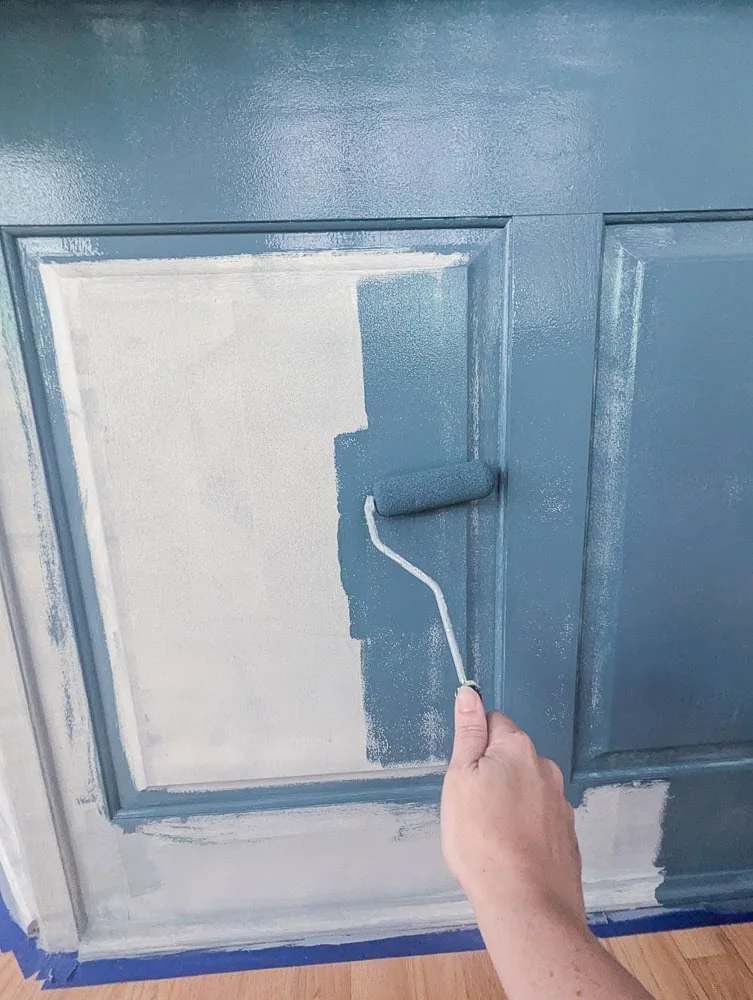
You can get a beautiful, smooth paint finish on your cabinets whether you choose to use a paint sprayer or use a high quality paint brush and paint roller. It really comes down to personal preference. Paint sprayers are much, much faster but there can be a bit of a learning curve. For my own cabinets, I painted the cabinet boxes and drawer fronts with a roller and brush, but used my paint sprayer to paint the cabinet doors to save time.
Materials
- Small foam paint roller – I’ve done a bit of testing and pretty much any brand will work for getting a smooth finish.
- High quality paint brush – For painting anywhere the roller can’t reach. These are my favorite paint brushes for painting furniture and cabinets.
- Paint sprayer – If you prefer, you can use a paint sprayer. I have this paint sprayer. It doesn’t require an air compressor and is super easy to use.
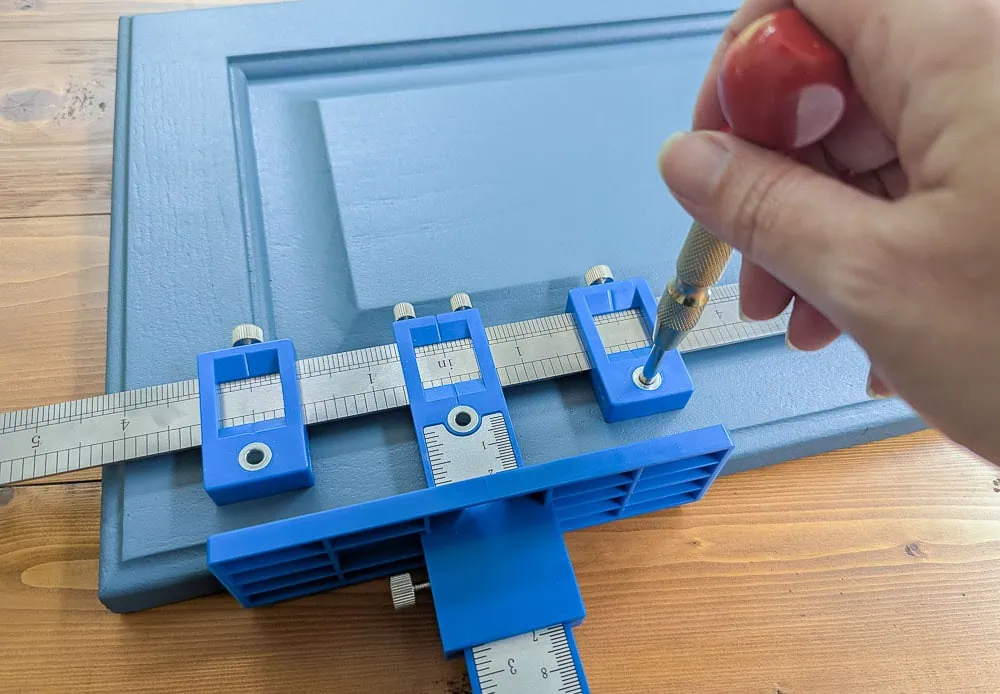
- Hardware jig – this is completely optional but it makes drilling new hardware holes much faster and easier. This is the super cheap one I have.
- Drill – for drilling new hardware holes and taking the doors on and off
- Wood filler
- 220 grit sandpaper – If you have a lot of sanding to do, I recommend using a small orbital sander to make the job go much faster.
- Painter’s tape
- Primer if needed – I use this primer when I need an oil-based primer and this primer the rest of the time.
- Paint of your choice – I used Sherwin Williams Emerald Urethane Trim Enamel in the color Waterloo.
Steps
- Remove your cabinet doors, hinges, hardware, and drawers. It’s a good idea to label your doors and hinges so you can quickly put everything back exactly where it was once you finish.
- Choose any new hardware you plan to use. It might feel weird to be choosing hardware so early in the process, but if your hardware hole placement is changing, you’ll need to fill in the old hardware holes with wood filler before you start priming and painting.
- Clean your cabinets well with a degreaser. You can buy a degreaser spray, but I’ve also had success just using Dawn dish soap and warm water.
- Fill in old hardware holes, dings, and scratches with wood filler. Once it’s dry, sand smooth with 220 grit sandpaper.
- Sand your cabinets if needed with 220 grit sandpaper.
- Prime your cabinets if needed.
- Paint your cabinets. You will typically need 2-3 coats of paint to get good, even coverage.
- Drill new hardware holes if needed. I highly recommend using an inexpensive hardware jig if you have a lot of hardware to install. It saves a ton of time and helps ensure your holes are perfectly aligned.
- Reinstall your hinges, cabinet doors, and drawers.
- Install your hardware.
And that’s it!
I’m not going to lie – painting cabinets isn’t exactly a quick and easy project. It can be pretty time-consuming, especially if you have a lot of cabinets. But is a project that pretty much anyone can do and it can completely transform your kitchen!
Want more help with painting gorgeous cabinets? Check out these posts next:
I’d love for you to pin this post on Pinterest!