21 Easy and Creative DIY Photo Gift Ideas
These 21 DIY photo gift ideas include photo magnets, DIY photo canvases, photo displays, and all kinds of other creative photo gifts for everyone on your list.
There is nothing like a handmade gift and these DIY photo gifts are full of sweet, thoughtful ideas for grandparents, friends, parents, kids, and more. Whether you’re looking for a meaningful gift for Mother’s Day, Father’s Day, Christmas, or a special birthday, there are tons of inexpensive, DIY gift ideas here.
I always love sharing favorite photos with family, but this year it seems more appropriate than ever.
We haven’t been able to see most of our family and friends much at all this year and our boys have grown like crazy. So it feels like the perfect time to share some of our favorite photos as gifts.
There are so many great ideas below and they are all easy to personalize using your own favorite photos.
You can use your family’s most recent family photo, favorite photos from throughout the year, or even old family photos from long ago.

Hopefully, these DIY photo gifts will inspire you to create something special for your friends and family this year.
21 Easy and Creative DIY Photo Gifts
DIY photo gifts are perfect for everyone on your list - even those people that are impossible to buy for. These photo gift ideas are inexpensive, easy to personalize and make a great meaningful gift.
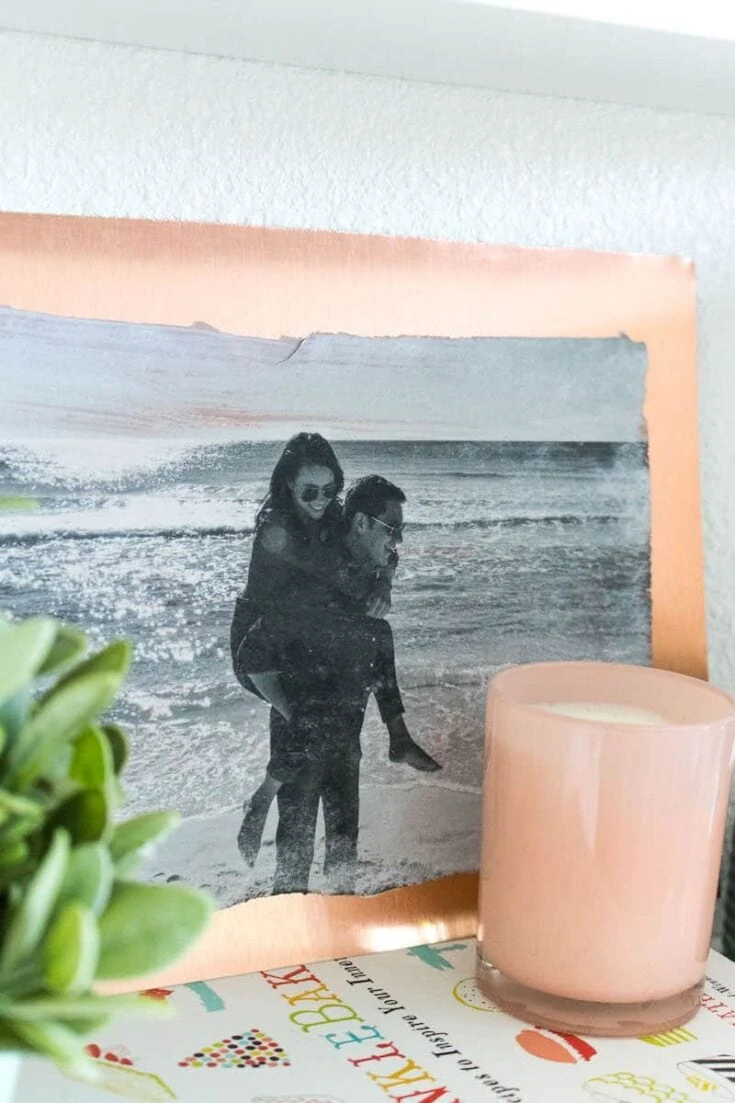
Photo Transfer on Copper
Learn how to transfer photos onto copper coated aluminum sheets with this easy DIY tutorial. The black and white photo looks amazing against the copper.
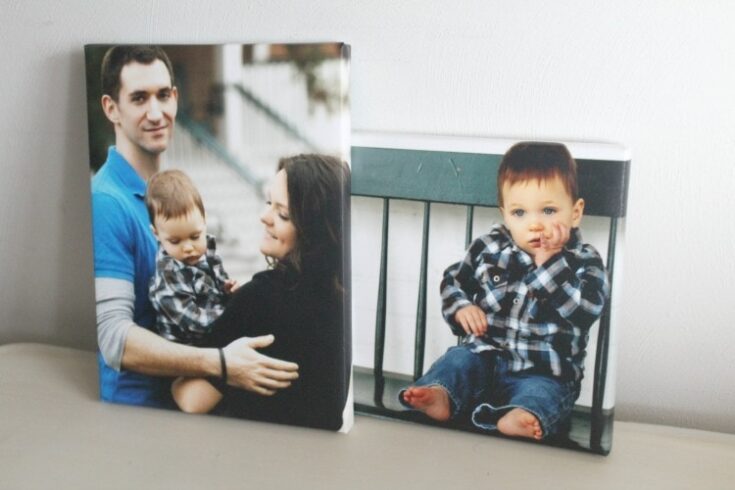
DIY Photo Canvas That Looks Exactly Like The Real Thing
You can save so much money by making your own DIY photo canvas. You would never know it's not the read deal. Make your own with the included tutorial.
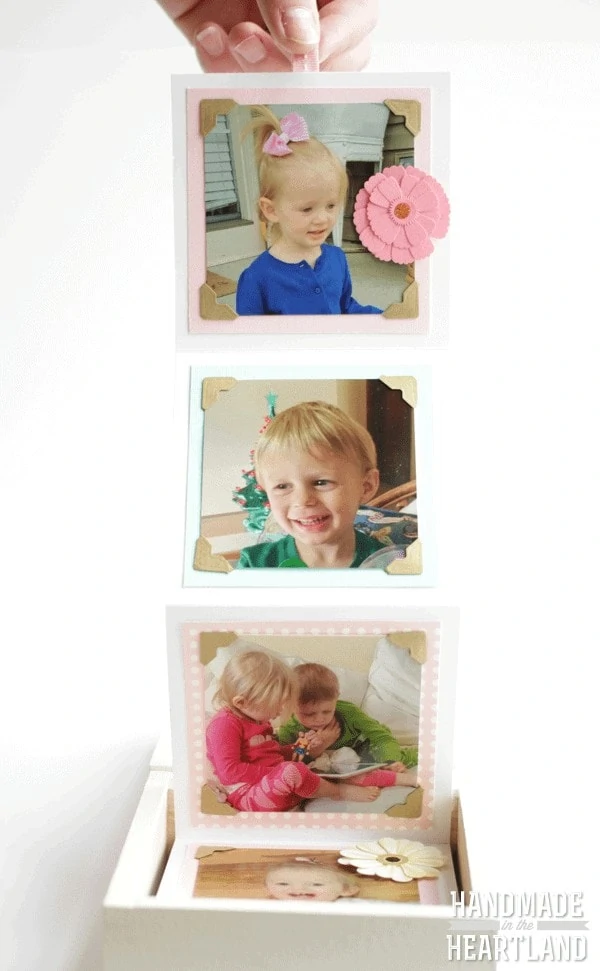
DIY Accordion Photo Box
This DIY accordion photo box is simple, and only calls for a few basic supplies. It makes a great gift for mom or grandmom, or just to keep out on your coffee table with photos of the kids.
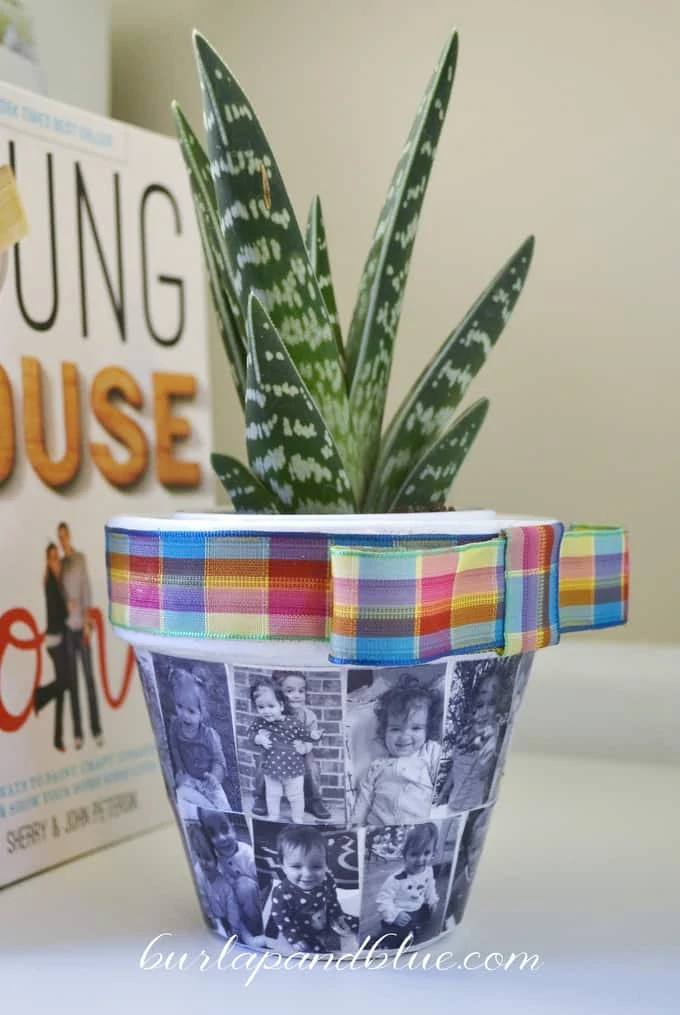
Custom Photo Planter
This decoupage photo planter is a keepsake that’s perfect for gifts or just to display in your own home!
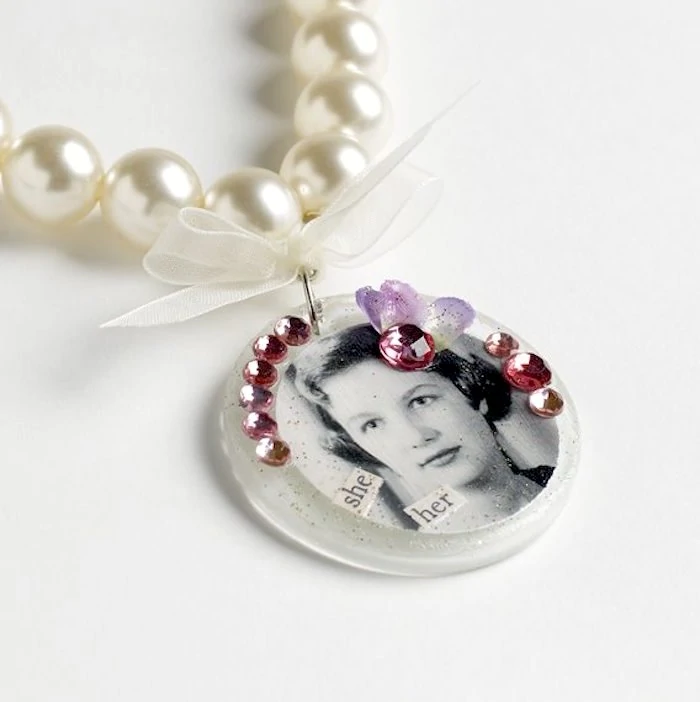
DIY Photo Pendant in Four Easy Steps
You can easily make a beautiful and thoughtful DIY photo pendant with these four simple steps. Imagine how special this DIY photo gift will be for mom or grandma!
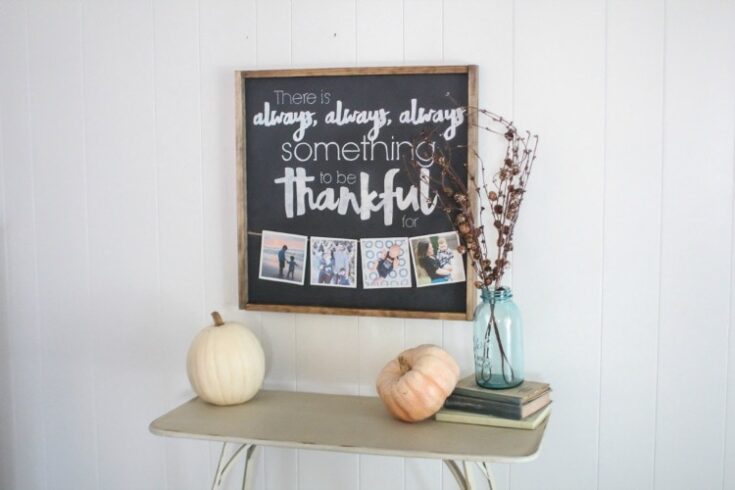
DIY Thankful Sign Photo Display
Create a DIY thankful sign with a photo banner that can be changed out as often as you like.
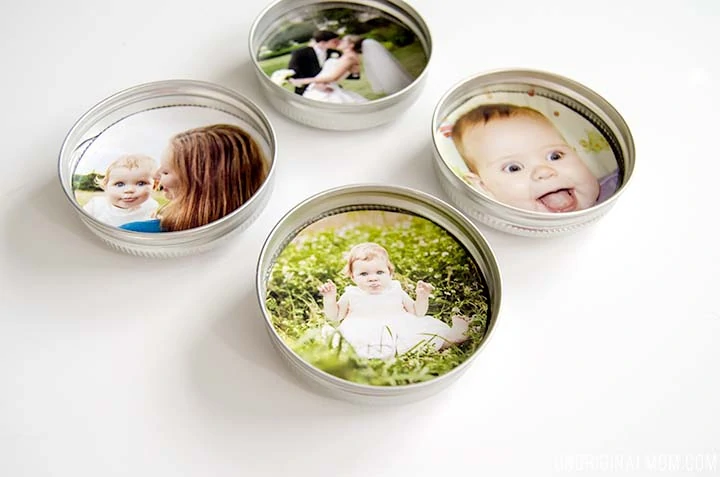
Upcycled Mason Jar Lid Magnets
These DIY photo magnets are super easy and inexpensive to make using upcycled mason jar lids. This is a great DIY gift for when you need to make multiples for cheap.
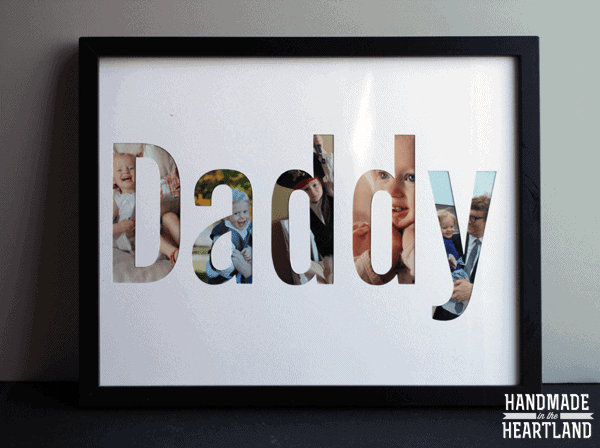
Framed Photo Name Print
This is a fun way to create custom personalized art using favorite photos. It makes a great sentimental photo gift for a loved one.

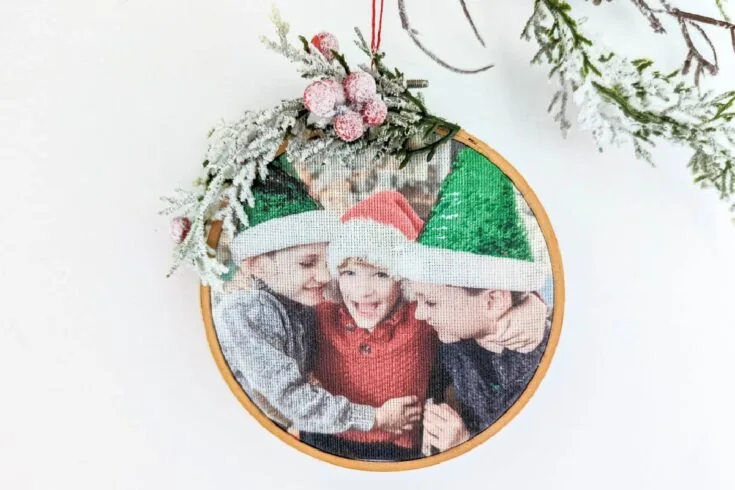
Easy DIY Photo Ornaments
These DIY photo ornaments are so simple to make and are perfect for gift giving. It's also fun to make them of the kids each year so you can see how they've grown.

Homemade Photo Coasters
These homemade photo coasters make a great functional gift idea. You can use favorite travel photos, fun family photos, or old family photos.
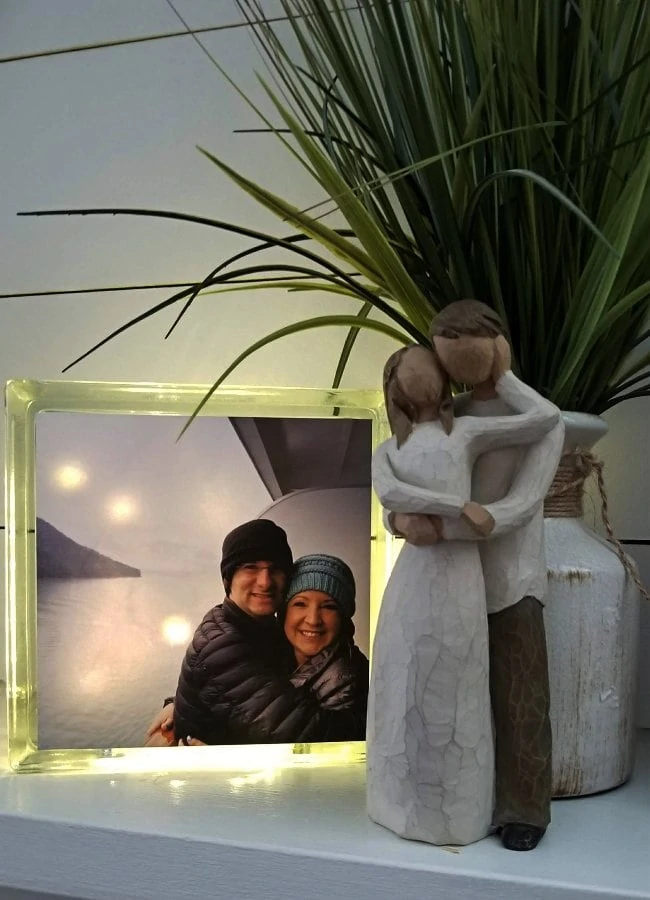
Easy Photo Glass Block
This fun glass photo block not only displays a special photo, but you can also fill it with lights! This can be used as special decor or even as a night light for a kids room, with a photo of mom and dad, or grandparents.
Simple Instagram Photo Frame
This DIY instagram picture frame is a great fift for a hard-to-buy-for friend or teen. It's so cute and fun and you can easily find perfect photos to add from their social media.
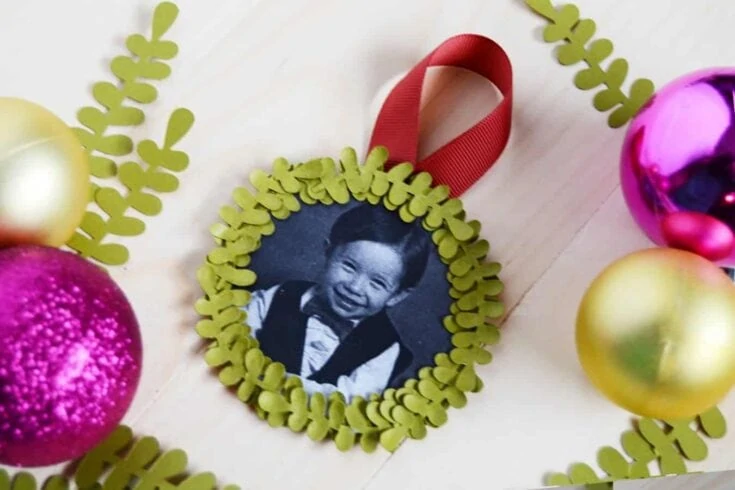
Mini Wreath Photo Ornament
These mini wreath photo ornaments are adorable for gift giving this season! They are simple to make and can be personalized for everyone on your list!
DIY Voice Recording Christmas Ornaments
These fun voice recorder photo ornaments not only showcase your favorite photos, they also capture your loved ones sweet voices. These are perfect for sending your kids sweet voices to grandparents far away or recording grandparents telling their favorite stories.
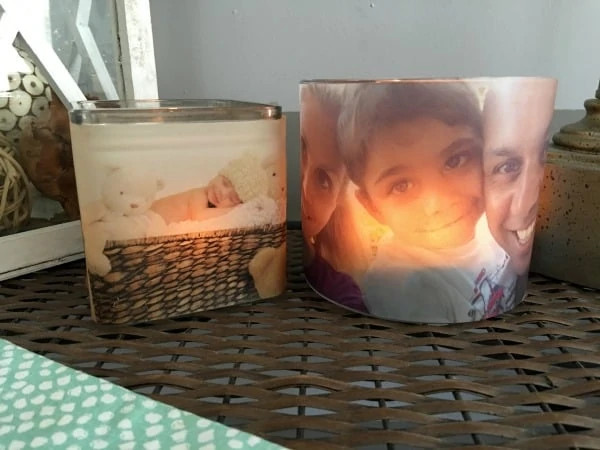
Easy Homemade Glowing Photo Luminaries
Pick up some inexpensive mason jars, or use upcycled glass jars to make pretty DIY photo luminaries. They are easy and inexpensive to make and look beautiful!
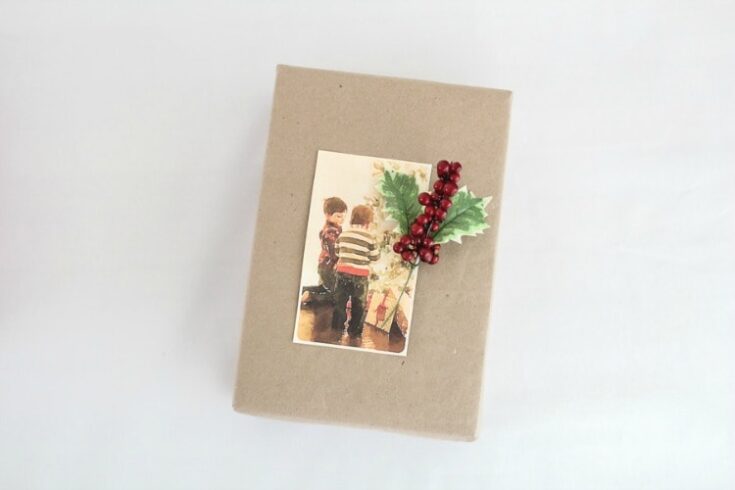
3 Beautiful Ways to Wrap Gifts Using Your Favorite Photos
These beautiful ideas for wrapping gifts are a great way to share your family's special photos in a more creative way than your typical Christmas card.
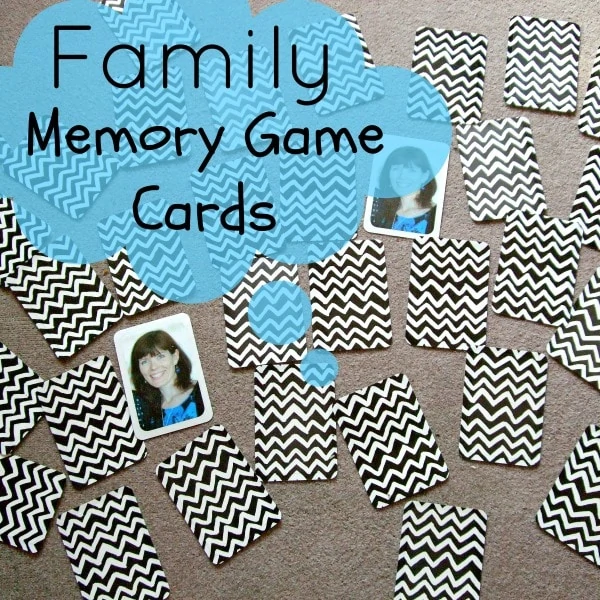
Family Memory Game Cards
This DIY family photo memory game is super fun! What a sweet and fun gift for kids and families to enjoy.
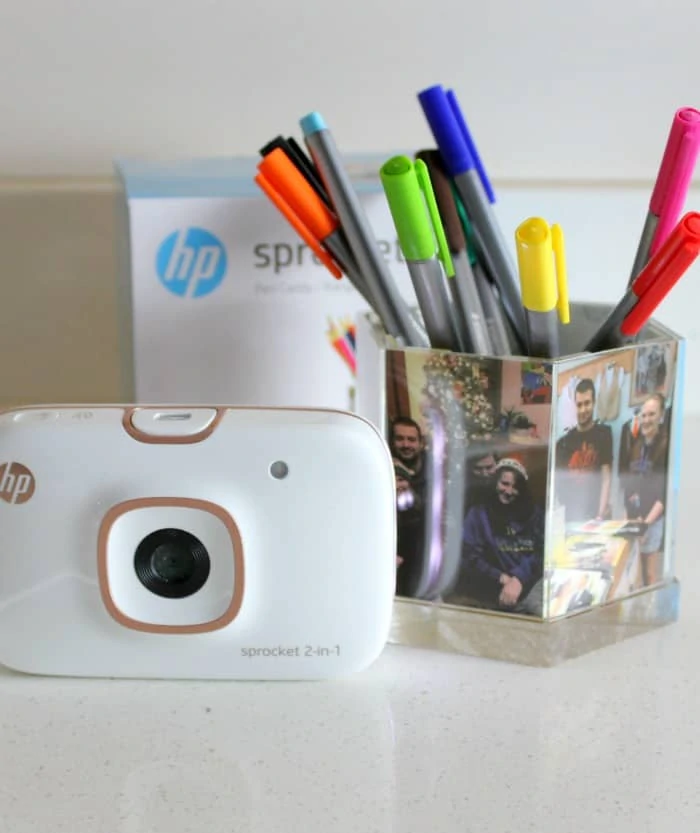
DIY Photo Pen Caddy
A pen caddy is something that most everyone has on their desk. Why not make it special by adding favorite family photos to it with this thoughtful gift.
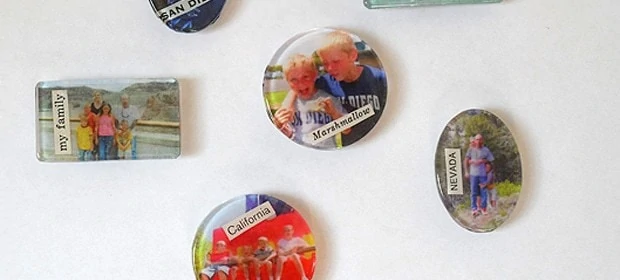
Easy Family Photo Magnets
These DIY family photo magnets make a great gift idea for Christmas, Mother’s Day, Father’s Day, or just because!
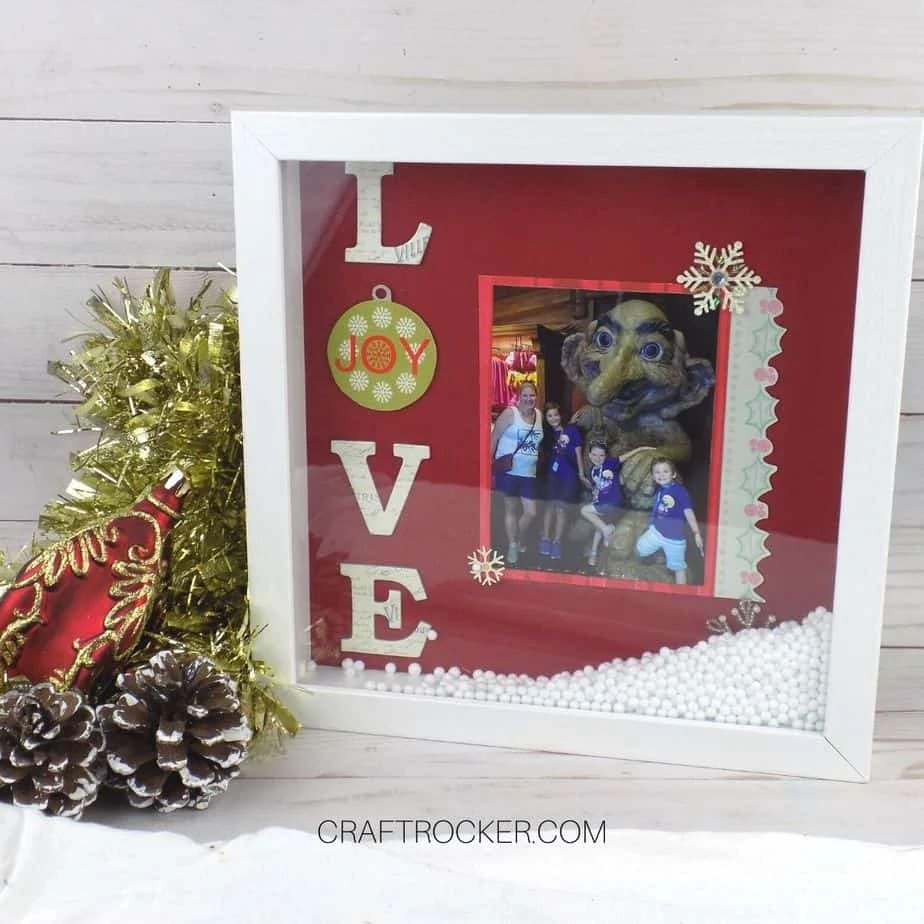
Snow Globe Shadow Box
This sweet snow globe shadow box is such a thoughtful gift for Christmas. It’s easy to make and totally customizable too!
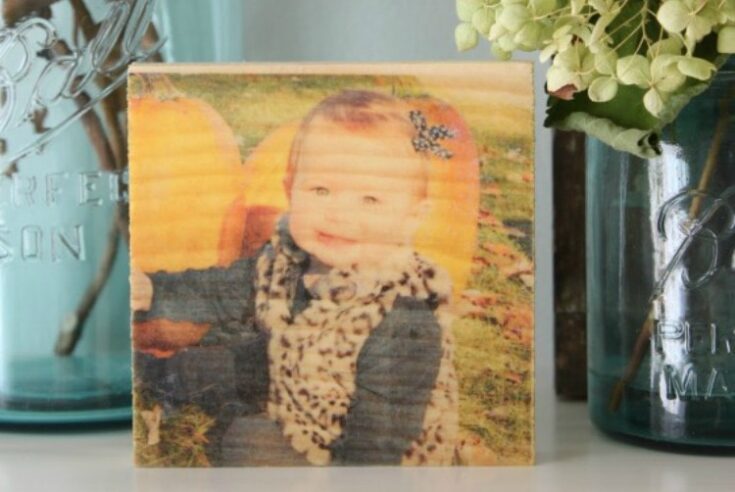
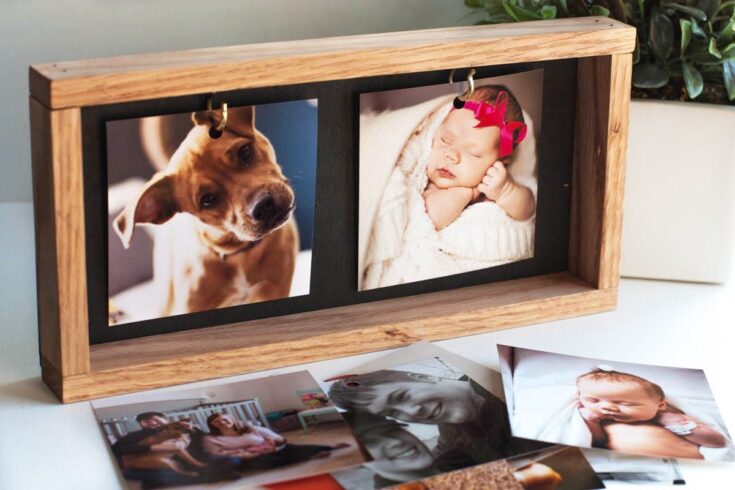
DIY Wooden Photo Display
This simple wooden photo display makes a fun and unique photo gift idea. It is very budget-friendly and can even be made using scrap wood.
So many great ideas!
I’m also a huge fan of gifting personalized photo books. Here are a few of my favorite photo book ideas for gifting:
- Sentimental Christmas Photo Book – this is a fantastic gift for grandparents and older family members
- 30 Things I Love About You Photo Book – this is a really fun gift for a milestone birthday
- A Sweet Personalized ABC Photo Book – the perfect gift for the toddlers and preschoolers in your life
And for even more inexpensive DIY gift ideas for everyone on your list, I’ve also got a great collection of 50 Awesome DIY Gifts you can make for less than $10.
Want more gift ideas? Check out these other helpful gift guides next:
I’d love for you to pin this post on Pinterest!


Love these, especially the “always something to be thankful for” sign!! I will have to put that in my list of projects. Such a good reminder. Thanks for sharing.
Thank you – that is one of my favorites too!